
Removing the light bulb cover from your Maytag refrigerator is a simple yet important task that every homeowner should know how to do. Whether you’re replacing a burnt-out bulb or cleaning the interior of your fridge, understanding the process can save you time and hassle. In this comprehensive guide, we’ll walk you through the steps required to successfully remove the light bulb cover from your Maytag refrigerator, as well as important tips and safety precautions to consider.
Understanding the Importance of Your Refrigerator Light Bulb
Before we delve into the specifics of how to remove the Maytag refrigerator light bulb cover, it’s vital to understand why the light bulb is important for your appliance. The refrigerator light serves several crucial functions:
- Visibility: It makes it easier to locate food items, especially in low-light conditions. This is particularly beneficial for refrigerators that have limited natural light exposure or are located in darker areas.
- Energy Efficiency: A functional light bulb can help you avoid opening the refrigerator doors unnecessarily, thereby maintaining the temperature inside and saving on energy costs.
- Safety: When you can easily see the contents of your refrigerator, you reduce the risk of food spoilage and ensure that you’re not consuming expired items.
After appreciating its importance, let’s move on to the specific steps for removing the light bulb cover.
Tools You’ll Need
While removing the light bulb cover is a straightforward process, having the right tools at hand will make it much easier. Here’s what you may need:
- Screwdriver: A flathead or Phillips screwdriver will usually suffice for loosening any screws that keep the cover in place.
- Pliers: These can be helpful for gripping or applying extra force if the cover is stuck.
- Clean Cloth or Paper Towels: To clean up any debris or access any bulbs that may have broken.
Make sure you gather these tools before beginning the process to avoid interruptions.
Step-by-Step Guide on How to Remove the Maytag Refrigerator Light Bulb Cover
Step 1: Unplug the Refrigerator
Safety first! It’s crucial to disconnect the refrigerator from its power source before you start any maintenance work. Not only will this protect you from electric shock, but it will also prevent any accidental activation of the light while you’re working.
- Locate the outlet: Find where the refrigerator is plugged in. Usually, it’s located behind the appliance or in a nearby wall.
- Unplug the refrigerator: Gently pull the plug from the wall. Avoid yanking too hard to prevent damage to the cord.
Step 2: Locate the Light Bulb Cover
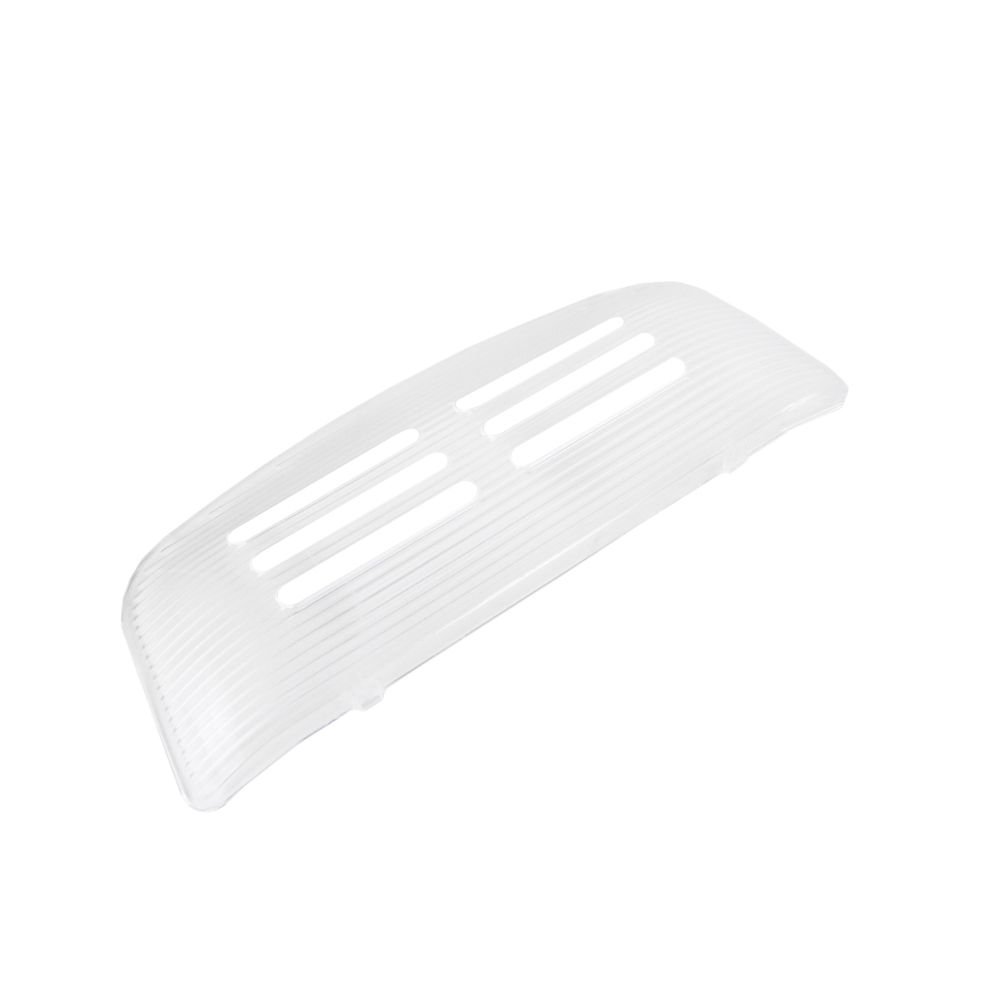
In most Maytag refrigerators, the light bulb cover is located at the top of the refrigerator compartment. It may vary in design based on the model, but it is typically a transparent or frosted plastic cover directly over the light bulb.
- Open the refrigerator door: Leave the door open while you work to ensure you have full access to the compartment.
- Examine the cover: Look for any apparent fasteners or clips that secure the cover in place.
Step 3: Remove Any Fasteners
Certain models may have screws or other fasteners holding the cover in place.
- Use your screwdriver: If you see screws, use the appropriate screwdriver to remove them. Keep them in a safe spot so you won’t lose them.
- Check for clips: In case your model employs clips, gently pry these open with your fingers or pliers without applying too much pressure, as they can break easily.
Step 4: Gently Remove the Light Bulb Cover
Now that any fasteners are taken care of, you can proceed to remove the light bulb cover carefully.
- Grip the cover: Use both hands to grasp the sides of the cover. Ensure you are being gentle to avoid breaking it.
- Pull downward or sideways: Depending on your model, you might need to pull it down or slide it sideways. If it feels stuck, double-check for any hidden fasteners that might have been missed.
Step 5: Replace or Clean the Light Bulb
With the cover now removed, you can easily access the light bulb.
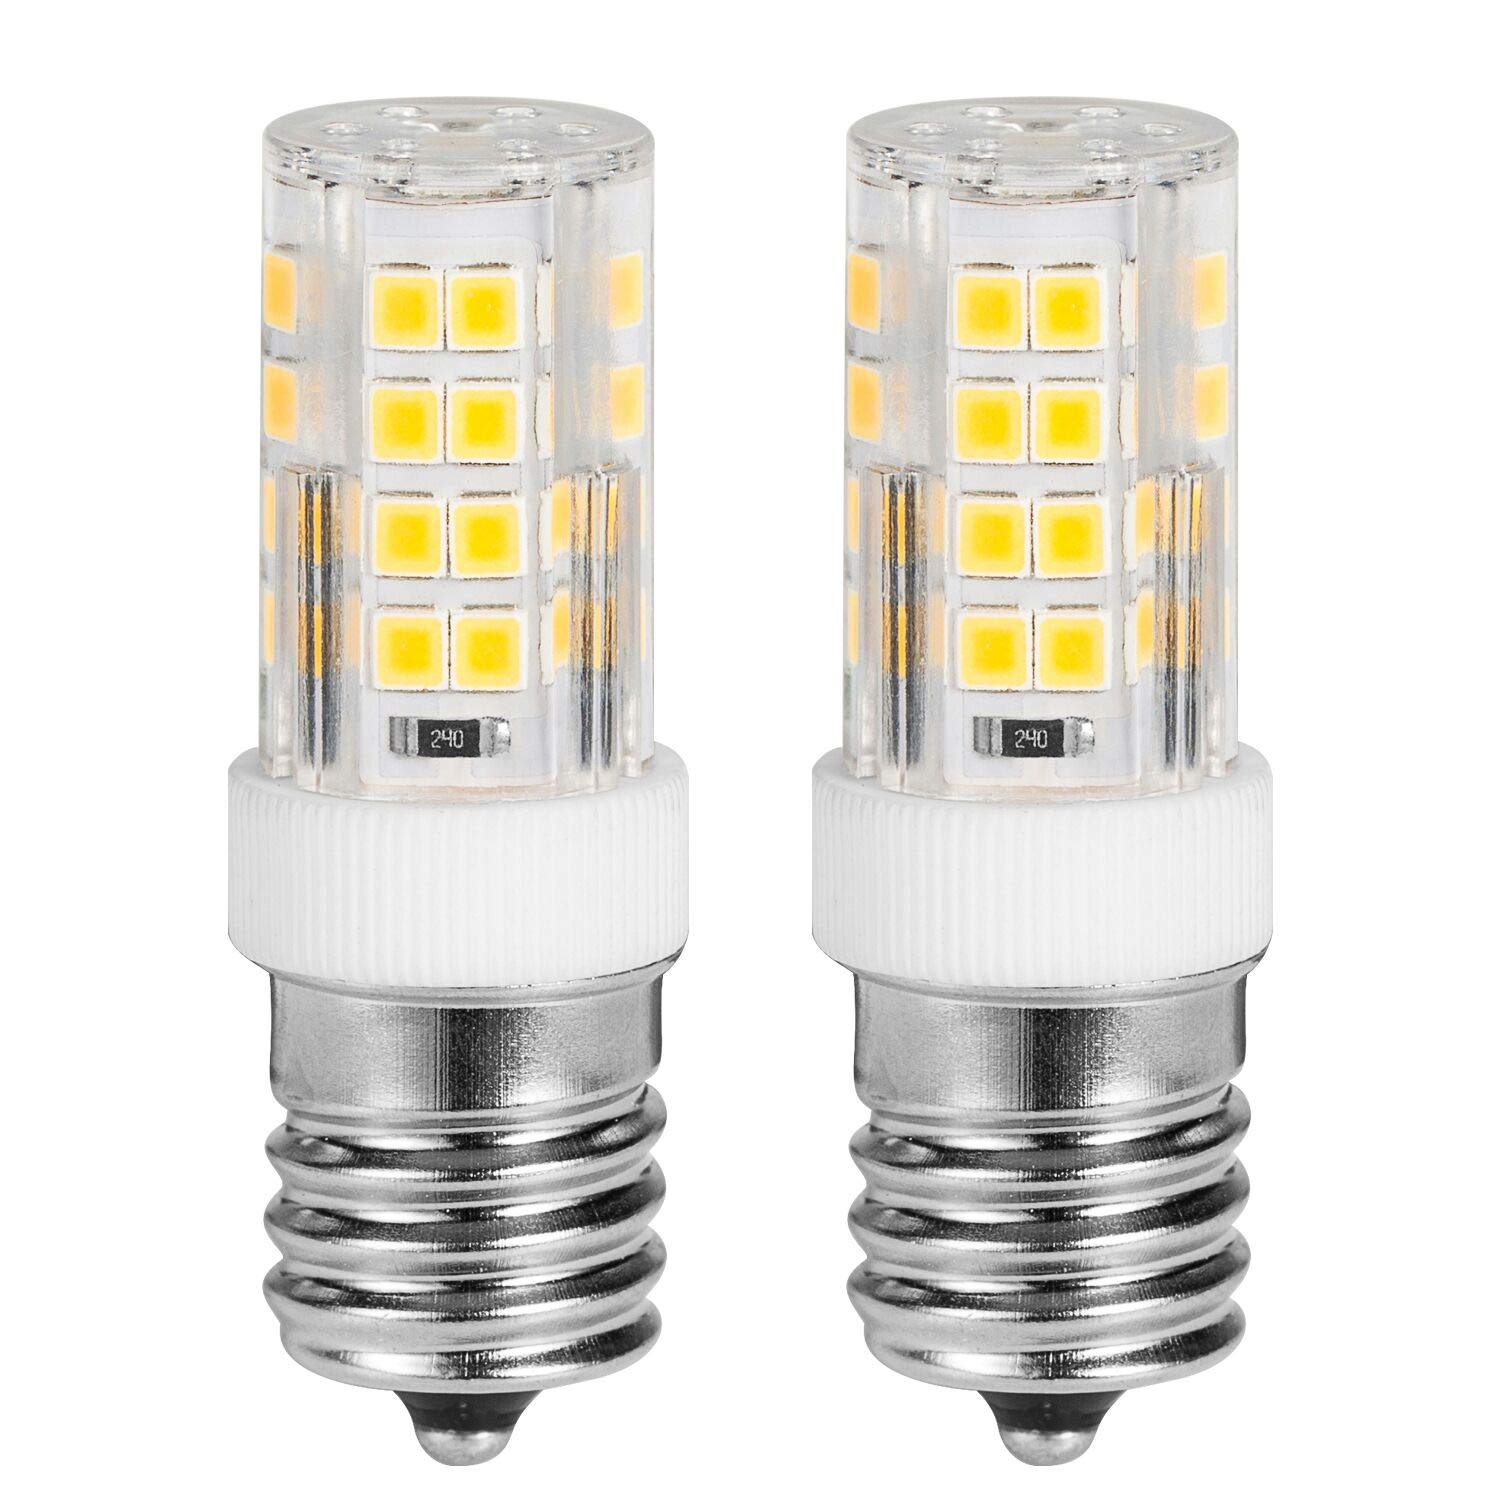
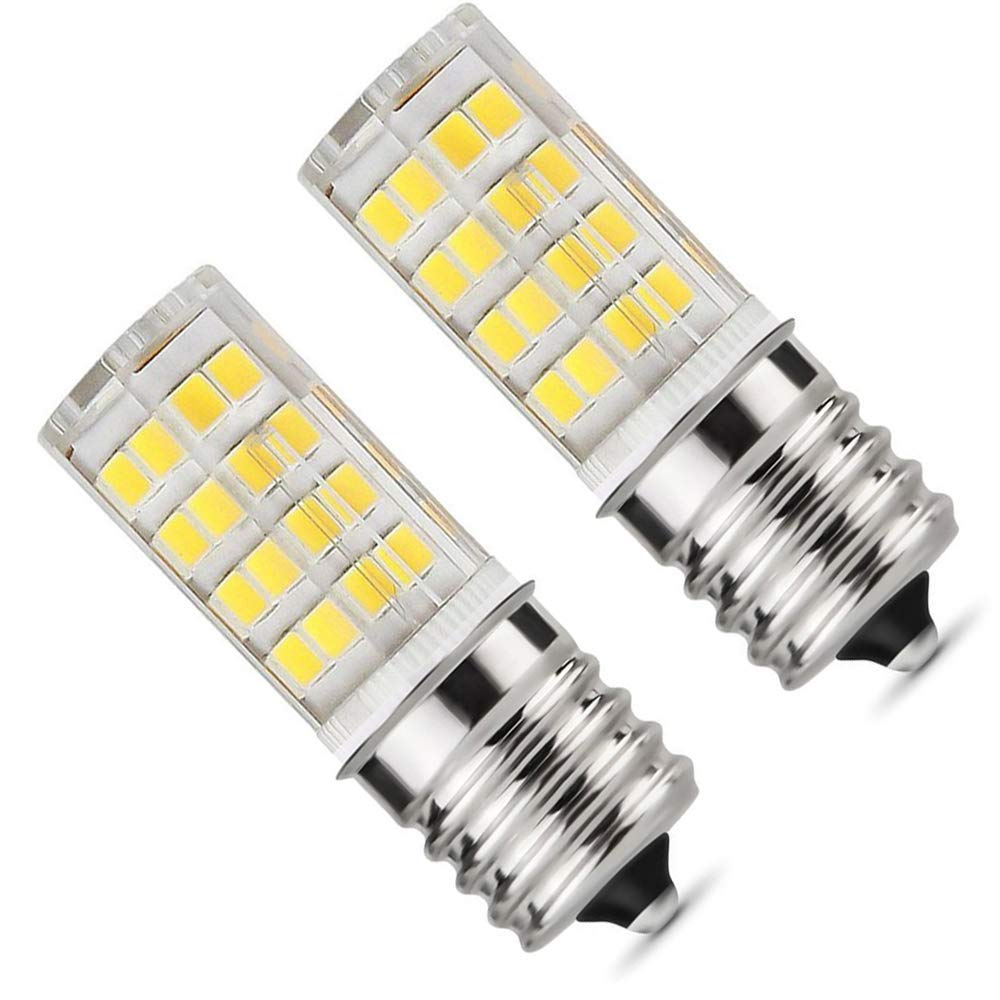
- Check the bulb: If you need to replace a burnt-out bulb, do so by gently twisting it counterclockwise.
- Cleaning: If you’re cleaning, take this opportunity to wipe away any dust or spills on both the light bulb and the area surrounding it.
Step 6: Reattach the Light Bulb Cover
Once you’ve replaced or cleaned the bulb, it’s time to reattach the cover.
- Position the cover: Align it correctly above the bulb.
- Secure it: Push it back into place and reinsert any screws or clips that you removed in Step 3.
Step 7: Plug in the Refrigerator
Finally, reestablish power to the refrigerator.
- Reconnect the power: Plug the refrigerator back into the wall socket.
- Test the light: Open the refrigerator door and check if the light bulb is functioning.
Troubleshooting Common Issues
Even with a straightforward task like removing the Maytag refrigerator light bulb cover, you might encounter some roadblocks. Below are common issues and troubleshooting tips.
Issue: Light Bulb Cover Won’t Budge
If the cover refuses to move:
- Make sure to check all edges for clips or screws that may not have been removed.
- Try wiggling gently while pulling the cover to see if it can loosen from its position.
Issue: Broken Light Bulb
If you’ve encountered a broken light bulb:
- Wear gloves: Protect your hands before cleaning up the shards to avoid cuts.
- Carefully clean up: Use a damp cloth to wipe up pieces and dispose of them properly.
 Maintenance Tips for Your Refrigerator Light
Now that you know how to remove the Maytag refrigerator light bulb cover, you may want to take steps to ensure that your light remains in optimal condition. Here are some quick tips:
- Regularly check the light bulb: Make it a habit to check whether the light works when the door opens. This can help you avoid sudden outages.
- Choose the right bulb: Use bulbs specifically designed for refrigerators. These are built to withstand cold temperatures.
- Avoid over-tightening: When replacing the bulb or cover, avoid overtightening screws or clips, as this can cause wear over time.
- Clean the cover: Regularly cleaning the light bulb cover can prevent dirt buildup and improve visibility.
Additional Resources
If you’re looking for more information about maintaining or troubleshooting your Maytag refrigerator, here are some helpful resources:
- User Manual: Always refer to your manual for model-specific instructions.
- Online forums: Websites like Reddit or appliance repair forums can provide advice from other users.
- YouTube videos: Video guides often offer visual support that can clarify the steps.
Conclusion
In summary, knowing how to remove the Maytag refrigerator light bulb cover is not just about dealing with a single light bulb; it’s part of a larger understanding of home appliance maintenance. This straightforward process enhances your performance and efficiency, contributes to food safety, and improves your overall refrigerator experience. By following the steps outlined in this guide and adhering to the maintenance tips provided, you can ensure that your refrigerator operates at its best. So the next time you encounter an issue or need to replace a bulb, you’ll be well-equipped with the knowledge necessary to tackle the challenge confidently.
Whether you’re a seasoned handyman or a novice, the information we’ve covered here will enable you to handle the task efficiently. Remember that understanding the components of your appliances can empower you to troubleshoot and maintain your home effectively.