Introduction
Ironing clothes is an essential part of maintaining a neat and professional appearance. However, for many, it can be a daunting task. To achieve crisp and wrinkle-free garments, it is important to understand the best techniques and practices for ironing. In this guide, we will provide a step-by-step approach to ironing clothes effectively, focusing on different fabric types and sharing tips for achieving optimal results. By following these guidelines, you can master the art of ironing and ensure your clothes always look their best.
What is the best way to iron clothes?
Preparation and Equipment
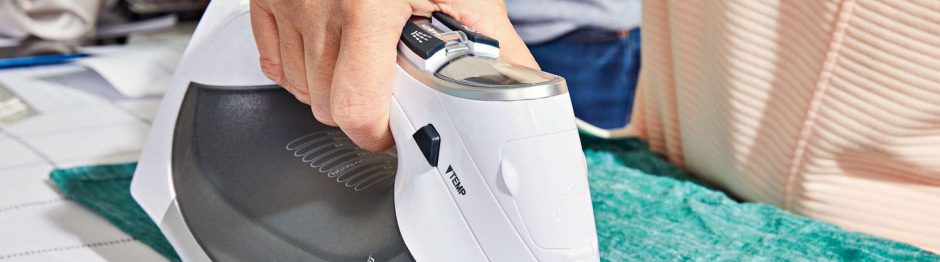
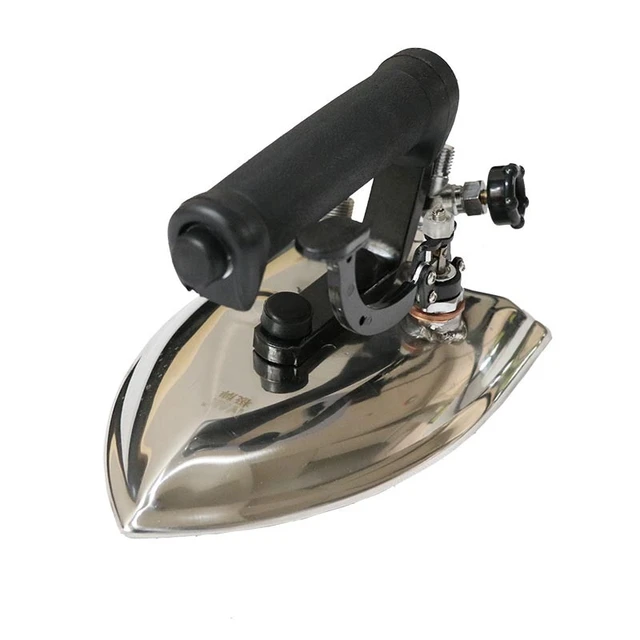
1.1. Choosing the Right Iron
Invest in a high-quality iron with adjustable temperature settings and steam functions. Look for an iron with a non-stick soleplate, as this will glide smoothly over fabric and minimize the risk of damage.
1.2. Ironing Board Selection
Select an ironing board that is sturdy and has a level surface. Ensure the ironing board cover is clean and free from any stains or residue that may transfer onto your clothes.
1.3. Water and Spray Bottle
Fill the iron’s water reservoir with clean, distilled water to generate steam. Additionally, keep a spray bottle filled with water nearby to mist clothes if needed during the ironing process.
Sorting and Preparation
2.1. Separate Clothes by Fabric Type
Sort your clothes into piles based on their fabric type. Group together garments that require similar ironing temperatures to ensure efficient and effective ironing.
2.2. Read Clothing Labels
Consult the care labels on your clothes to determine the appropriate ironing temperature setting. Different fabrics have different heat tolerances, so it is important to follow the manufacturer’s instructions.
2.3. Empty Pockets and Close Zippers
Before ironing, empty pockets and ensure all zippers, buttons, and fastenings are closed. This prevents any accidental damage or snagging of the fabric.
Ironing Techniques
3.1. Start with Lower Heat Settings
Begin with garments that require lower ironing temperatures. This allows the iron to heat up gradually, reducing the risk of scorching or burning delicate fabrics.
3.2. Iron Inside Out
For clothes with delicate fabrics or prints, iron them inside out. This helps protect the fabric and prevents damage to any embellishments or designs.
3.3. Iron Collars and Cuffs First
Start with collars and cuffs, as they often require more attention. Iron them on both sides, paying close attention to the edges and corners.
3.4. Iron Shirts and Blouses
Lay shirts and blouses flat on the ironing board, ensuring the back, sleeves, and front are smooth. Start with the back, then move on to the sleeves, and finish with the front. Iron each section with smooth, firm strokes, using the appropriate heat setting for the fabric.
3.5. Iron Pants and Skirts
When ironing pants or skirts, begin with the waistband and pockets. Move on to the legs or skirt body, ironing each section carefully. Always iron along the grain of the fabric to prevent any unwanted creases.
3.6. Iron Dresses and Tops
For dresses and tops, iron the back, sleeves, and front in a similar manner to shirts and blouses. Pay attention to any pleats, darts, or intricate details, ironing them with care.
Dealing with Difficult Fabrics
4.1. Delicate Fabrics
For delicate fabrics such as silk or chiffon, use a lower heat setting or utilize a pressing cloth or handkerchief as a protective barrier between the iron and the fabric. Iron gently, using light pressure and short strokes.
4.2. Synthetic Fabrics
Synthetic fabrics such as polyester or nylon can melt or scorch easily. Use a lower heat setting and move the iron quickly across the fabric to prevent damage. If necessary, use a pressing cloth to further protect the fabric.
4.3. Wool and Knits
When ironing wool or knitted garments, use a lower heat setting and place a damp cloth or pressing cloth over the fabric to prevent direct contact with the iron. Gently press the iron onto the cloth, allowing the steam to penetrate and remove wrinkles.
Finishing Touches
5.1. Hanging and Cooling
Once an item is ironed, hang it on a hanger immediately to allow it to cool and set. This helps maintain the garment’s shape and prevents new wrinkles from forming.
5.2. Storing Ironed Clothes
Fold or hang ironed clothes neatly in your wardrobe to avoid the need for excessive ironing in the future. Hang shirts and blouses on hangers with the collar buttoned and sleeves folded, while fold pants and skirts along their natural creases.
Troubleshooting
6.1. Removing Stains
If you encounter a stain while ironing, stop immediately. Trying to remove a stain with heat can set it permanently. Treat the stain using appropriate stain removal techniques before proceeding with ironing.
6.2. Ironing Dark Colored Fabrics
When ironing dark-colored fabrics, iron them inside out to prevent any shine or lightening caused by the heat of the iron.
Regular Maintenance and Care
7.1. Cleaning the Iron
Regularly clean the iron’s soleplate to prevent any residue buildup. Use a soleplate cleaner or a mixture of baking soda and water to remove any stains or buildup. Follow the manufacturer’s instructions for cleaning your specific iron model.
7.2. Cleaning the Ironing Board
Periodically clean the ironing board cover to remove any stains or residue that may transfer onto your clothes. Follow the manufacturer’s instructions for cleaning the cover.
Conclusion
Ironing clothes can seem like a challenging task, but with the right techniques and practices, it can become a straightforward and satisfying routine. Remember to choose the right iron, prepare fabrics accordingly, and use appropriate temperature settings for each garment. Follow a systematic ironing approach, starting with collars and cuffs and progressing to larger areas. Be mindful of delicate fabrics, use protective barriers when necessary, and iron along the grain of the fabric. Take care of your iron and ironing board by cleaning them regularly. With practice and attention to detail, you can achieve professional-looking, wrinkle-free clothes every time.