
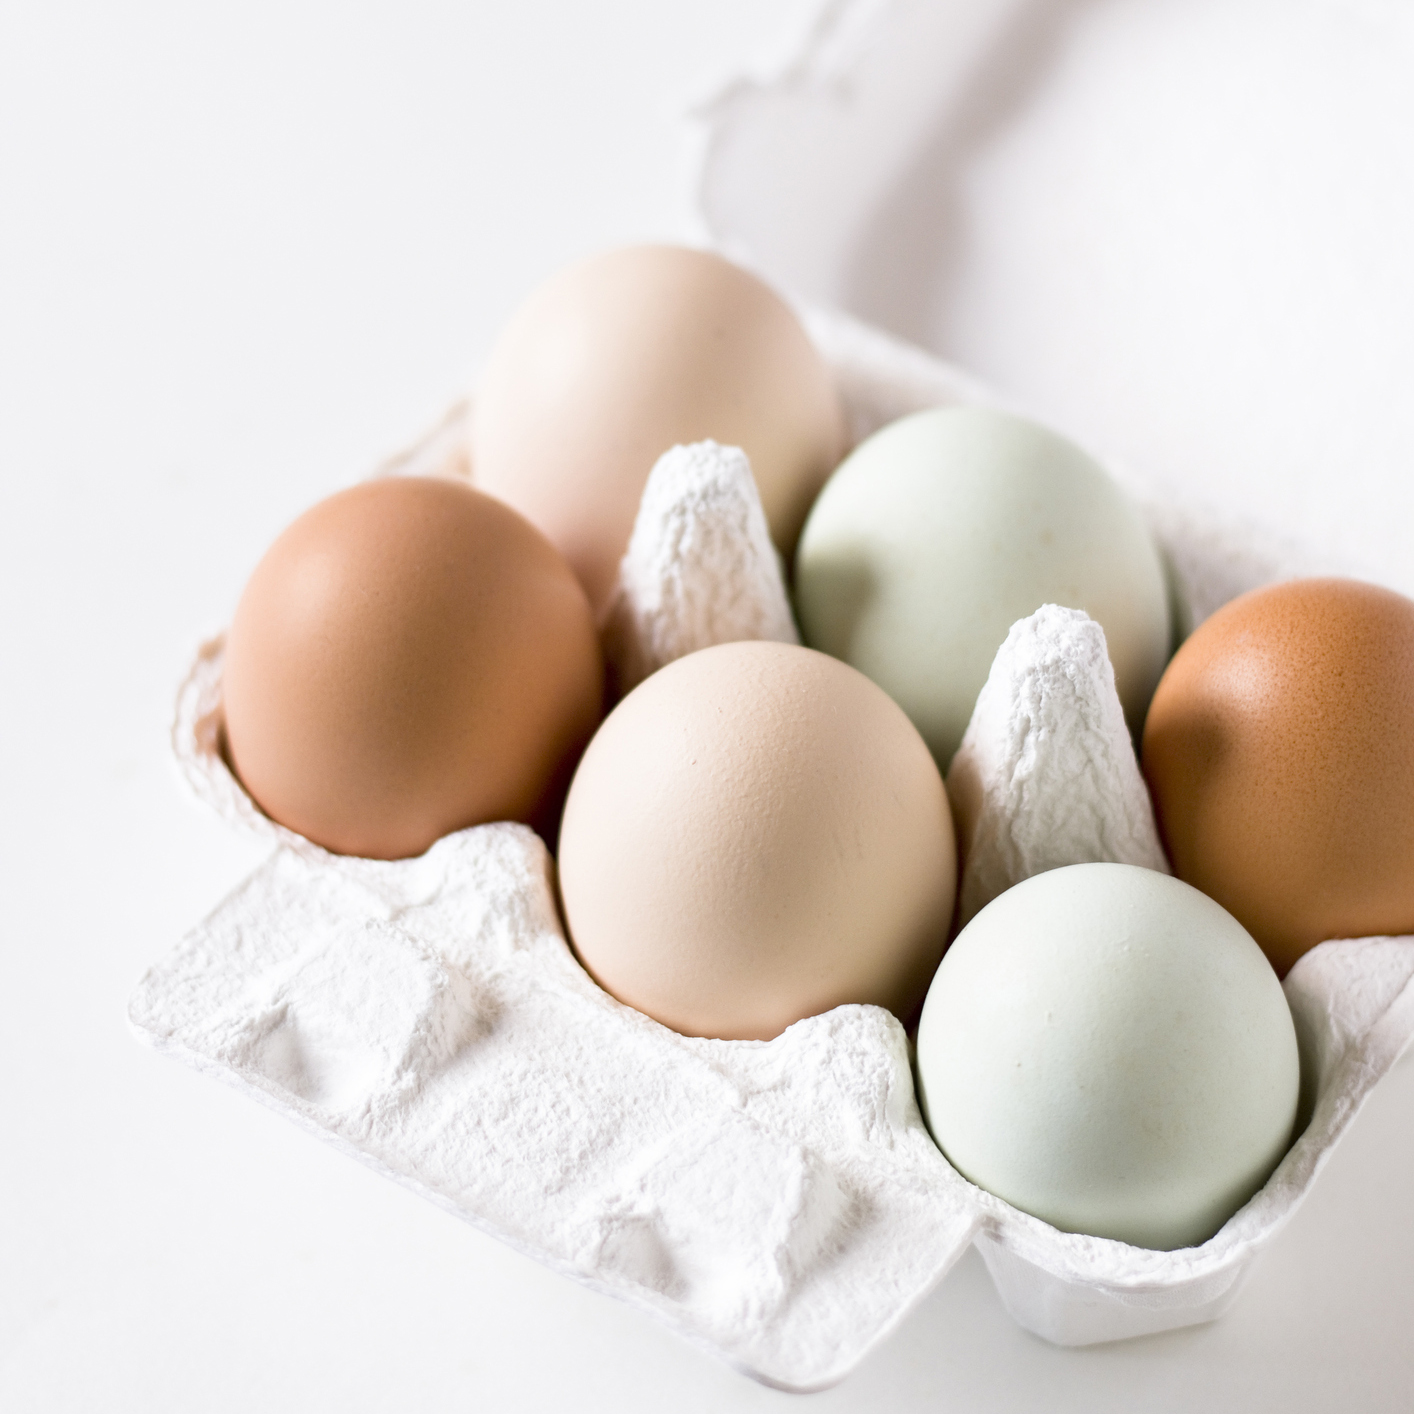
Introduction to Fresh Unwashed Eggs
When you collect eggs directly from the chicken coop, they come with a natural protection called ‘bloom’. This invisible layer shields the egg’s interior from bacteria due to the shell’s porous nature. Unlike store-bought eggs, fresh unwashed ones are straight from the farm with this bloom intact. These eggs are often more durable against bacteria when stored properly.
The Concept of ‘Bloom’ and Shell Porosity
The ‘bloom’ is a protective coating that chickens naturally deposit on eggs. It helps prevent bacteria from penetrating the eggshell’s pores. The eggshell itself is semi-permeable, allowing air and moisture to pass through, but the bloom slows this process. Understanding bloom is essential to handling and storing fresh eggs correctly to prolong their freshness. Proper storage can keep these eggs safe to eat for a surprising length of time.
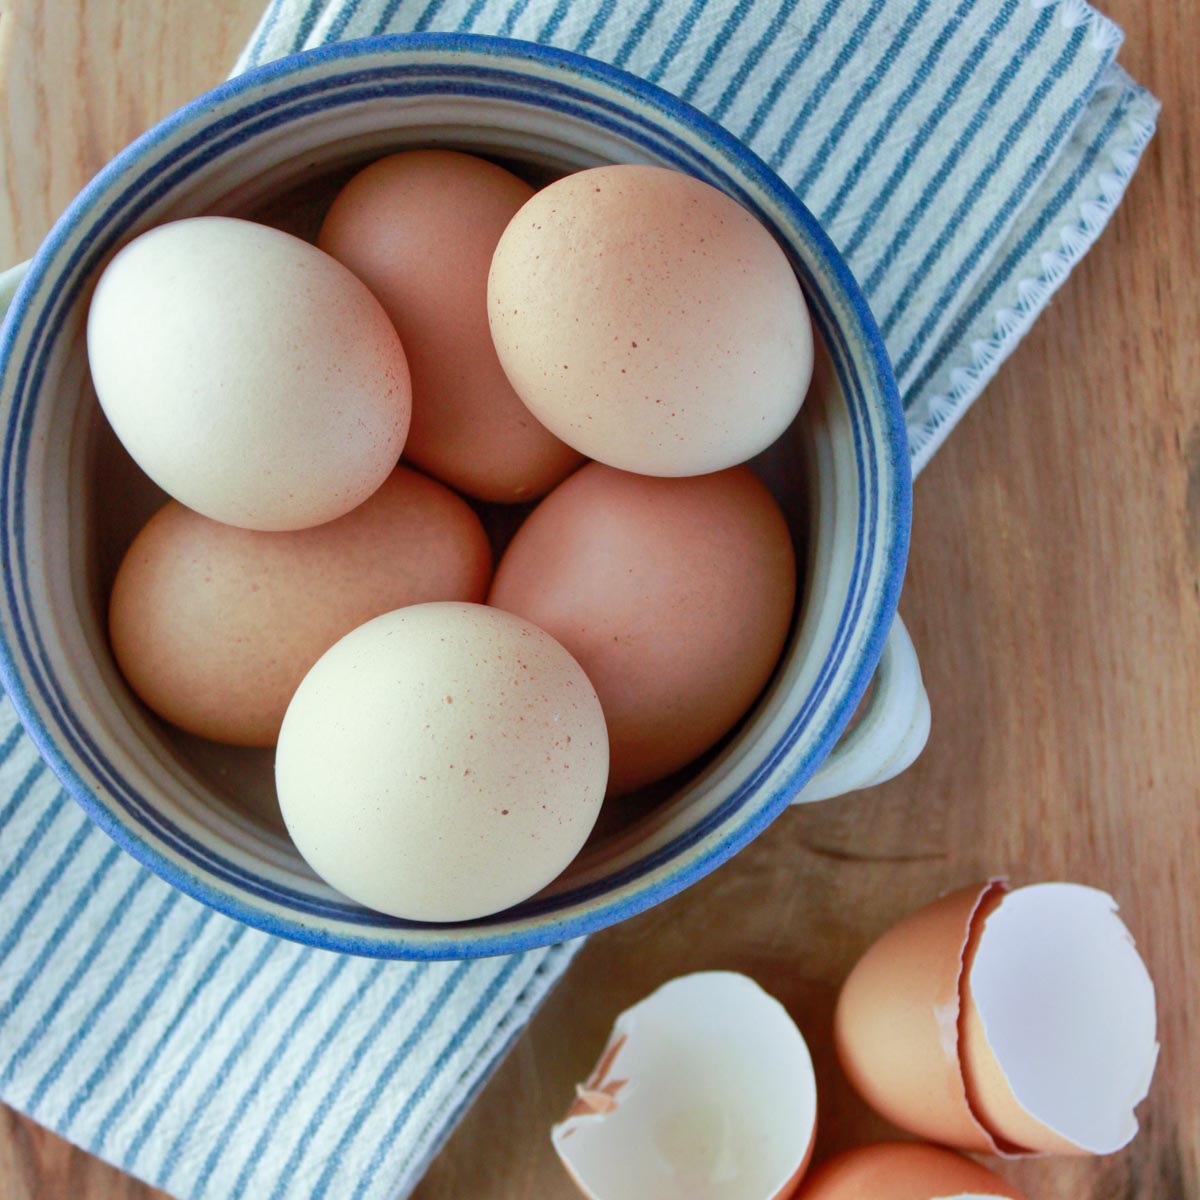
Collecting and Handling Fresh Eggs
Ensuring the longevity of fresh eggs from chickens begins right at collection. It’s critical to adopt proper techniques from the moment eggs are gathered from the coop.
Best Practices for Egg Collection
Follow these steps for optimal egg collection:
- Collect eggs twice daily to keep them clean and lessen breakage risks.
- Use clean hands or gloves to minimize introducing dirt or bacteria.
- Separate eggs into ‘clean’ and ‘needs cleaning’ baskets to avoid cross-contamination.
- Avoid washing eggs; their natural ‘bloom’ provides a barrier against bacteria.
- Check for cracked eggs and discard them immediately; they can harbor harmful bacteria.
- Store collected eggs in a cool, dry place until refrigeration or use.
Importance of Not Washing Fresh Eggs
The natural ‘bloom’ of an egg is its best defense system. Washing fresh eggs removes this protective coat, making them more susceptible to bacteria invasion and spoilage:
- Keep eggs unwashed to retain the bloom and extend shelf life.
- If eggs have dirt, lightly brush them off instead of washing.
- Only wash eggs just before use to ensure their protective barrier remains intact as long as possible.
- Educate others on the benefits of not washing eggs immediately to preserve freshness.
Shelf Life of Unwashed Eggs: Room Temperature Versus Refrigeration
Understanding the storage options for fresh eggs is vital for maintaining their quality. Let’s look at how room temperature and refrigeration impact their shelf life.
Storing Eggs at Room Temperature
Unwashed eggs can stay fresh at room temperature under the right conditions. With the protective bloom intact, they have a natural defense against spoilage. Follow these tips for room temperature storage:
- Keep unwashed eggs in a cool, dry spot away from direct sunlight.
- Store them in an egg holder or carton that allows for air circulation.
- Use eggs within 2-3 weeks for optimal freshness.
- Make sure the room has moderate temperature and low humidity.
Remember that room temperature storage works best when eggs have a clean start.
Extending Freshness: Refrigerating Unwashed Eggs
For a longer lifespan, refrigeration is the best choice. It slows down the aging process and keeps eggs fresh for weeks. Here’s how to refrigerate unwashed eggs the right way:
- Place unwashed eggs in the fridge as soon as possible after collection.
- Store them in their carton, pointed end down, to keep yolks centered.
- Refrigerated unwashed eggs can last between 3 to 5 weeks.
- Avoid moving eggs between different temperatures to maintain the bloom.
Consistent refrigeration is key to extending shelf life without compromising egg quality.
Testing Egg Freshness
Ensuring the freshness of your eggs is critical for both safety and flavor. Two common methods can help you determine an egg’s freshness: the float test and visual inspection.
The Float Test: Myths and Reality
The float test is a popular method to check egg freshness. Here’s how it works:
- Fill a bowl with water.
- Gently place the egg in the bowl.
A very fresh egg will sink to the bottom and lie flat. If the egg stands upright on the bottom but doesn’t float, it’s less fresh but still okay to eat. An egg that floats may be old and not safe to eat.
Keep in mind, the float test isn’t foolproof. It doesn’t tell if bacteria have contaminated the egg. Wash your hands after handling and before eating eggs to minimize risk.
Visual Inspection of Egg Quality
Another method to test freshness is visual inspection. Here are steps to follow:
- Crack the egg onto a clean plate.
- Look closely at the egg white and yolk.
A fresh egg will have a thick, cloudy white that clings to the firm yolk. An older egg’s white will be runnier and spread out more. However, visual cues alone can’t guarantee safety. Always keep eggs properly stored and use them within a recommended time frame.
 Preparing Fresh Unwashed Eggs for Use
After collecting fresh, unwashed eggs, proper preparation is key for safe consumption.
When and How to Wash Eggs
Wash eggs only before you cook or consume them. Use warm water and mild soap. Gently scrub the shell. Rinse them under running water. Dry eggs immediately with a clean towel. This process will remove any dirt without harming the egg inside. Allow eggs to reach room temperature before using them in recipes for best results.
Cooking Tips for Fresh Eggs
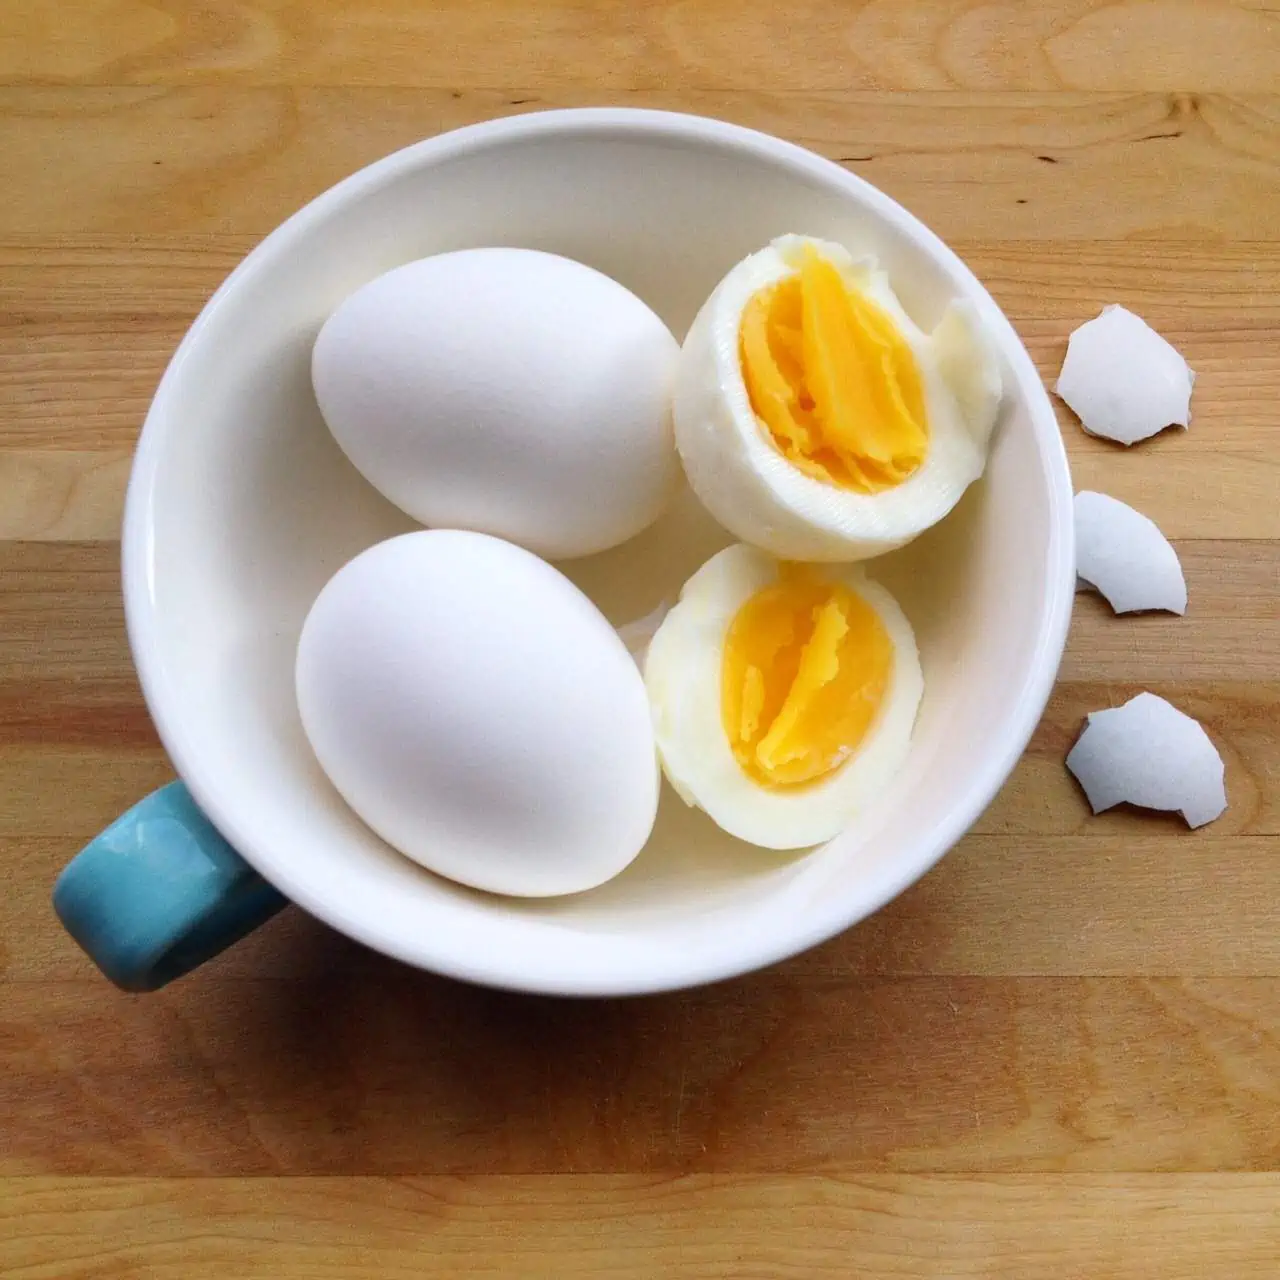
Fresh eggs cook quickly due to their higher moisture content. For hard-boiled eggs, start in cold water then bring to a boil. Reduce heat and simmer for 9 to 12 minutes. Cool eggs in ice water after cooking for easy peeling. For fried or poached eggs, use medium heat to avoid overcooking. Fresh eggs are ideal for baking, adding richness to cakes and pastries. Always crack eggs into a separate bowl before adding them to your dish. This ensures you can spot any bad eggs and avoid ruining your meal.
The Debate on Egg Refrigeration
When it comes to storing eggs, practices vary around the globe. In the United States, the norm is to refrigerate eggs, while in the United Kingdom and other parts of Europe, eggs often sit at room temperature on store shelves. The difference largely comes down to the washing and handling of eggs. When eggs are washed, as is mandated in the US, the natural protective coating, or ‘bloom,’ is removed. This makes the eggs more susceptible to contamination and thus refrigeration becomes necessary to preserve them.
Comparing US and UK Egg Storage Practices
In the UK, eggs must not be washed before sale. This maintains the ‘bloom’ and allows eggs to be safely stored without refrigeration. This approach is based on the idea that it encourages better animal husbandry, yielding cleaner eggs from the start. Consumers typically wash these eggs just before use. In contrast, US regulations require washing, which leads to the need for refrigeration to prevent bacterial growth.
Washing and Refrigeration Requirements
US guidelines ensure eggs are washed and refrigerated to reduce the risk of salmonella. As soon as eggs are washed, refrigeration is necessary as the protective bloom is no longer present. On the other hand, if eggs retain their bloom, they can be kept at room temperature for a shorter span – usually no more than two weeks. After that, even unwashed eggs are best kept refrigerated to extend their freshness. It’s important to note that once eggs have been chilled, they should not be left at room temperature again due to condensation, which could potentially remove the bloom and allow bacteria to infiltrate.
 Tips for Maximizing Egg Freshness and Usage
When you have fresh unwashed eggs, their shelf life is key. Let’s talk about keeping them fresh.
Dating and Rotation Strategies
Mark your eggs with dates. This helps you know which to use first. Use a pencil or marker to write the date directly on the egg or on the carton. Practice ‘first in, first out’. Always use the oldest eggs first to avoid waste. Keep them organized in the fridge. Place new eggs at the back and move older ones to the front.
Use a whiteboard or chart. For larger egg collections, a whiteboard or chart helps track which eggs to eat first. This is good for large families or small businesses selling eggs.
Store eggs properly. Keep them in their original cartons and point the tip down. This helps yolks stay centered and keeps the eggs fresh longer.
Check eggs regularly. Every few days, check your eggs for cracks or bad smells. Remove bad eggs to prevent them from affecting the others.
Creative Ideas for an Egg Surplus
If you have too many eggs, don’t worry. There are many ways to use them. Give some to neighbors or friends. Sharing fresh eggs can be a kind gesture. This helps when you have more than you can eat.
Preserve eggs for later. You can freeze eggs for future use. Crack them into a bowl, beat them, and then pour into ice cube trays to freeze. Once frozen, transfer the cubes to a freezer bag.
Experiment with recipes. Eggs are versatile. Try new recipes that use lots of eggs, like quiches, frittatas, or custards.
Pickling eggs. Pickled eggs can last several months and they make tasty snacks. Use your extra eggs to make a batch of pickled eggs.
Donate eggs. If you have too many, consider donating to a food pantry. This helps others and reduces food waste.
Stay creative with your meals. Eggs are healthy and full of protein. Include them in different meals to get the most out of your surplus.
Remember, keeping your eggs fresh means you’ll enjoy their flavor and nutritional benefits to the fullest.

 Comparing Shelf Life: Cooked Bacon vs. Other Refrigerated Foods
 Exploring Alternatives: The Shelf Life of Turkey Bacon
 Maximizing the Usage of Refrigerated Boiled Eggs
 Crafting Delicious Meals Beyond Snacking
 Signs That Indicate Spoilage in Cooked Salmon
 Frequently Asked Questions About Cooked Salmon Storage
 Wine Storage: Finding the Perfect Balance
 Energy Efficiency: Saving Money with Your Fridge Settings
 Factors Influencing Refrigerator Efficiency
 Tips for Lowering Your Refrigerator’s Energy Bill
 Spotting Spoilage: Signs Your Leftover Rice May Have Gone Bad
 Best Practices for Reheating and Consuming Stored Rice
 Utilizing Leftover Chicken
 Safety Precautions

 Frequently Asked Questions

 Importance of Quality Meat for Extended Shelf Life