Introduction
Regular cleaning is essential to maintain the performance and longevity of your Lasko tower fan. Over time, dust, dirt, and other particles accumulate on the fan’s blades and grille, reducing its airflow efficiency. Opening up your Lasko tower fan to clean it can help restore its functionality and ensure cleaner air circulation. In this guide, we will provide you with a step-by-step process for safely opening and cleaning your Lasko tower fan, allowing you to keep it operating at its best and maintaining a fresh and comfortable environment.

Can I open a Lasko tower fan to clean it?
I. Preparation and Safety Measures
-
Unplug the Fan:
- Before beginning any cleaning procedures, unplug your Lasko tower fan from the power source. This ensures your safety during cleaning and prevents any electrical mishaps.
-
Choose a Suitable Cleaning Area:
- Find a clean and well-lit area to perform the cleaning process. Adequate lighting can help you identify accumulated dirt and ensure a thorough cleaning.
-
Gather Cleaning Supplies:
- Prepare the necessary cleaning supplies, including a soft brush or cloth, a small brush with bristles, a vacuum cleaner with a brush attachment, mild detergent or cleaning solution, and a microfiber cloth or towel. Having these items readily available will streamline the cleaning process.
-
Personal Protective Equipment (PPE):
- It is recommended to wear personal protective equipment during cleaning to avoid inhaling dust particles and to protect your hands. Consider wearing a dust mask, safety goggles, and gloves to ensure your safety and well-being.
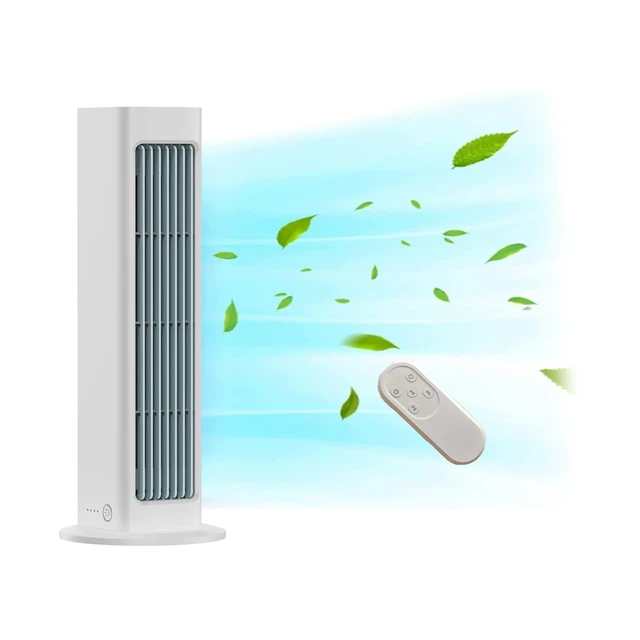
II. Removing the Front Grille
-
Identify Screws or Clips:
- Examine the front grille of your Lasko tower fan to identify any screws or clips holding it in place. These may vary depending on the specific model, so refer to your fan’s user manual for detailed instructions on grille removal.
-
Unscrew or Unclip the Grille:
- Using a suitable screwdriver or by releasing the clips, carefully remove the screws or unclip the grille panel. Be cautious not to damage or force the grille during removal.
-
Set Aside the Grille:
- Once the screws or clips are undone, gently pull the grille away from the fan body. Set the grille aside in a safe place to avoid misplacing any parts.
III. Cleaning the Blades and Grille
-
Remove Dust and Debris:
- Use a soft brush or cloth to carefully remove any loose dust or debris from the fan’s blades and the exposed internal parts. Be thorough but gentle to avoid bending or damaging the blades.
-
Vacuuming:
- Utilize a vacuum cleaner with a brush attachment to suction away remaining dust and dirt. Move the brush attachment along the blades, paying special attention to hard-to-reach areas and in between the grille openings.
-
Dampen a Cloth:
- Dampen a microfiber cloth or towel with a mixture of mild detergent and water or a suitable cleaning solution recommended by the manufacturer. Ensure the cloth is not overly wet, as excessive moisture can damage the fan’s internal components.
-
Wipe the Blades and Grille:
- Wipe the fan blades and grille with the damp cloth, focusing on removing any stubborn debris or stains. If necessary, use a small brush with bristles to access hard-to-reach areas and clean the crevices effectively.
-
Allow Components to Dry:
- Before reassembling the fan, ensure that the blades, grille, and other parts are completely dry. This prevents moisture buildup and potential electrical hazards. Airdrying or using a clean, dry cloth to gently pat the components dry is recommended.
IV. Cleaning the Fan Base
-
Dust Removal:
- Using a soft brush or cloth, remove any accumulated dust from the fan’s base and internal components. Pay close attention to vents and small openings where dust particles tend to gather.
-
Vacuuming:
- Employ a brush attachment on your vacuum cleaner to suction away loose debris and dust particles in the fan’s base and internal compartments. Move the attachment in a methodical manner to ensure thorough cleaning.
-
Damp Cleaning:
- Dampen a microfiber cloth or towel with a mild detergent and water solution. Gently wipe the base and internal components, removing any remaining dirt or visible stains. Take care not to wet any electrical components or internal circuitry.
-
Dry the Base:
- After cleaning, allow the base and internal components to dry completely before reassembling the fan. Ensure there is no residual moisture that may cause damage or electrical malfunctions.
V. Reassembling the Fan
-
Position the Grille Correctly:
- Line up the grille with its corresponding attachment points on the fan body. Ensure that it is aligned properly before proceeding further.
-
Secure the Grille:
- Slowly and carefully reinstall the screws or clips that hold the grille in place. Tighten them securely but avoid over-tightening to prevent damage. Ensure that the grille is affixed securely and doesn’t wobble or come loose after reassembly.
-
Power On and Test:
- With the cleaning process complete and the grille properly reinstalled, plug the fan back into the power source. Turn it on and test its functionality and airflow to confirm that it is operating smoothly and effectively.
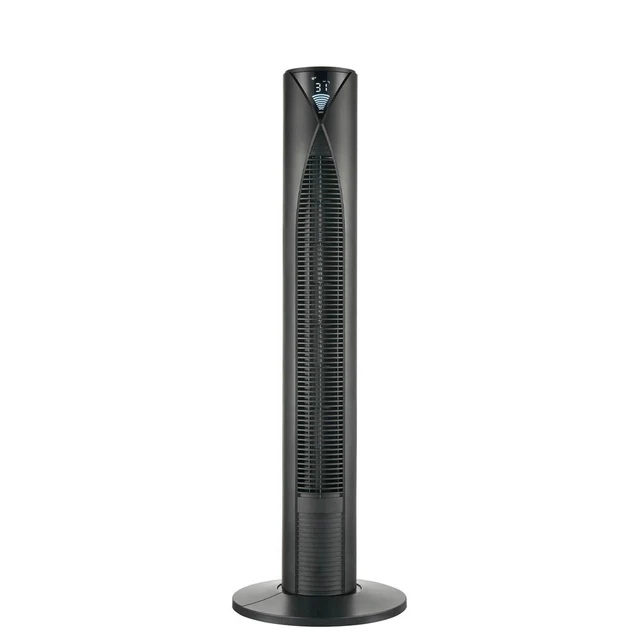
VI. Maintenance and Cleaning Frequency
-
Regular Cleaning Schedule:
- To maintain optimal performance, it is recommended to clean your Lasko tower fan periodically. The frequency can vary based on usage and environmental factors, but a thorough cleaning every three to six months is a good general guideline.
-
Dusting and Surface Cleaning:
- In addition to periodic deep cleaning, regularly dust the fan’s external surfaces using a soft cloth or brush to prevent the accumulation of surface dust and debris. This helps maintain a cleaner overall appearance and ensures efficient performance.
-
Air Purification:
- Consider using air purifiers or filters in the vicinity of your fan to help capture dust and airborne particles before they can settle on the fan blades and interior components. This can reduce the frequency of required cleaning and improve overall air quality.
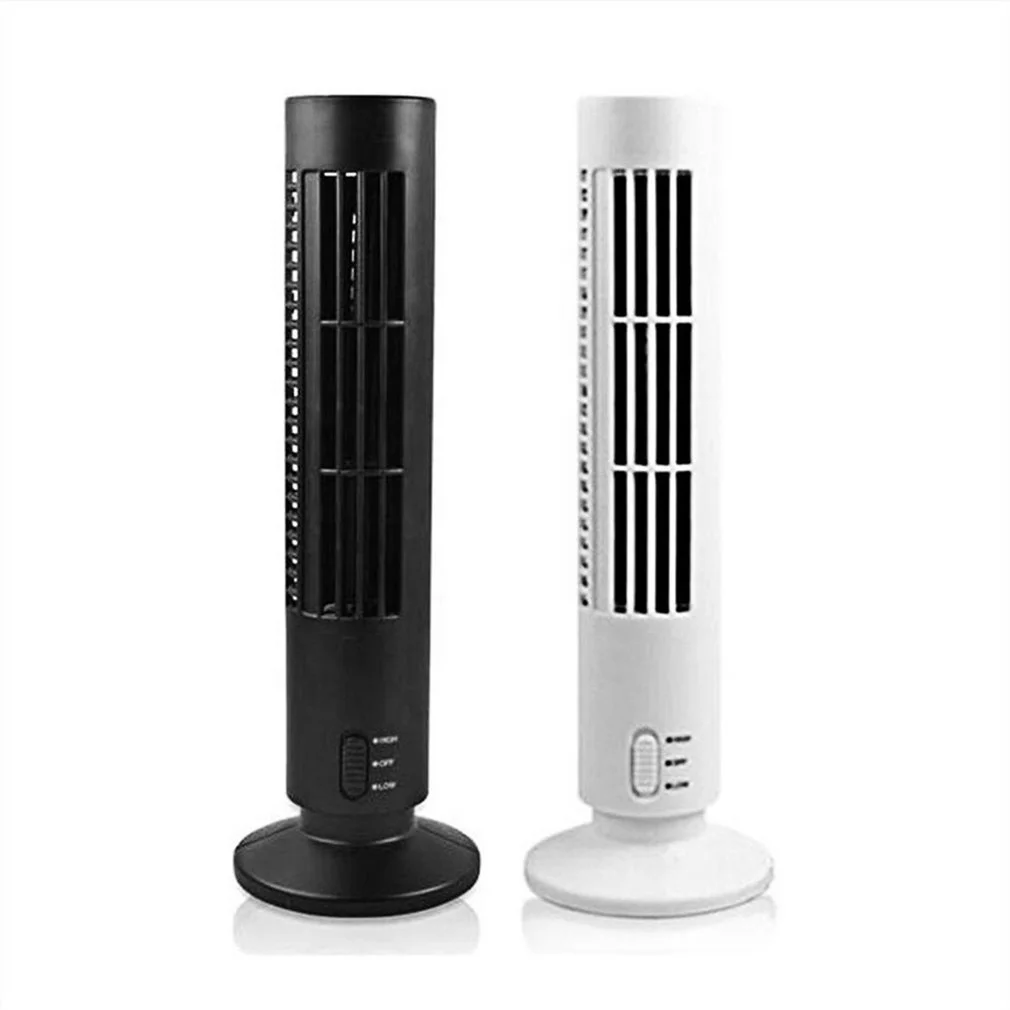
VII. Conclusion: Enjoying a Clean and Efficient Lasko Tower Fan
Cleaning your Lasko tower fan is essential for maintaining optimal airflow and ensuring a fresh and comfortable living environment. By following the step-by-step guide provided above, you can safely open, clean, and reassemble your fan, removing dust, dirt, and debris that may hinder its performance.
Remember to unplug the fan before cleaning, follow proper safety precautions, and use appropriate cleaning materials. Regular maintenance and periodic cleaning will help prolong the lifespan of your Lasko tower fan, allowing you to enjoy its efficient cooling capabilities and cleaner air circulation.
