
When it comes to food safety, few topics inspire as much debate as the storage of eggs. How long can you keep fresh eggs out of the refrigerator? This simple question leads to a web of considerations, including egg freshness, preparation methods, and regional practices that dictate how we store these common kitchen staples. In this article, we will explore various aspects of egg storage, the science behind it, and best practices for ensuring that your eggs remain safe to eat regardless of where you live.
Understanding Egg Freshness
The Egg Anatomy
Before answering the pressing questions about egg storage, it’s essential to understand the anatomy of an egg. An egg consists of several components:
- Shell: The hard outer covering that protects the contents inside.
- Egg White (Albumen): The clear liquid that surrounds the yolk, providing proteins and moisture.
- Yolk: The yellow center of the egg, rich in fats and nutrients.
- Membranes: Thin layers that help keep the egg contents intact and provide protection against bacteria.
Each of these components plays a critical role in determining the freshness and longevity of the egg outside of refrigeration.
The Importance of Freshness
Freshness can significantly influence how long eggs maintain their quality at room temperature. Fresh eggs packed with nutrients will typically last longer than older eggs. Various factors determine the freshness of eggs, such as the hen’s diet, the cleanliness of the eggshell, and how the eggs are handled after they are laid. In general, the fresher the egg, the longer it can sit out at room temperature.
Visual and Physical Characteristics
To assess the freshness of an egg, you can use visual and physical checks:
- Water Test: Place the egg in a bowl of water. Fresh eggs will sink and lay flat on the bottom, while older eggs will stand upright or float.
- Shake Test: Gently shake the egg. If you hear a sloshing sound, it’s likely not fresh, as this indicates that the contents have broken down over time.
- Crack Test: Once you crack the egg open, fresh eggs will have a thick white that stays close to the yolk, while older eggs will have a runnier white.

The Science of Egg Storage
While some countries, such as the United States, recommend refrigerating eggs to prevent bacterial growth, others practice leaving eggs at room temperature without adverse effects. This divergence in practice stems from several scientific principles.
Bacterial Concerns
The most pressing concern regarding the storage of eggs is the risk of Salmonella, a bacterium that can be present on the eggshell. Cold temperatures can slow down bacterial growth, meaning that refrigerating eggs is generally considered safer, especially in regions where eggs are washed before distribution. Washing removes the natural protective coating of the eggs, making them more susceptible to bacteria.
The Cuticle Factor
In many countries, including several in Europe, chickens are raised and processed differently. These eggs often retain their protective cuticle, a natural layer that provides resistance against external bacteria. This allows for the safe storage of eggs at room temperature for an extended period. Without washing, the eggs are already more resistant to bacteria, permitting longer shelf life without refrigeration.
Temperature by Region
While the recommendations for egg storage may vary by country, your climate and local temperatures also play a significant role. In warmer climates, eggs may spoil more quickly when left out. Therefore, evaluating room temperature alongside local practices is essential to determine the best storage methods for eggs in your area.
Recommended Egg Storage Practices
While the answer to how long can you keep fresh eggs out of the refrigerator may vary, we can outline best practices for egg storage based on different situations.
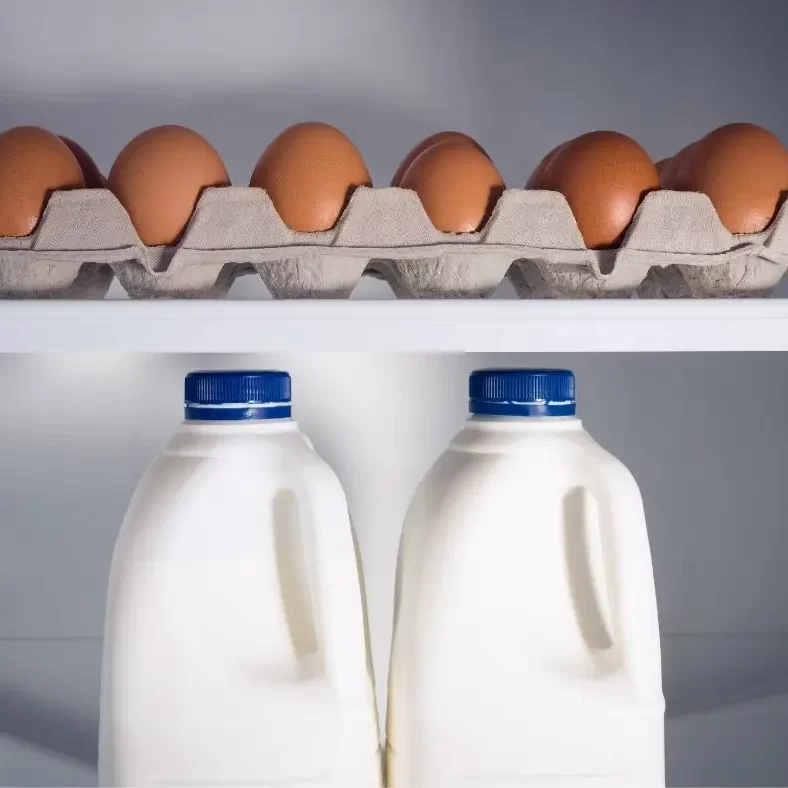
For Refrigerated Eggs
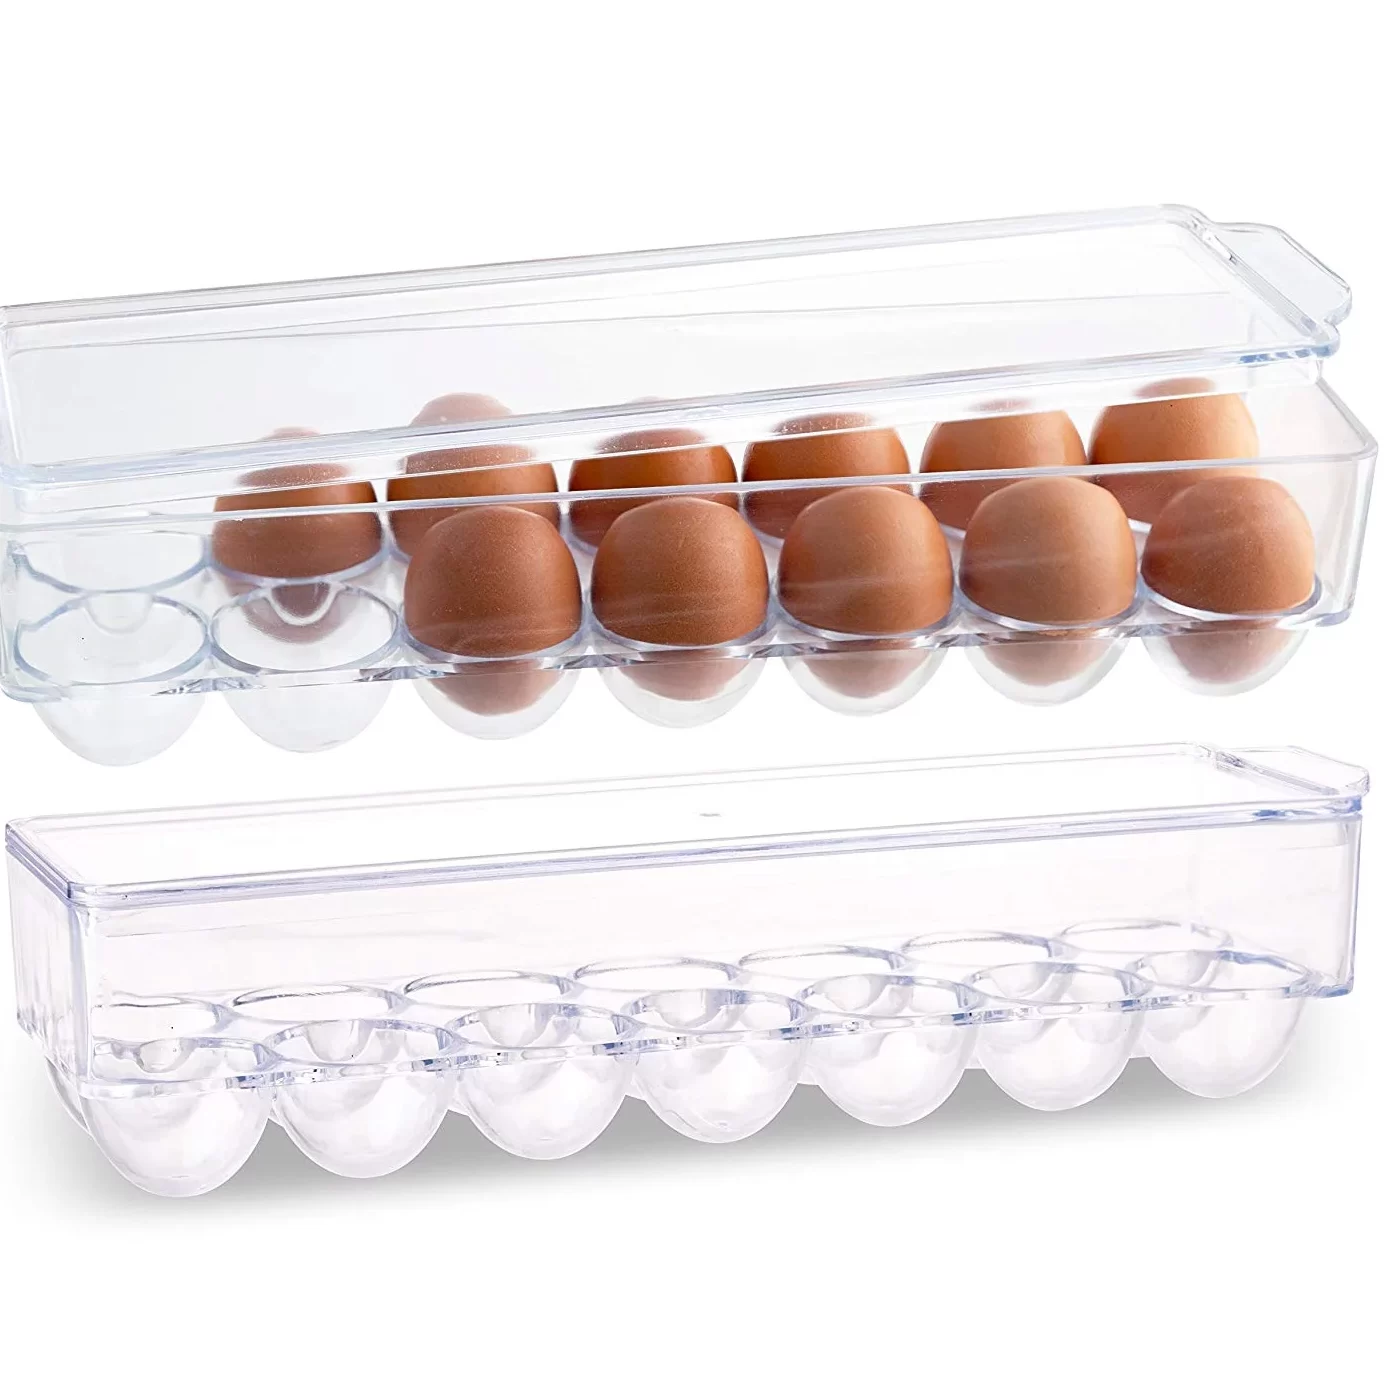
- Keep Eggs in Their Carton: Eggs are best kept in the original carton to protect them from odors and help maintain moisture levels.
- Store in the Main Body of the Fridge: The temperature is usually more consistent than in the door.
- Use Within Three to Five Weeks: If refrigerated, aim to use eggs within three to five weeks for optimal freshness.
For Room Temperature Eggs
- Check for Freshness: Conduct the water test or shake test to ensure the eggs are still good after sitting out.
- Keep Away from Direct Sunlight: Store eggs in a cool, dry area away from light and heat for the best shelf life.
- Store Unwashed Eggs: If you happen to raise chickens or buy farm-fresh eggs, it’s better to keep them unwashed for maximum freshness at room temperature.
The Best Option for Long-Term Storage
If you have an excess of eggs and want to preserve them for a longer period, consider alternative methods such as:
- Freezing: Crack eggs into a bowl, beat them lightly, and pour them into ice cube trays. Once frozen, transfer the cubes to a ziplock bag for storage. They can be kept in the freezer for up to a year.
- Dehydration: Dehydrated eggs can be stored in airtight containers and reconstituted as needed.
- Pickling: Hard-boil eggs, then pickle them for a tasty and preserved option.
Signs of Spoilage
No matter how you choose to store them, it’s crucial to recognize the signs of spoilage in eggs.
Visual Indicators
- Discoloration: If you notice unusual spotting or discolored areas on the yolk or white, it is best to discard the egg.
- Unpleasant Odor: A sulfur-like or rotten smell indicates spoilage.
Texture Changes
If the egg white appears watery or has a strange texture, it’s wise to avoid using the egg. Fresh egg whites maintain a clear and thick consistency, while spoiled ones often separate or become runny.
Taste Test
Never rely on tasting raw eggs to determine if they are good. Always cook the egg before tasting it, as this can reduce the risk of foodborne illnesses.
 Regional Practices and Cultural Norms
In many cultures, eggs are stored at room temperature. Countries like Japan and parts of Europe operate under different food safety regulations, permitting eggs to be left out for several weeks.
European Practices
Typically, farms in Europe do not wash their eggs, allowing the cuticle to protect the egg from bacteria. As a result, European consumers can keep their eggs at room temperature for up to three weeks, provided they are stored in a cool environment.
American Practices
Conversely, in the United States, commercial producers wash their eggs for sanitation, removing the cuticle and thus necessitating refrigeration to minimize health risks. Following these procedures, eggs can be stored safely in the fridge for as long as five weeks.
Conclusion
In summary, the determination of how long can you keep fresh eggs out of the refrigerator revolves around multiple factors, including local practices, egg freshness, and storage conditions. While fresh eggs can remain out at room temperature for a few weeks, particularly in regions where they are unwashed, it is wise to err on the side of caution if you’re unsure of your eggs’ history. It is always advisable to check for signs of spoilage and adhere to safe food storage practices.
Ultimately, understanding the nuances of egg storage not only protects your health but also ensures that you make the most out of these versatile culinary ingredients. By paying attention to freshness, handling practices, and regional norms, you can confidently enjoy eggs, whether they are stored in your fridge or on your countertop.


 The Impact of Ingredients on Chili’s Longevity

 Foods That Shouldn’t Be Paired with Tuna
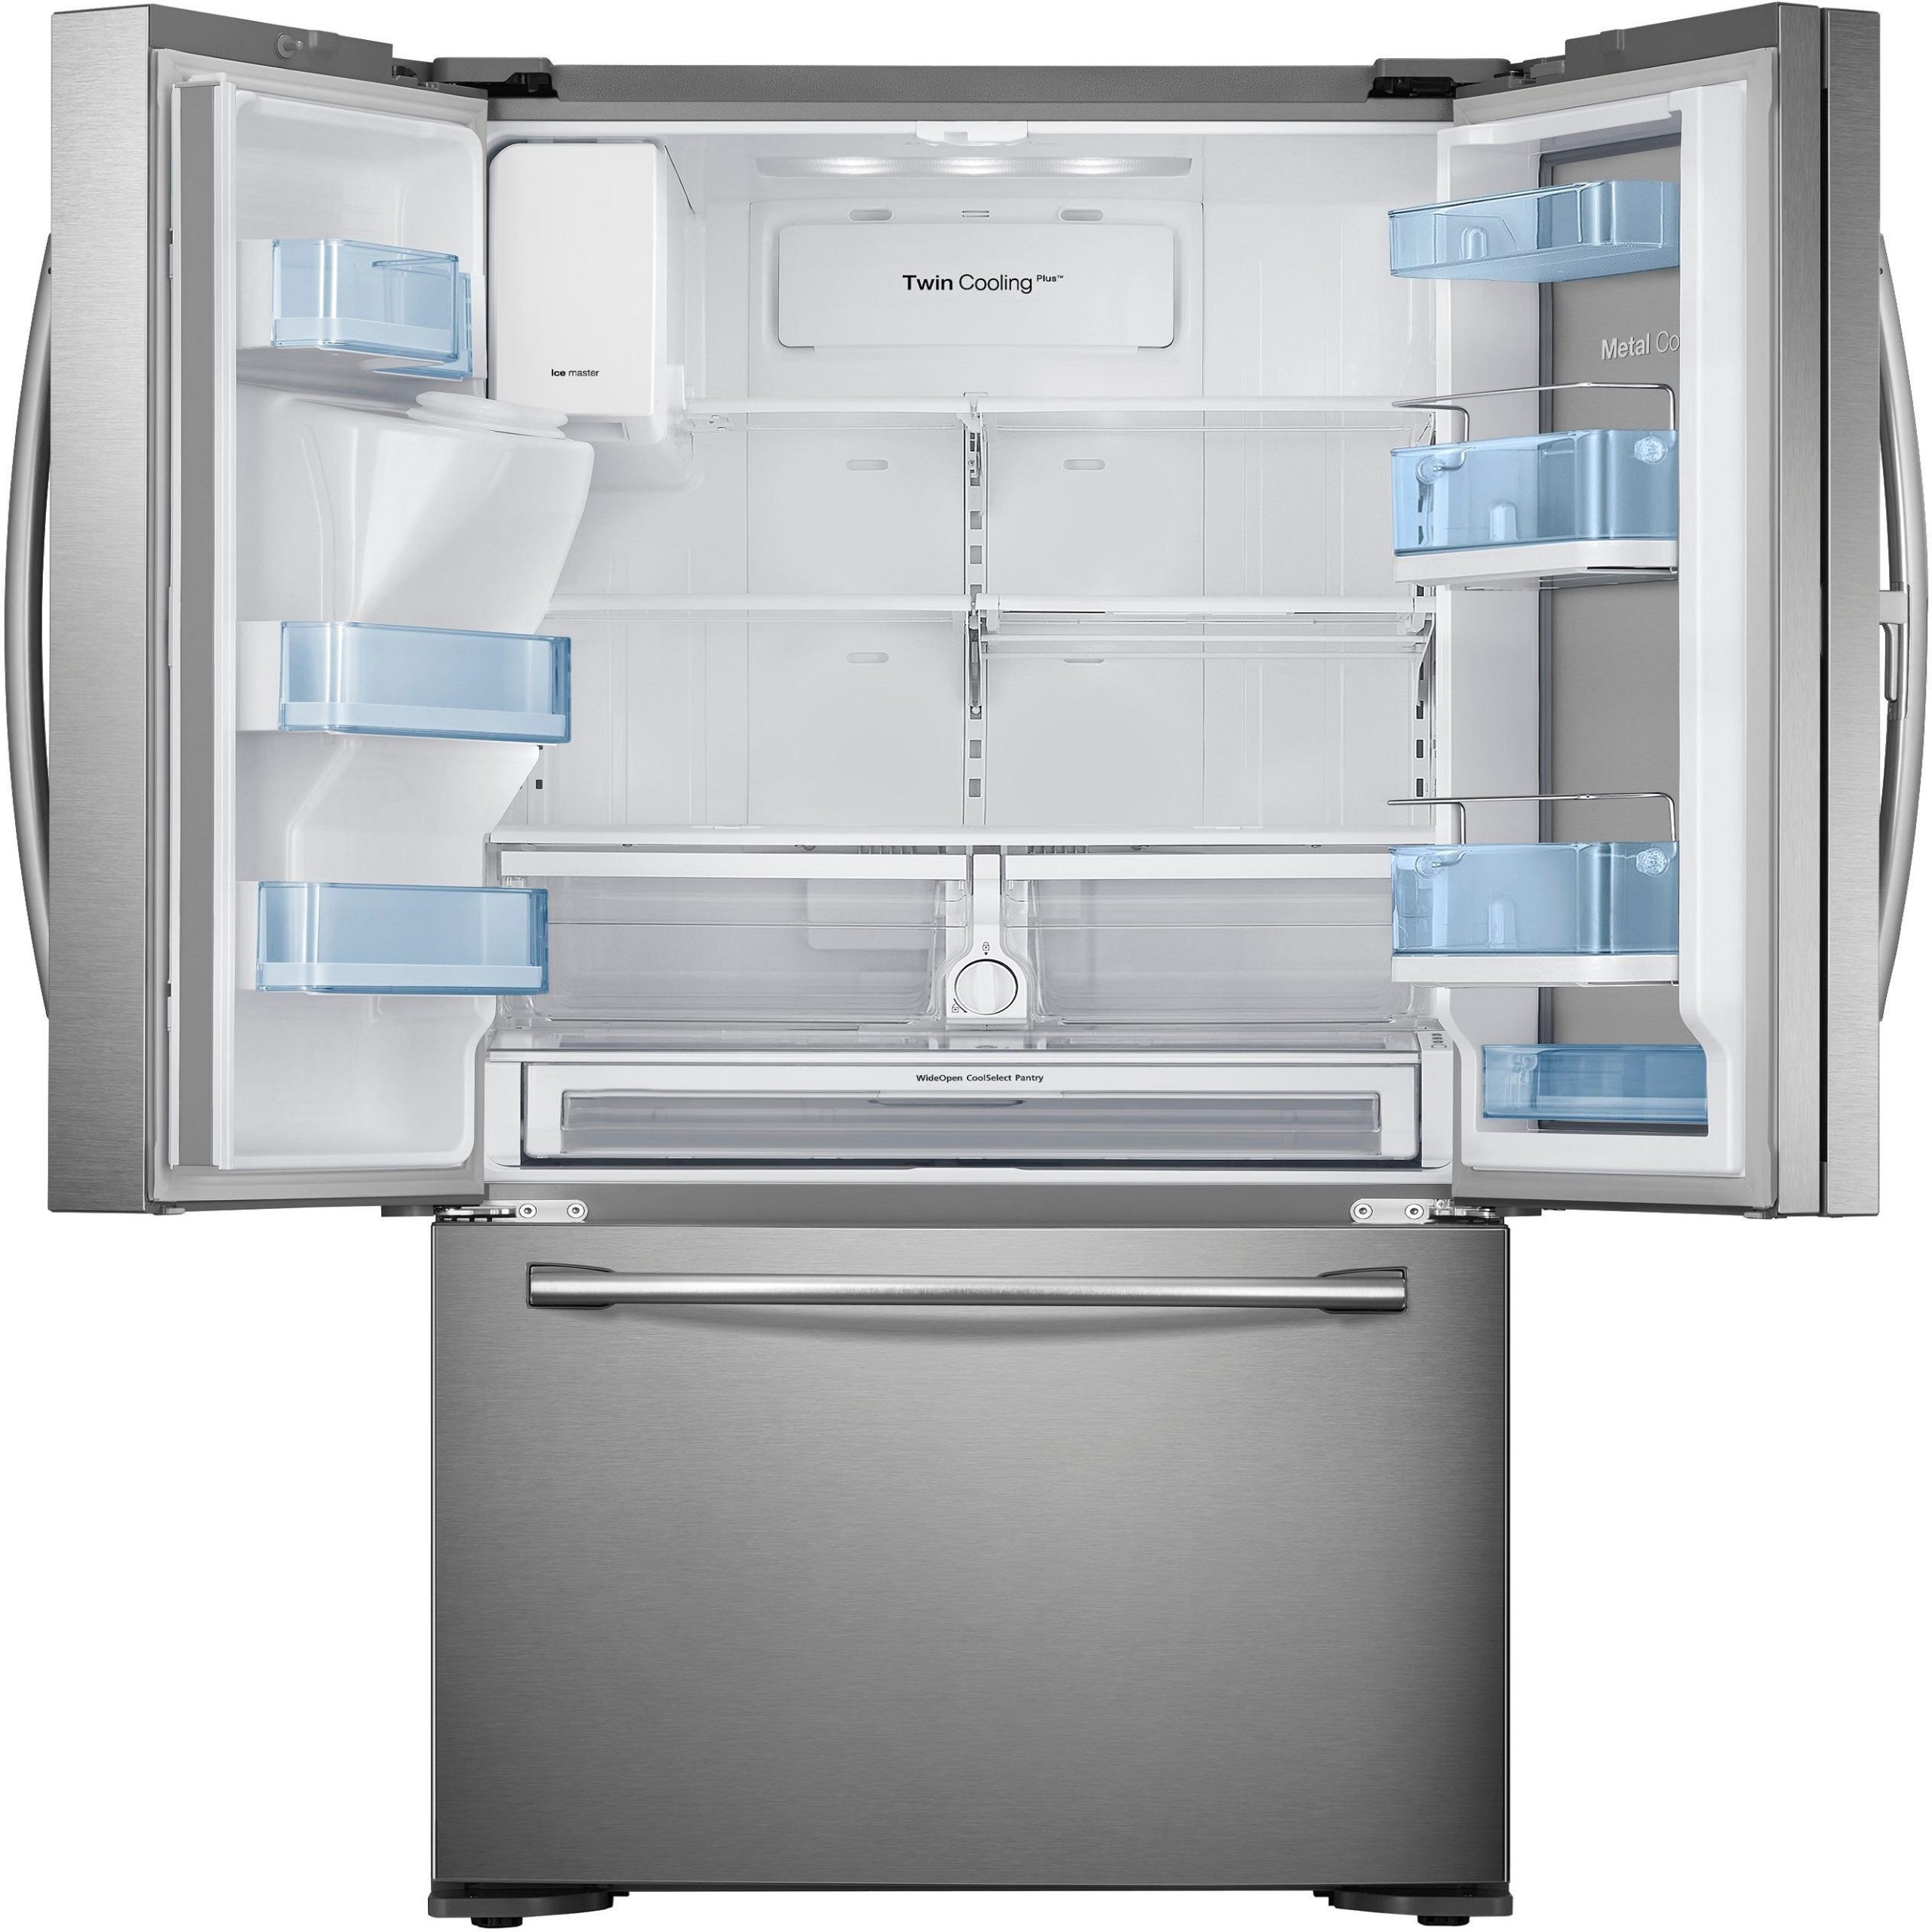
 Troubleshooting Common Issues

 Foods That Pair Well with Salami
 Troubleshooting Common Refrigerator Temperature Issues

 Nutritional Benefits

 The Role of Preservatives

 Troubleshooting and Tips
 Comparing with Other Brands