
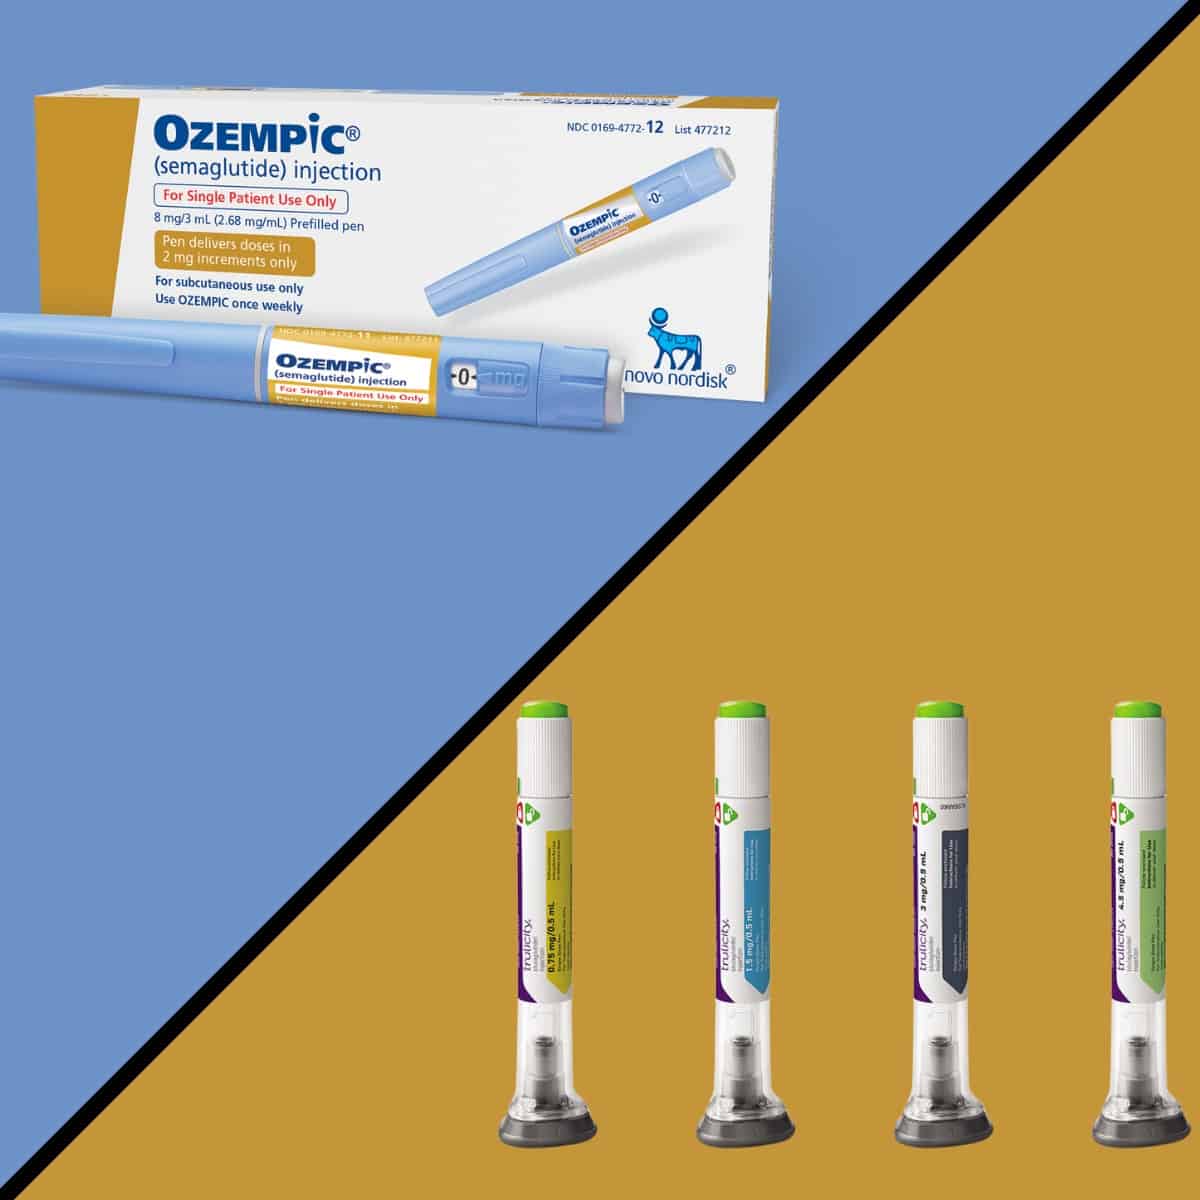
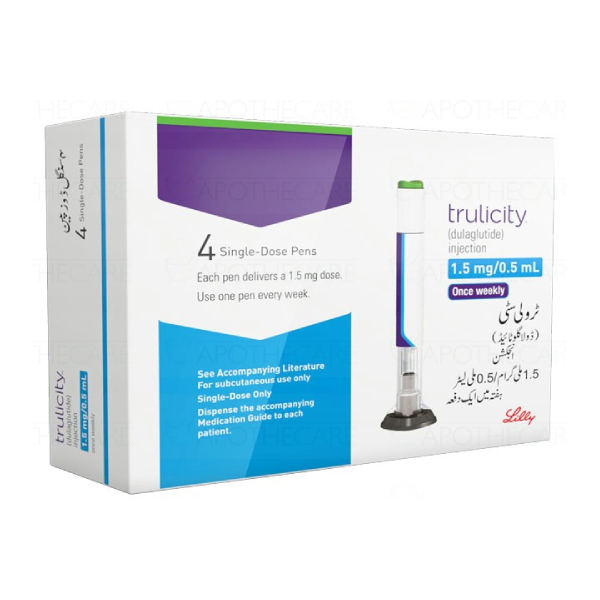
Trulicity (dulaglutide) is a prescription medication commonly used for the management of type 2 diabetes. It plays a crucial role in assisting individuals in regulating their blood sugar levels. Understanding how to store Trulicity properly, particularly in terms of its shelf life and efficacy, is essential for everyone who depends on this medication. In this article, we will explore how long Trulicity lasts in the refrigerator, its proper storage, potential effects of improper handling, and more.
Understanding Trulicity: What Is It?
Trulicity is part of a class of medications called GLP-1 receptor agonists. It mimics the action of a naturally occurring hormone known as GLP-1 (glucagon-like peptide-1), which is instrumental in regulating blood sugar levels. When injected, Trulicity helps promote insulin secretion, reduce glucagon levels, and slow gastric emptying, thereby contributing to better glycemic control.
Common Uses of Trulicity
Trulicity is mainly prescribed for adults with type 2 diabetes and is often used in conjunction with other diabetes medications. It can aid in weight loss, as it tends to decrease appetite, and it has the added benefit of reducing the risk of cardiovascular events for people with diabetes.
Mode of Action
Trulicity is administered via subcutaneous injection, usually once a week. The active ingredient, dulaglutide, remains effective for an extended period within the body, which is why weekly dosing is often sufficient. However, the medication must be stored correctly to maintain its potency.
Proper Storage of Trulicity
When it comes to maintaining the effectiveness of Trulicity, proper storage is key. This is particularly important for people who require consistent dosing over several weeks or months.
Refrigerator Storage
Trulicity should be stored in the refrigerator before it is used. The recommended temperature range is between 36°F to 46°F (2°C to 8°C). When properly refrigerated, Trulicity can remain effective for up to 5 years as indicated by the expiration date on the package.
Room Temperature
Once removed from refrigeration, Trulicity can be stored at room temperature, not exceeding 86°F (30°C), for up to 28 days. After this period, any unused medication must be discarded, even if it appears to be still within its shelf life.
How Long Does Trulicity Last in the Refrigerator?
So, how long does Trulicity last in the refrigerator? Trulicity can last for up to 5 years when stored properly in the refrigerator before its expiration date. This means that if you have a supply that remains unopened and the storage conditions have been met, you can trust that it will retain its effectiveness throughout that duration.
Importance of the Expiration Date
The expiration date on the medication plays a crucial role in understanding how long it will last in the refrigerator. It reflects how long the drug can remain effective and safe for use. Always check the expiration date before administering the medication.
Signs of Spoilage
While Trulicity is designed to maintain its potency, it can spoil if not stored correctly. Some signs that Trulicity has gone bad might include:
- Changes in Color or Clarity: If the solution appears cloudy or has changed color, it is best to discard it.
- Visible Particles: Any particulate matter that is not typically present can also indicate spoilage.
- Unusual Odor: If the medication has an off odor, that is a definite sign it should not be used.
Factors Affecting Shelf Life
While the refrigerator can keep Trulicity effective, several factors might affect its shelf life:
Temperature Fluctuations
Storing Trulicity in a place where temperature fluctuates frequently can lead to a reduction in its efficacy. Avoid storing it in areas such as the door of the refrigerator, where temperature changes might occur due to frequent opening and closing.
Exposure to Light
Light can also have an impact on the effectiveness of medications. Keeping Trulicity in its original packaging can help to shield it from both light and moisture.
Presence of Contaminants
If Trulicity is exposed to contaminants, even during the injection process, effectiveness can diminish. Always use proper techniques for handling and disposal of the medication.
What Happens If It’s Not Stored Properly?
Improper storage can lead to a loss of effectiveness of Trulicity, which can have severe consequences for a diabetic patient.
Risks of Using Ineffective Medication
###Health Complications
Using a medication that has lost its potency can lead to uncontrolled blood sugar levels. This may increase the risk of complications such as:
- Hyperglycemia: Extended periods of high blood sugar can result in symptoms like excessive thirst, frequent urination, fatigue, and blurred vision.
- Diabetic Ketoacidosis: In severe cases, neglecting to maintain proper blood sugar control can lead to a life-threatening condition known as diabetic ketoacidosis (DKA).
###Legal Implications
Using expired or improperly stored medications can have implications as well. If a patient faces adverse effects from using ineffective medication, it might complicate any legal actions related to diabetes management.
Typical Administration Guidelines for Trulicity
Administering Trulicity correctly is essential for its efficacy. Familiarity with the guidelines can help patients manage their diabetes effectively.
Injection Technique
- Choose the Injection Site: Common sites include the abdomen, thigh, or upper arm.
- Prepare the Skin: Clean the area with an alcohol swab and allow it to dry.
- Inject: Follow the manufacturer’s instructions for how to load and administer the injection.
- Dispose of the Needle: Always use a proper sharps container for safe disposal of needles.
Scheduling Doses
Trulicity is usually given once a week. Marking a reliable schedule can help ensure that patients do not miss their doses, thus maintaining blood sugar control effectively.
How to Safely Dispose of Trulicity
Medication Disposal Guidelines
Improper disposal of medications can pose environmental risks. Always follow community guidelines for medication disposal. Many places offer take-back programs for safe disposal.
Safe Needle Disposal
Used needles and syringes should be placed in a sharps container. Make sure to follow local guidelines for disposing of these containers, as regulations can vary.
Special Considerations
For specific populations, special considerations may apply when using Trulicity.
Pediatric Use
For children diagnosed with type 2 diabetes, administration conditions should be tailored to their unique needs. Always consult with a healthcare professional to ensure the correct storage and usage protocol for Trulicity in pediatric cases.
Elderly Patients
Elderly patients may have conditions that make it difficult for them to store medications correctly or remember the specific usage guidelines. Caregivers can assist in ensuring that storage conditions are observed and that the medication is used effectively.
 Common Questions About Trulicity Storage
How Long Can Trulicity Be at Room Temperature?
After the first use, Trulicity can remain at room temperature for a maximum of 14 days. After this period, it should be discarded, regardless of whether there is remaining medication in the pen.
Can Trulicity Be Frozen?
Freezing Trulicity is highly discouraged as it can alter the composition of the medication. If it has been frozen, it should not be used, and another pen should be obtained.
What If Trulicity Gets Too Warm?
If the medication experiences temperatures above 86°F (30°C) for extended periods, it may become less effective. If you suspect that the medication has been exposed to excessive heat, consult your healthcare provider.
Conclusion
Understanding how long Trulicity lasts in the refrigerator is essential for the effective management of diabetes. When stored properly, Trulicity can last up to 5 years in the refrigerator, allowing patients to maintain an adequate supply of this vital medication.
However, it is crucial to be vigilant about proper storage methods, recognize the signs of spoilage, and adhere to guidelines during its administration. Keeping these factors in mind helps ensure that Trulicity remains a safe and effective option for those who rely on it to manage their diabetes. Overall, proper handling and storage can significantly impact your health and quality of life.
 Alternative Ways to Preserve Baked Potatoes
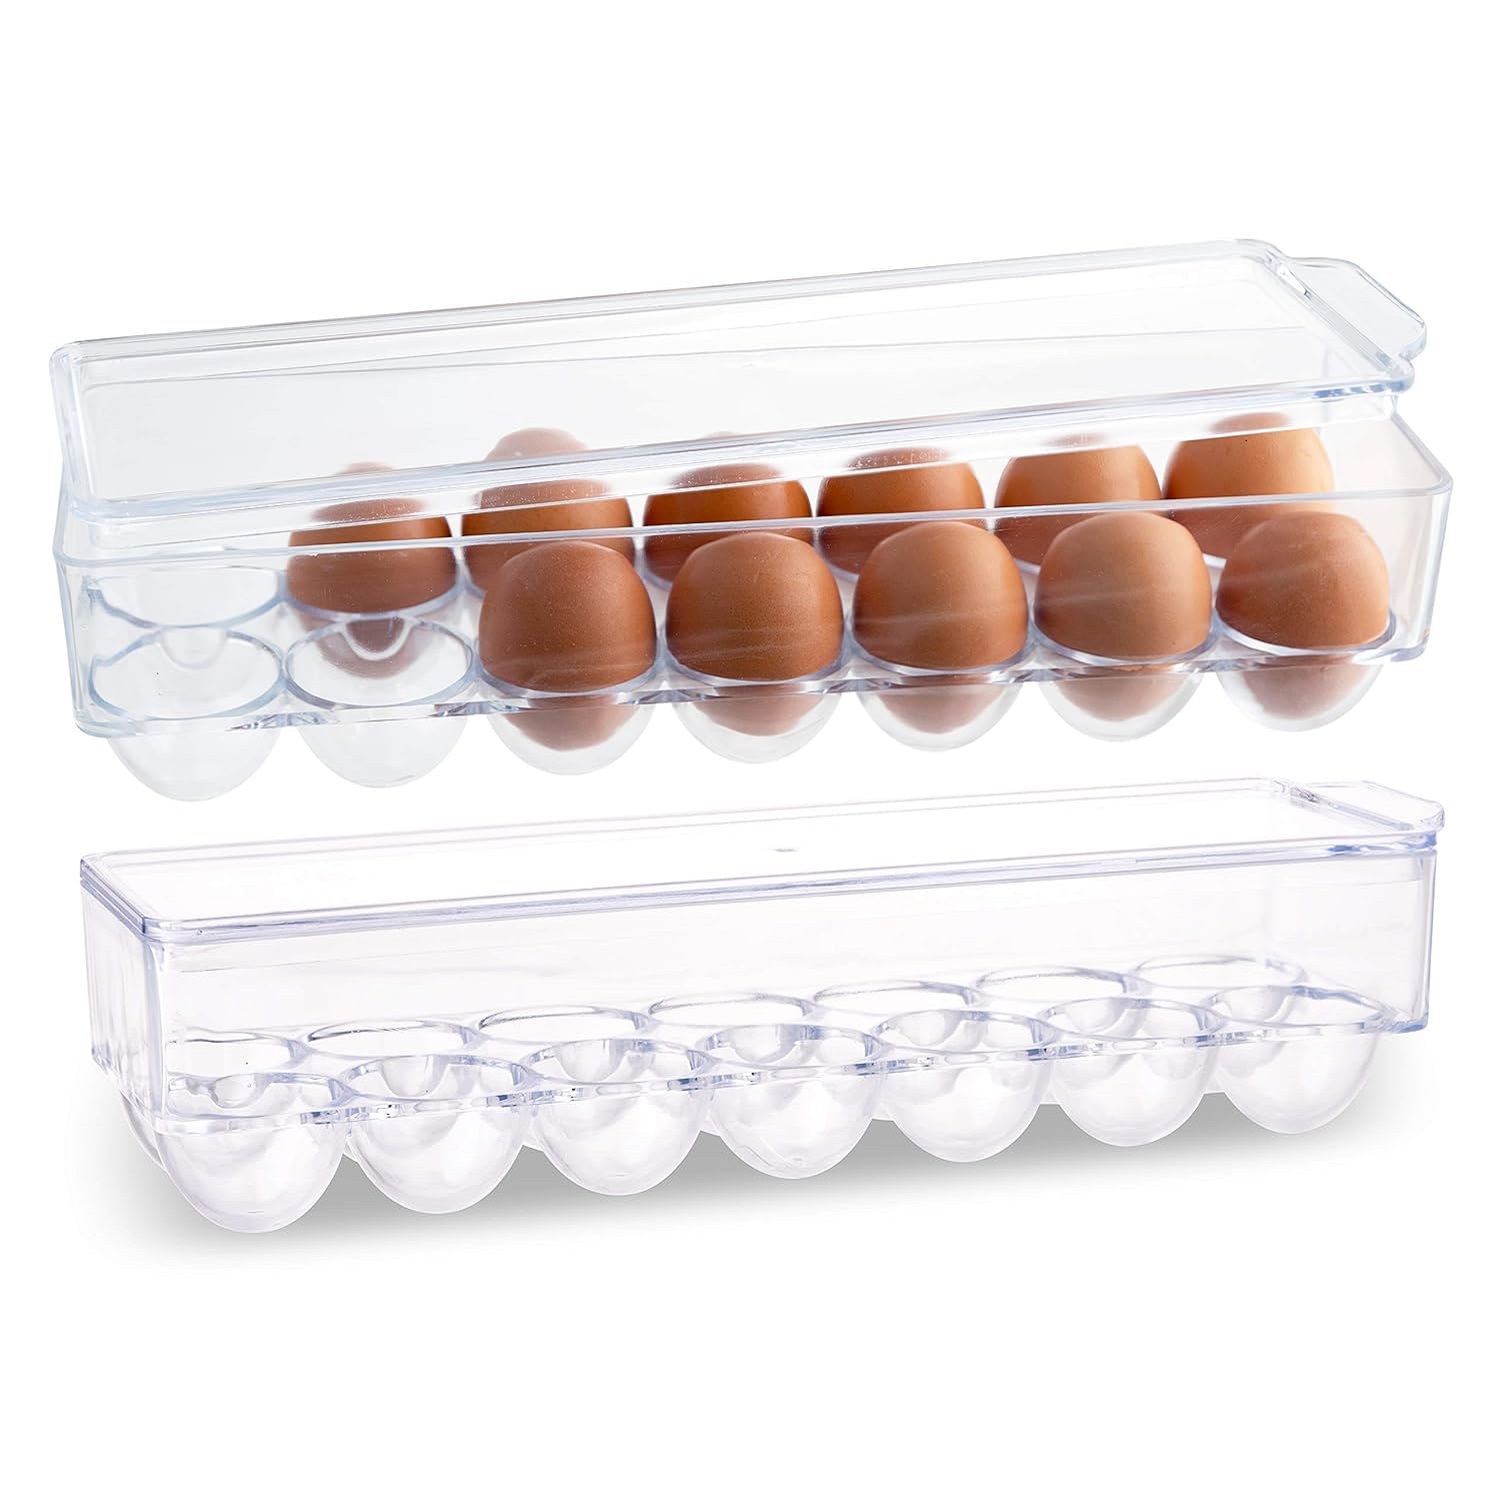
 When to Discard Eggs

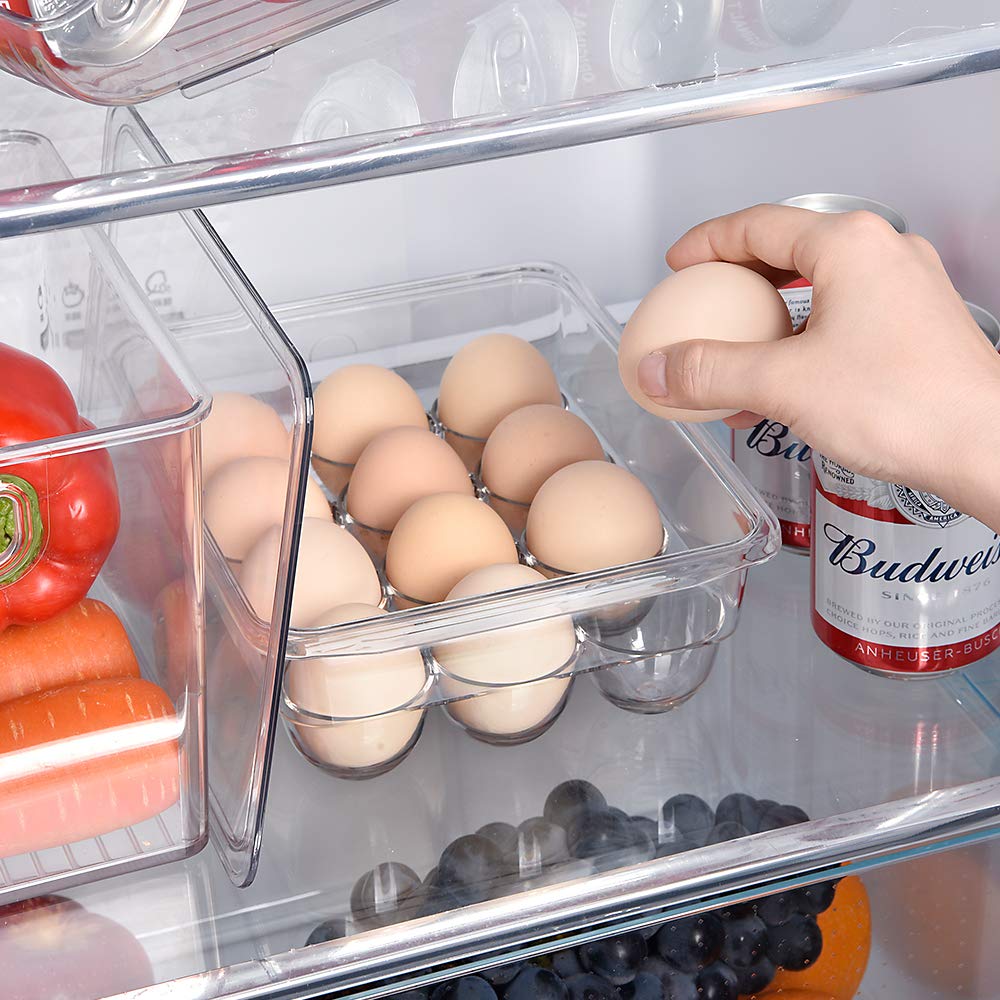
 FAQs about Hard-Boiled Eggs
 Limitations of Solar Exhaust Fans
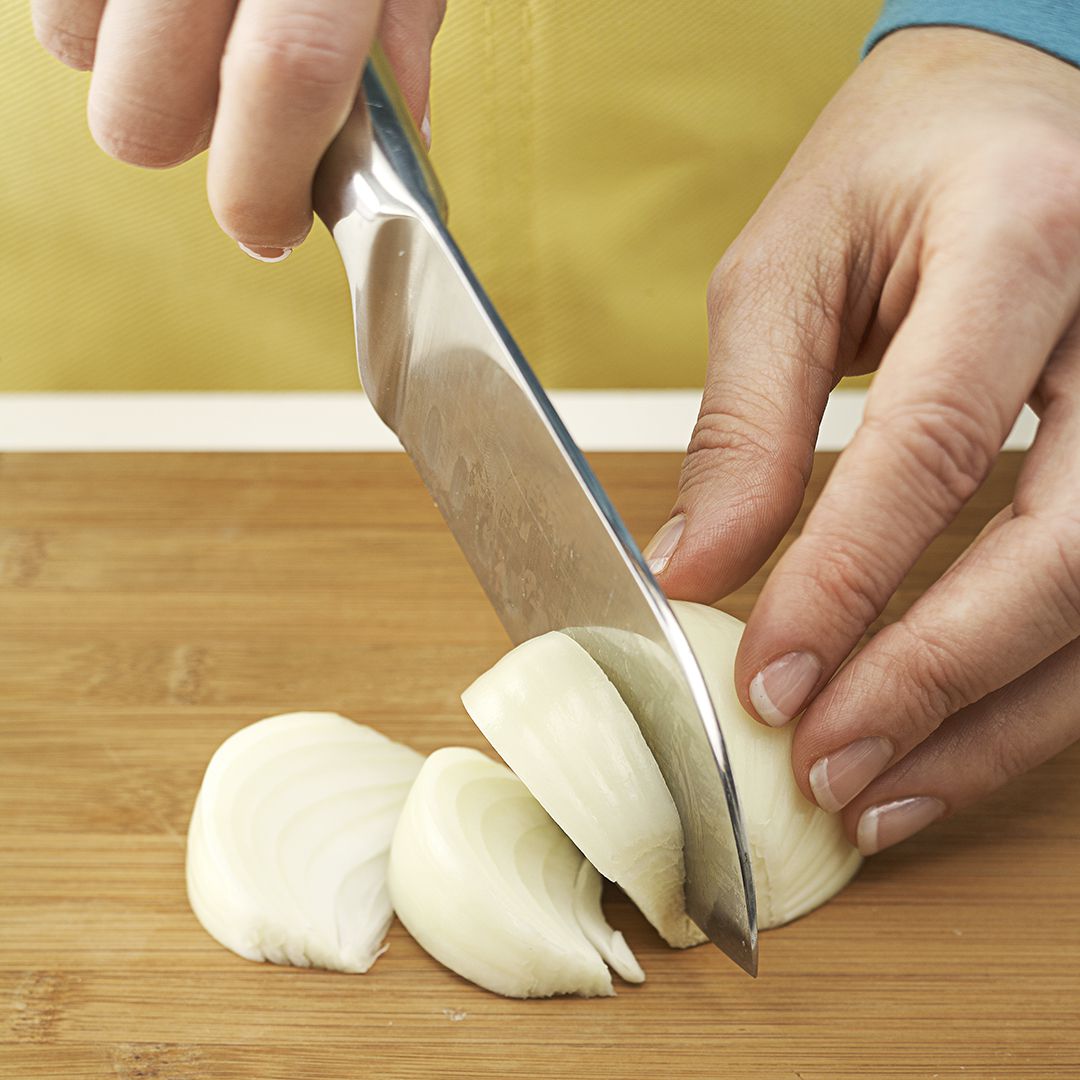

 Additional Tips for Preserving Cut Onions
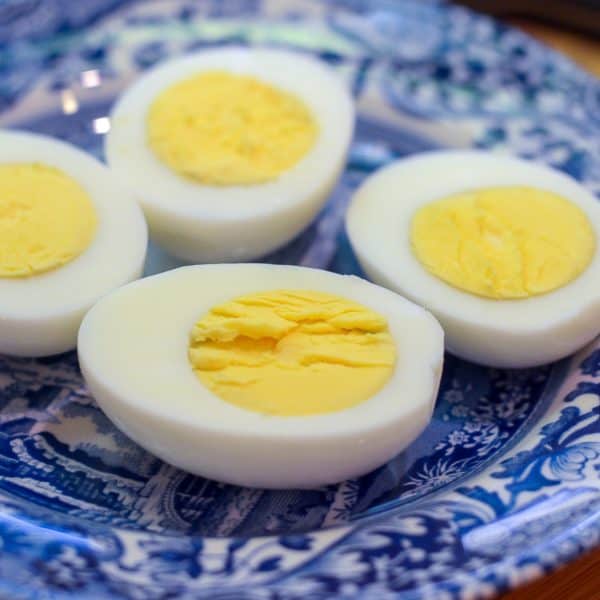

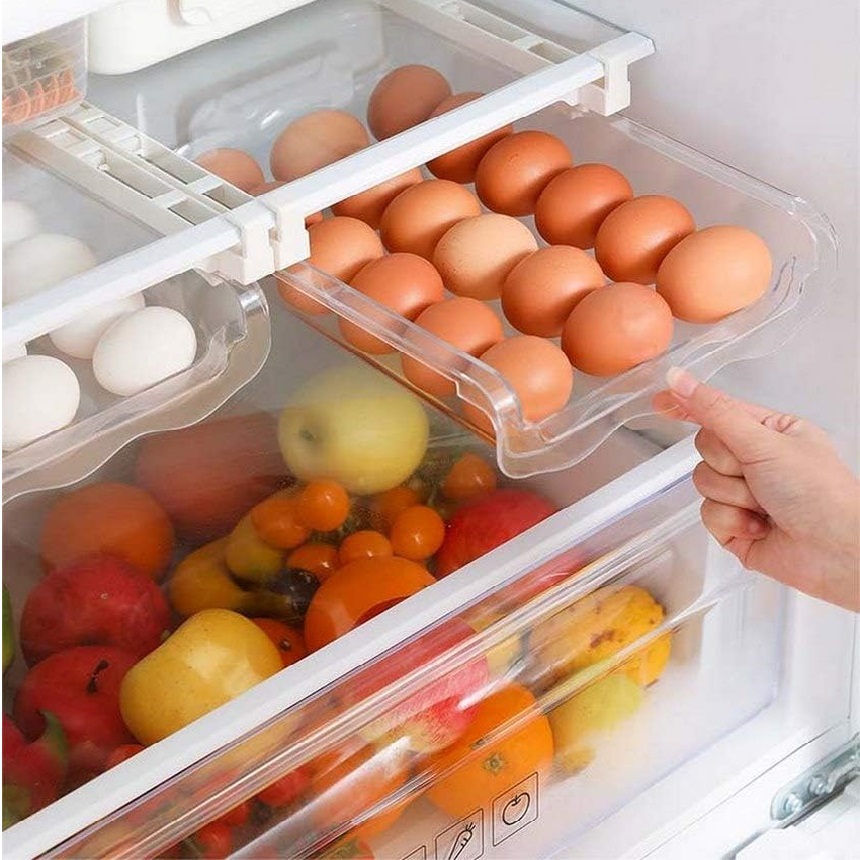
 Freezing Hard-Boiled Eggs
 Maintenance Tips for Long-Term Performance

 Frequently Asked Questions
 What to Do After Turning Off the Water Supply