
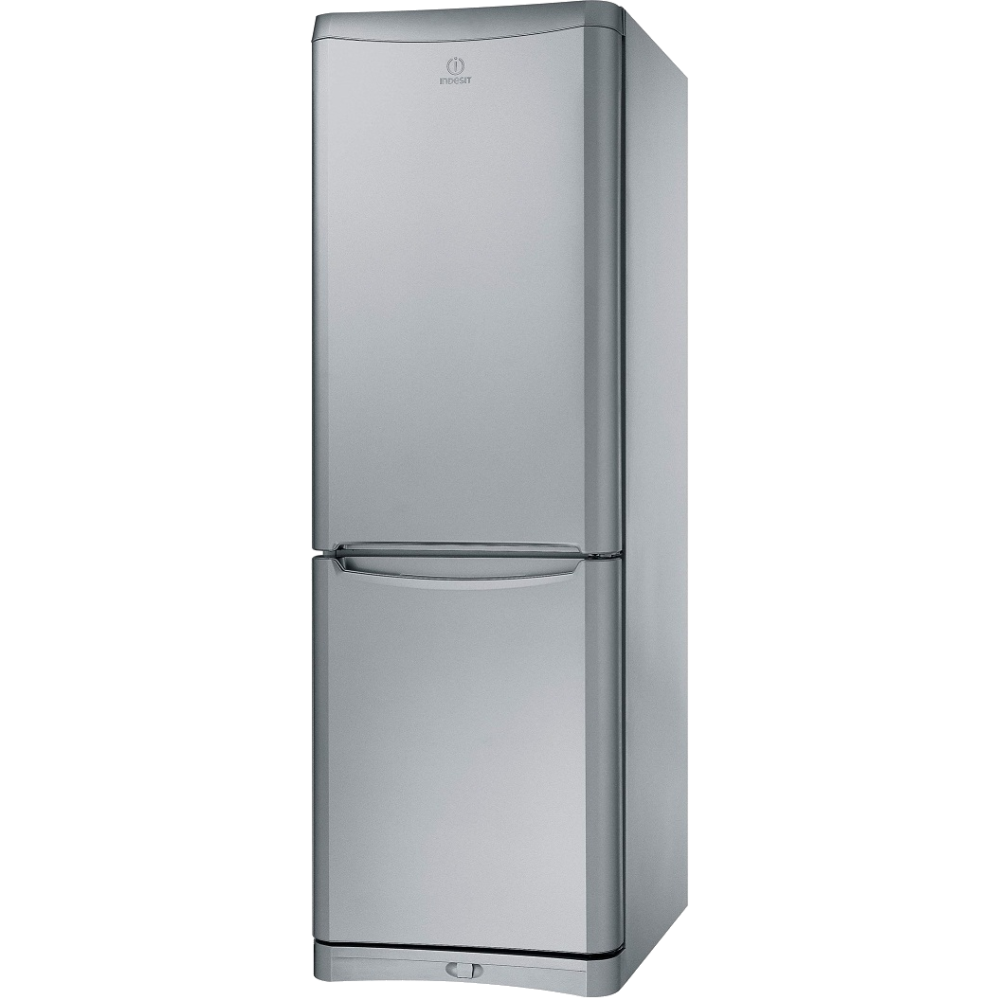
Transporting a refrigerator can be a daunting task, especially when space constraints or logistical issues make it necessary to lay the appliance on its side. This raises an important question: how long can a refrigerator lay on its side without causing damage? This detailed guide aims to address this critical concern and offer essential precautions needed to ensure that your refrigerator remains functional post-transport.
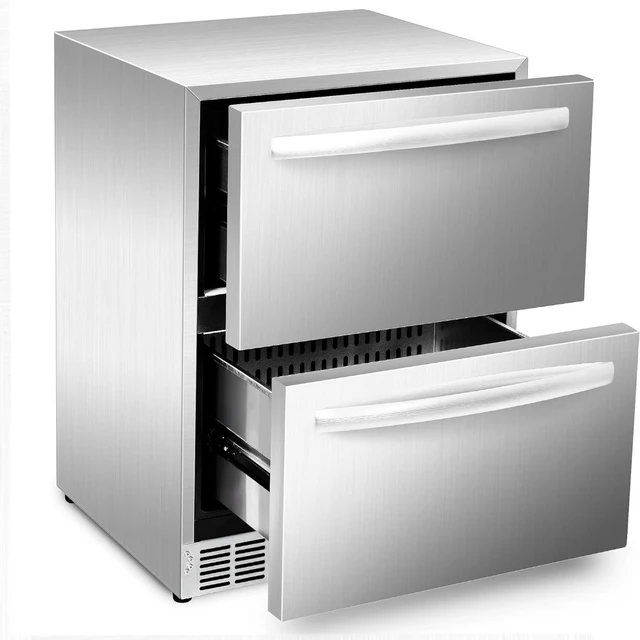
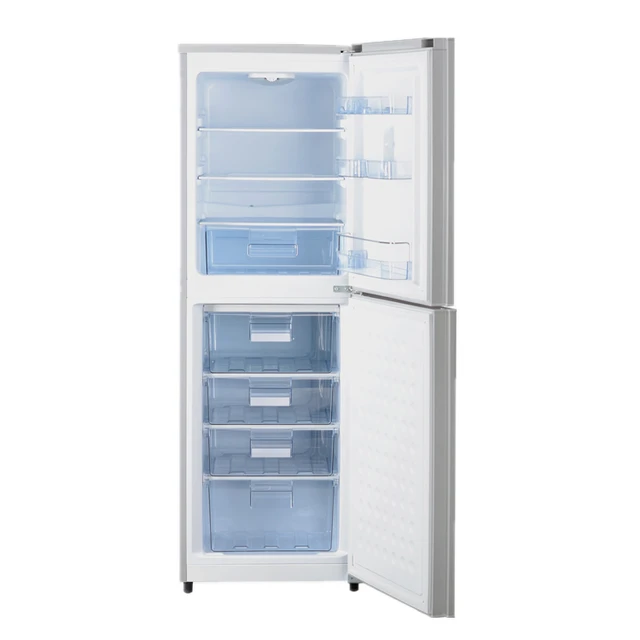
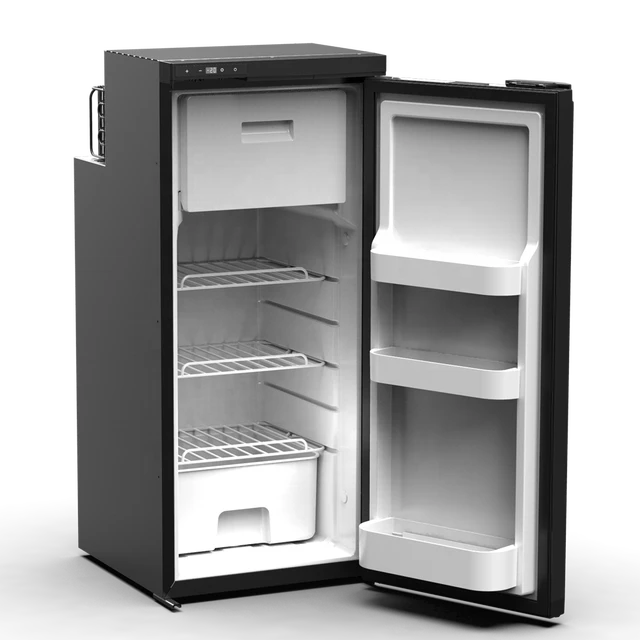
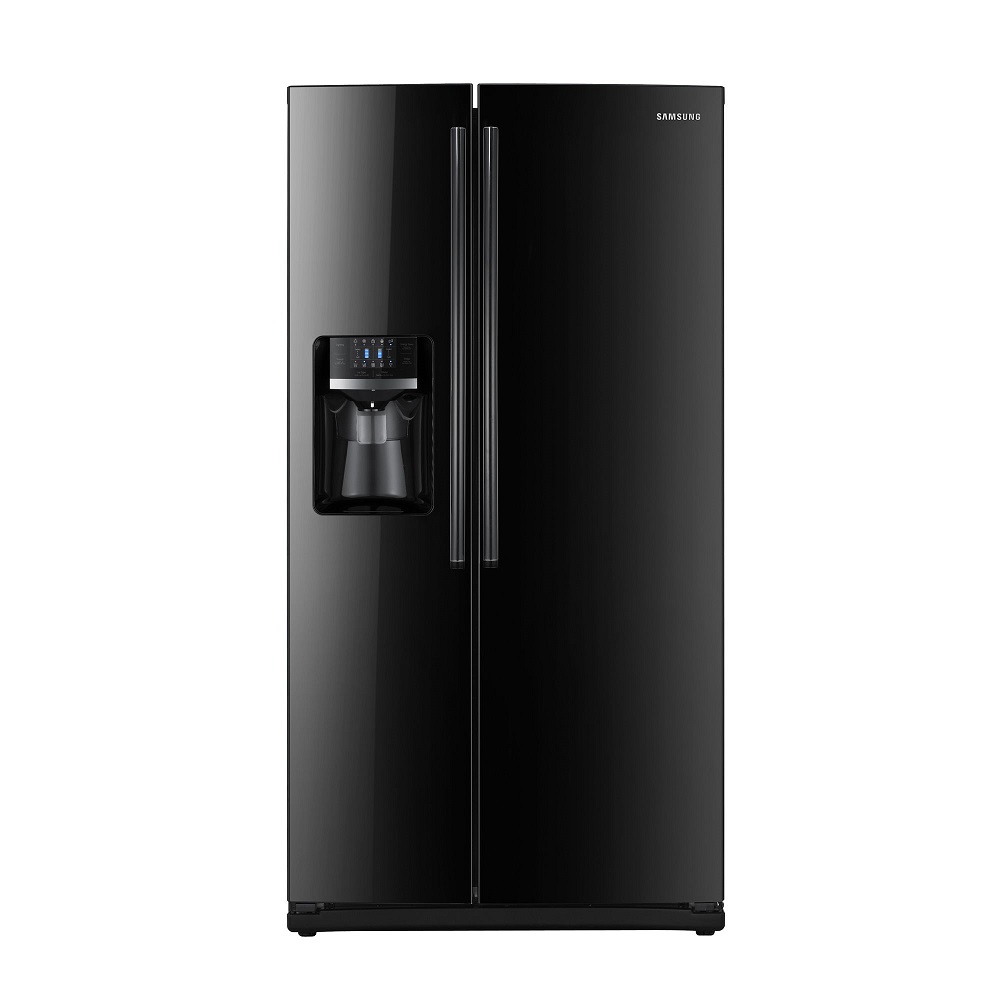
The Anatomy of a Refrigerator
Understanding How a Refrigerator Works
To appreciate why laying a refrigerator on its side can be problematic, it’s vital to understand how these appliances work. A refrigerator operates using a compressor, condenser coils, evaporator coils, and refrigerant. These components work together to transfer heat from the interior of the fridge to the environment outside, keeping the interior cool.
- Compressor: This is the heart of the refrigeration system, pumping the refrigerant through the coils.
- Condenser Coils: These are usually located at the back of the fridge and are responsible for releasing the heat extracted from the inside.
- Evaporator Coils: Positioned inside the fridge, these coils absorb heat, thereby cooling the interior.
- Refrigerant: This fluid circulates through the system, changing states from liquid to gas and back to liquid as it moves through the coils and extracts heat.
The Potential Risks
The major risk of laying a refrigerator on its side is related to the compressor oil. Inside the compressor, there’s oil that keeps it lubricated. If the fridge is laid horizontally, the oil can flow into the cooling lines, potentially causing clogs when the refrigerator is turned back upright and powered on. Furthermore, the refrigerant might not flow correctly, causing the fridge to malfunction or run inefficiently.
Why You Might Need to Lay a Refrigerator on Its Side
Limited Space
In scenarios where doorways and staircases are narrow, standing a refrigerator upright might not be feasible.
Vehicle Constraints
Transporting a refrigerator in a small vehicle might demand laying it on its side to fit more easily.
Storage Issues
Temporary storage limitations could necessitate placing the refrigerator on its side until upright storage is available.
How Long Can a Refrigerator Lay on Its Side?
Short-Duration Tips
If you must lay your refrigerator on its side, it’s generally advised to keep the duration as short as possible. A short duration can be defined as anything from a few minutes up to an hour or two. If you find yourself needing to keep the refrigerator on its side for any period exceeding an hour, it’s essential to follow specific guidelines to minimize risks.
Long-Duration Concerns
Keep in mind that the longer the refrigerator stays on its side, the higher the likelihood of complications. Laying a refrigerator on its side for extended periods—like several hours or days—can lead to more significant issues such as:
- Oil Migration: As already mentioned, the oil inside the compressor can travel into other parts of the system.
- Stress on Components: Extended sideways placement can cause undue stress on shelves, doors, and other components designed to withstand vertical positioning.
How to Safely Lay a Refrigerator on Its Side
Preparation Steps
- Empty the Refrigerator: Ensure that any food, containers, and detachable shelves are removed to prevent damage.
- Secure the Doors: Use tape or straps to keep the doors closed during transport.
- Choose the Correct Side: If your refrigerator manual indicates a preferred side for laying it down, always follow this guidance. Generally, the side opposite the compressor lines is the safer bet.
During Transport
- Protect the Exterior: Use blankets or padding to protect the refrigerator’s finish and corners.
- Minimize Movement: Secure the refrigerator with straps to prevent it from shifting during transit.
Post-Transport Considerations
Wait Before Powering On
After positioning the refrigerator upright at the destination, it’s crucial to wait before powering it on. The general rule is to let the refrigerator stand in its upright position for the same amount of time it was on its side, with a minimum of 4 hours.
- Why Wait?: This waiting period allows the oils and refrigerant to settle back into their proper locations, reducing the risk of damage or inefficiency when the unit is powered on.
Clean and Inspect
Before reconnecting the refrigerator to power:
- Inspect for Leaks: Check for any oil or refrigerant leaks.
- Reattach Components: Reinstall shelves and containers that were removed before the move.
- Clean the Interior: Use a mild cleaner to clean the inside of the refrigerator.
Potential Problems Post-Transport
Even with precautions, issues can arise after laying a refrigerator on its side:
Inefficient Cooling
You may find that the refrigerator isn’t cooling as effectively. This could be due to oil clogging the refrigerant lines, necessitating a professional inspection and possible repairs.
Noises
If you hear unusual noises like rattling or humming, it could indicate that oil has made its way into areas it shouldn’t be.
External Damage
Check for any dents, scratches, or other physical damage that may have occurred during the move. While this doesn’t affect functionality, it can be aesthetically displeasing.
Electrical Issues
Ensure all electrical cords and plugs are intact and not damaged during the move.
Professional Assistance
When to Call a Technician
If after following all these steps, your refrigerator still isn’t functioning correctly, it may be time to call a professional:
- Persistent Inefficiencies: Lack of proper cooling even after the settling period.
- Strange Noises: Continual rattling or buzzing sounds that weren’t present before.
- Leaks: Oil or refrigerant leaks indicate a serious issue which requires professional repair.
 Cost-Benefit Analysis
New Refrigerator vs. Repair
Deciding whether to repair a malfunctioning refrigerator or to buy a new one can be challenging. Consider the following factors:
- Age of the Refrigerator: Older models might be more cost-effective to replace rather than repair.
- Cost of Repairs: Compare the cost of potential repairs to the price of a new refrigerator.
- Energy Efficiency: Modern refrigerators tend to be more energy-efficient, offering long-term savings on electricity bills.
Environmental Considerations
Replacing an old fridge with a newer, more efficient model can also be better for the environment. Energy Star-rated refrigerators consume significantly less power, contributing to a reduction in overall energy consumption.
The Time Factor: How Long is Too Long?
Experts generally advise against laying a refrigerator on its side for prolonged periods. The commonly accepted rule is that it should not exceed 24 hours. However, some guidelines suggest even more stringent time limits.
Short-Duration Transport
If laying a refrigerator on its side for several minutes to an hour, the risk generally remains low, provided it is handled delicately. Even still, ensuring it stands upright afterward for an appropriate recovery time is essential.
Extended Timeframes
For durations extending beyond an hour, risks escalate rapidly. The settling of oil and potential refrigerant circulation issues become more pronounced, necessitating longer recovery times post-transport before it is safe to power up the device.
24-Hour Rule
Should circumstances necessitate laying a refrigerator on its side for up to 24 hours, always ensure it remains upright and unplugged for at least a similar duration before reactivating it. This precaution is crucial for safeguarding internal components and preventing malfunction.
Conclusion
Transporting a refrigerator on its side should always be a last resort, undertaken with careful preparation and consideration. While it is possible to lay a refrigerator on its side for short periods, doing so for extended times increases the risk of damaging vital components. Following correct procedures—such as securing doors, emptying the unit, and allowing it to settle before powering on—can minimize risks.
If complications arise, timely professional assistance can save you from more costly repairs or replacements. Always consider the long-term implications, both financial and environmental, when deciding whether to repair or replace a malfunctioning refrigerator. By following these guidelines, you ensure the longevity and efficient operation of your refrigerator, even after a horizontal move.


 Safe Practices for Consumption

 Special Considerations


 Maintaining Optimal Temperatures


 Safety Precautions
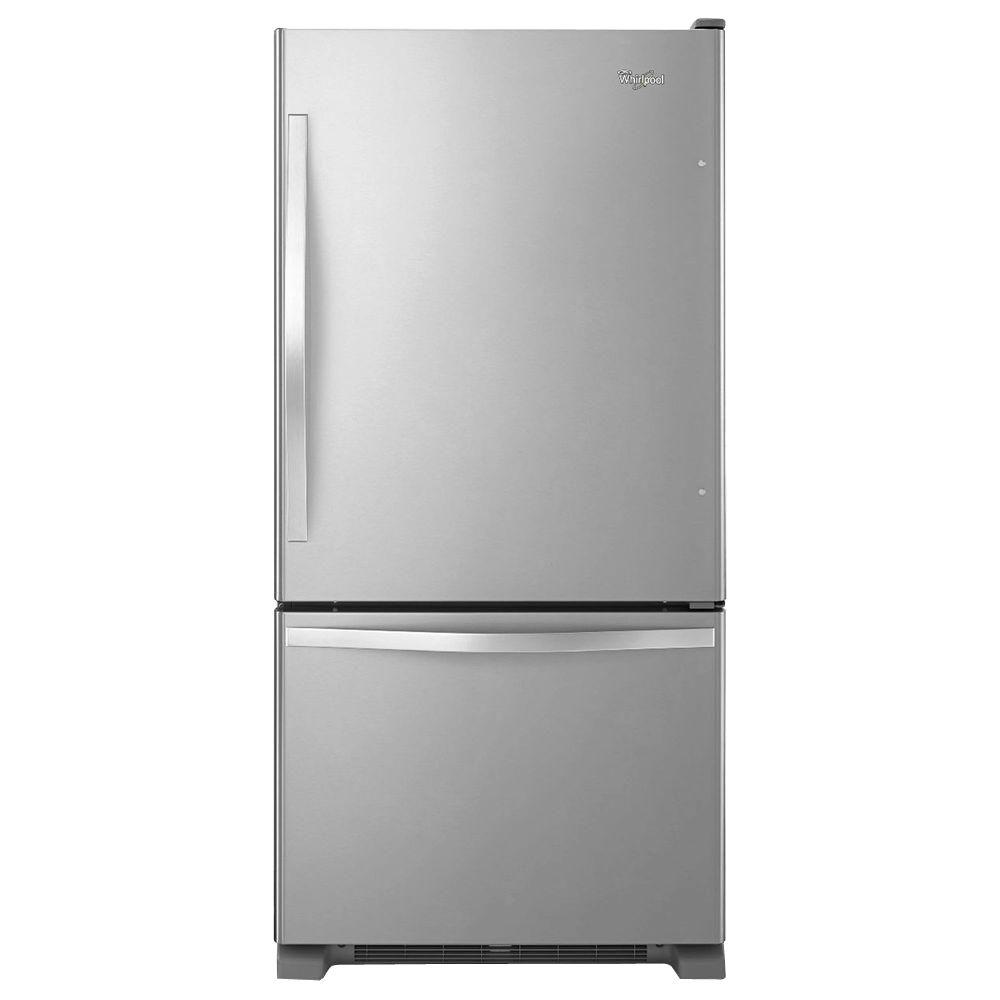
 Understand the Warranty

 Regular Maintenance
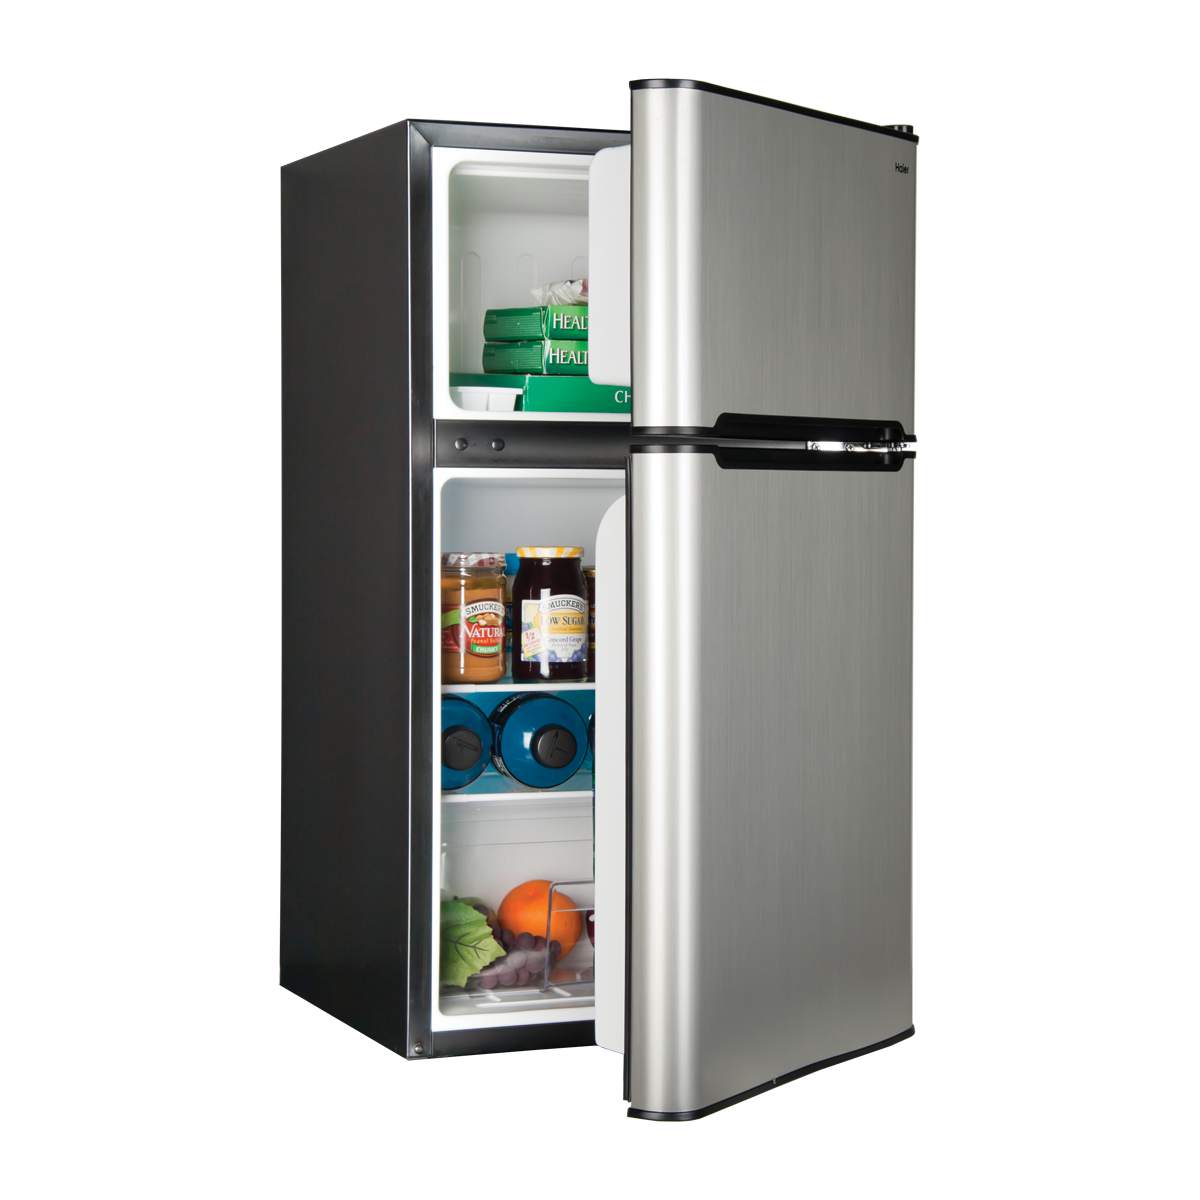

 Dealing with Leftovers
 Proper Storage Containers