
When selecting a mini fridge, one crucial factor often overlooked is the mini fridge wattage. Understanding the wattage of a mini fridge not only helps in choosing the right model for your needs but also ensures energy efficiency and optimal performance. This comprehensive guide delves into the importance of mini fridge wattage, how it affects your electricity bill, the factors influencing wattage, and tips for selecting the most energy-efficient mini fridge.
 Factors Affecting Mini Refrigerator Wattage
Several factors influence the wattage of a mini fridge, including size, insulation, compressor type, and usage patterns. Let’s explore these factors in detail.
Size and Capacity
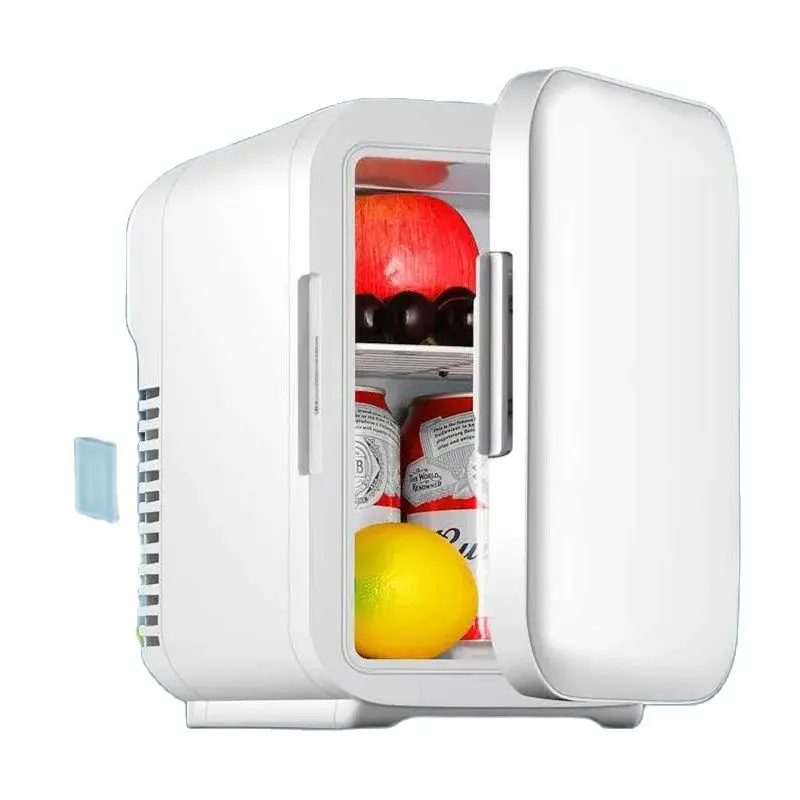
The size and capacity of a mini fridge significantly affect its wattage. Generally, larger fridges require more power to maintain their temperature. For instance, a 4-cube mini fridge will consume more watts compared to a 1.7-cubic-foot model. However, modern designs often incorporate energy-efficient technologies that mitigate the increase in wattage as size increases.
Insulation Quality
The quality of insulation in a mini fridge plays a pivotal role in determining its wattage. Well-insulated fridges retain cold temperatures more effectively, reducing the compressor’s workload and, consequently, the wattage required. Investing in a mini fridge with high-quality insulation can lead to substantial energy savings over time.
Compressor Type
The type of compressor used in a mini fridge also affects its wattage. Traditional compressors tend to consume more power, whereas newer, energy-efficient models use inverter compressors that adjust their speed based on cooling needs. This adaptability results in lower wattage consumption and quieter operation, making inverter compressors a preferred choice for energy-conscious consumers.
Usage Patterns
How you use your mini fridge impacts its wattage. Frequently opening the door, placing hot items inside, or operating the fridge in a warm environment can increase energy consumption. Therefore, mindful usage and proper placement are essential to maintain energy efficiency and keep wattage levels in check.
How to Calculate Mini Refrigerator Wattage
Calculating the wattage of a mini fridge is straightforward. Most mini fridges have a label indicating their power consumption in watts or volts. However, if the wattage is not readily available, you can use the following formula:
Wattage (W) = Voltage (V) x Current (A)
For example, if a mini fridge operates at 120 volts and draws 2 amps, its wattage would be:
120 V x 2 A = 240 W
Understanding this calculation helps you assess the energy requirements of various models and make informed purchasing decisions.
 Comparing Mini Refrigerator Wattage with Traditional Refrigerators
While mini fridges are smaller and more compact than traditional refrigerators, it’s essential to compare their wattage to understand their energy efficiency better.
Energy Consumption
Generally, mini fridges consume less power than full-sized refrigerators due to their smaller size and lower capacity. On average, a mini fridge uses between 50 to 100 watts, whereas a traditional refrigerator can consume up to 800 watts or more. This significant difference makes mini fridges an attractive option for those looking to save on energy costs.
Energy Efficiency
Despite their lower power consumption, not all mini fridges are created equal. Energy-efficient models often feature advanced technologies such as LED lighting, automatic defrost, and energy-saving modes, which further reduce their wattage. When comparing mini fridges, it’s essential to consider not only their wattage but also their overall energy efficiency ratings.
Tips for Choosing an Energy-Efficient Mini Fridge
Selecting an energy-efficient mini fridge involves more than just looking at wattage. Here are some additional tips to help you make the best choice:
Look for Energy Star Certification
Energy Star-certified mini fridges meet strict energy efficiency standards set by the U.S. Environmental Protection Agency. These models are designed to consume less power without compromising performance, making them an excellent choice for eco-conscious consumers.
Choose the Right Size
Selecting a mini fridge that matches your storage needs can prevent unnecessary energy consumption. Opt for a size that accommodates your items without being excessively large, as larger fridges typically consume more watts.
Consider the Fridge’s Placement
Proper placement of your mini fridge can enhance its energy efficiency. Ensure that the fridge is placed in a well-ventilated area away from direct sunlight and heat sources. This placement reduces the compressor’s workload, thereby lowering wattage consumption.
Maintain Regular Cleaning and Defrosting
Regular maintenance, such as cleaning the condenser coils and defrosting the fridge, can improve its efficiency. Clean coils allow for better heat dissipation, reducing the energy required to maintain cool temperatures and, consequently, lowering wattage usage.
Understanding Energy Efficiency Ratings
Energy efficiency ratings provide valuable insights into a mini fridge’s power consumption and overall performance. These ratings are typically displayed as EnergyGuide labels, which offer estimates of annual energy use and operating costs.
Interpreting EnergyGuide Labels
EnergyGuide labels display the estimated yearly energy consumption in kilowatt-hours (kWh) and the annual operating cost based on average electricity rates. Comparing these labels across different models can help you identify the most energy-efficient options and understand how their wattage translates into real-world energy usage.
Balancing Efficiency and Performance
While energy-efficient mini fridges consume less wattage, it’s essential to balance efficiency with performance. Some ultra-efficient models may have longer cooling cycles or limited features, which might not suit everyone’s needs. Therefore, consider both the energy efficiency and the performance capabilities to select a fridge that meets your requirements without draining excess power.
 The Impact of Mini Refrigerator Wattage on Your Electricity Bill
Understanding the wattage of your mini fridge can help you estimate its impact on your monthly electricity bill. Here’s how to calculate the cost:
Calculating Monthly Electricity Cost
To estimate the monthly cost, use the following formula:
Monthly Cost = (Wattage x Hours of Use per Day x 30 Days) / 1000 x Electricity Rate
For example, if your mini fridge has a wattage of 100 W, operates for 24 hours a day, and your electricity rate is $0.12 per kWh, the calculation would be:
(100 W x 24 x 30) / 1000 x 0.12=86.40 per month
By understanding this calculation, you can assess the financial impact of different mini fridge models and choose one that fits your budget.
Reducing Electricity Costs
To minimize the impact of your mini fridge on your electricity bill, consider the following strategies:
- Optimize Temperature Settings: Setting your fridge to the optimal temperature (usually around 37°F for the fridge and 0°F for the freezer) can reduce energy consumption.
- Limit Door Openings: Frequent openings allow cold air to escape, forcing the fridge to work harder and consume more watts.
- Organize Contents Efficiently: Properly organizing your fridge ensures better air circulation, enhancing cooling efficiency and reducing wattage usage.
Benefits of Low-Wattage Mini Fridges
Choosing a mini fridge with lower wattage offers several advantages beyond just reduced electricity bills.
Environmental Benefits
Low-wattage mini fridges contribute to lower overall energy consumption, reducing your household’s carbon footprint. By opting for energy-efficient models, you support environmentally friendly practices and help mitigate climate change.
Cost Savings
Lower wattage translates to lower electricity costs, providing significant savings over the lifespan of the appliance. These savings can add up, especially if you use your mini fridge frequently or have multiple units in your home.
Enhanced Durability
Energy-efficient mini fridges often incorporate advanced technologies and better-quality components, leading to improved durability and longer appliance lifespans. Investing in a low-wattage model can therefore save you money on replacements and repairs in the long run.
 Common Misconceptions About Mini Refrigerator Wattage
There are several myths surrounding mini fridge wattage that can lead to confusion when selecting an appliance. Let’s debunk some of these misconceptions.
Bigger Always Means More Efficient
Contrary to popular belief, a larger mini fridge does not necessarily mean better efficiency. In reality, larger fridges consume more watts, which can lead to higher energy costs. It’s important to choose a size that aligns with your storage needs without being excessively large.
Higher Wattage Equals Better Cooling
While higher wattage can indicate stronger cooling capabilities, it doesn’t always equate to better performance. Modern, energy-efficient models can provide excellent cooling with lower wattage by utilizing advanced technologies such as inverter compressors and superior insulation.
All Mini Fridges Consume the Same Power
Not all mini fridges have the same power consumption. Factors such as size, insulation, compressor type, and energy efficiency ratings can lead to significant variations in wattage. Therefore, it’s essential to evaluate each model individually rather than assuming uniform power consumption across the board.
How to Optimize Your Mini Fridge’s Energy Efficiency
Maximizing the energy efficiency of your mini fridge involves a combination of proper usage, maintenance, and selecting the right model. Here are some practical tips:
Proper Placement
Ensure your mini fridge is placed in a cool, well-ventilated area away from heat sources like ovens and direct sunlight. Adequate ventilation allows the fridge to cool more efficiently, reducing the need for excessive wattage consumption.
Regular Maintenance
Perform regular maintenance tasks, such as cleaning the condenser coils and defrosting the freezer, to keep your mini fridge running efficiently. Clean coils improve heat dissipation, while defrosting prevents ice buildup that can hinder cooling performance.
Avoid Overloading
Avoid overloading your fridge, as this can obstruct air circulation and force the compressor to work harder, increasing wattage usage. Similarly, underloading can lead to inefficient cooling cycles. Aim for a balanced load to maintain optimal energy efficiency.
Use Energy-Saving Modes
Many modern mini fridges come with energy-saving modes or features like LED lighting and quick-freeze functions. Utilizing these features can help reduce energy consumption and minimize the overall wattage required for operation.
Comparing Different Mini Fridges Based on Wattage
When shopping for a mini fridge, it’s essential to compare different models based on their wattage and energy efficiency. Here’s how to approach this comparison effectively:
Research and Read Reviews
Start by researching various models and reading customer reviews to gauge their performance and energy consumption. Look for feedback on how efficiently the fridge operates and whether it meets your cooling needs without excessive wattage usage.
Check Technical Specifications
Examine the technical specifications of each mini fridge, focusing on wattage, voltage, and energy efficiency ratings. Ensure that the models you are considering offer the best balance between performance and energy consumption.
Consider Brand Reputation
Opt for reputable brands known for producing energy-efficient appliances. Established brands often invest in advanced technologies and quality components that enhance the energy efficiency and durability of their products.
Evaluate Additional Features
Consider the additional features offered by each mini fridge, such as adjustable thermostats, door alarms, or smart connectivity. While these features can enhance convenience, ensure that they do not significantly increase the wattage consumption unless they add substantial value to your usage.
 Conclusion
In the end, understanding mini fridge wattage is essential for making an informed decision that balances energy efficiency, performance, and cost. By considering factors such as size, insulation, compressor type, and usage patterns, you can select a mini fridge that meets your needs without draining excess power. Additionally, adopting energy-saving practices and leveraging smart technology can further optimize your fridge’s wattage consumption, leading to lower electricity bills and a more sustainable household.
Ultimately, investing in a mini fridge with the right wattage ensures not only efficient cooling but also contributes to environmental conservation and long-term savings. Whether you are furnishing a dorm room, office, or small living space, prioritizing mini fridge wattage will help you choose an appliance that delivers optimal performance while keeping energy consumption in check. By staying informed and making thoughtful choices, you can enjoy the benefits of a mini fridge that is both powerful and energy-efficient.
 Why Consider a Mini Fridge Sale?
 Key Features to Look for in a Mini Fridge
 Tips for Maximizing Your Savings on Mini Fridge Sales
 Maintenance Tips for Your Mini Fridge
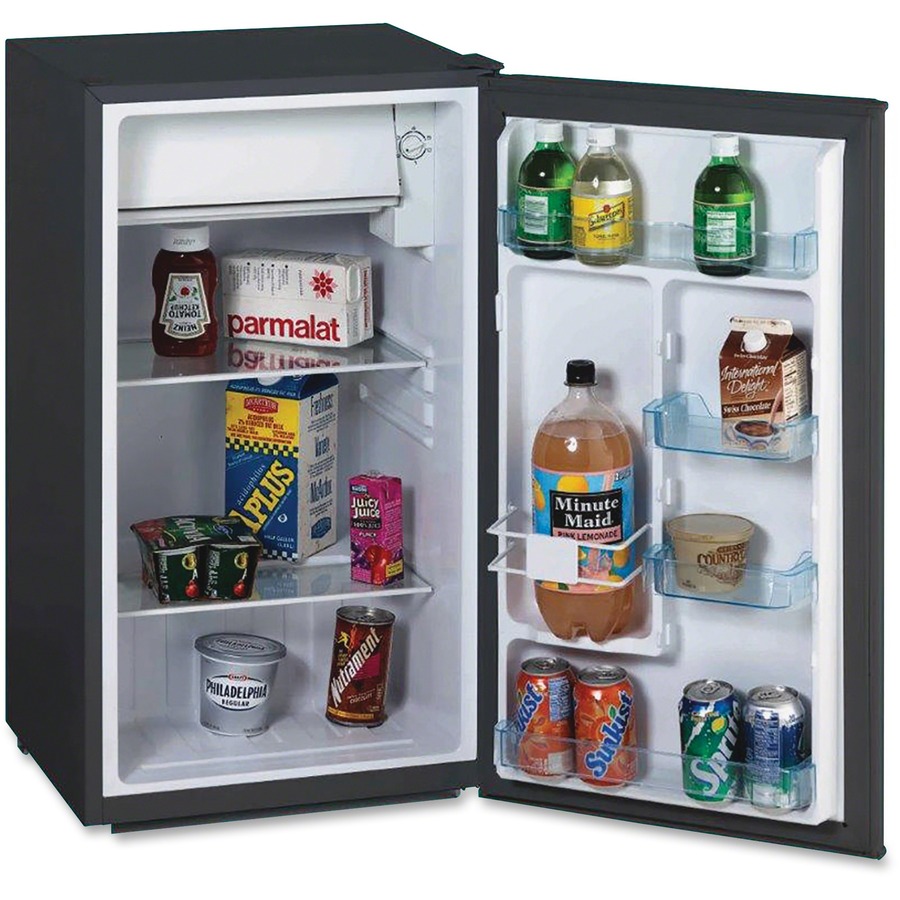 Conclusion
 Average Wattage of Mini Fridges
 How to Calculate the Watts Your Mini Fridge Uses
 Tips to Reduce Energy Consumption of Your Mini Fridge
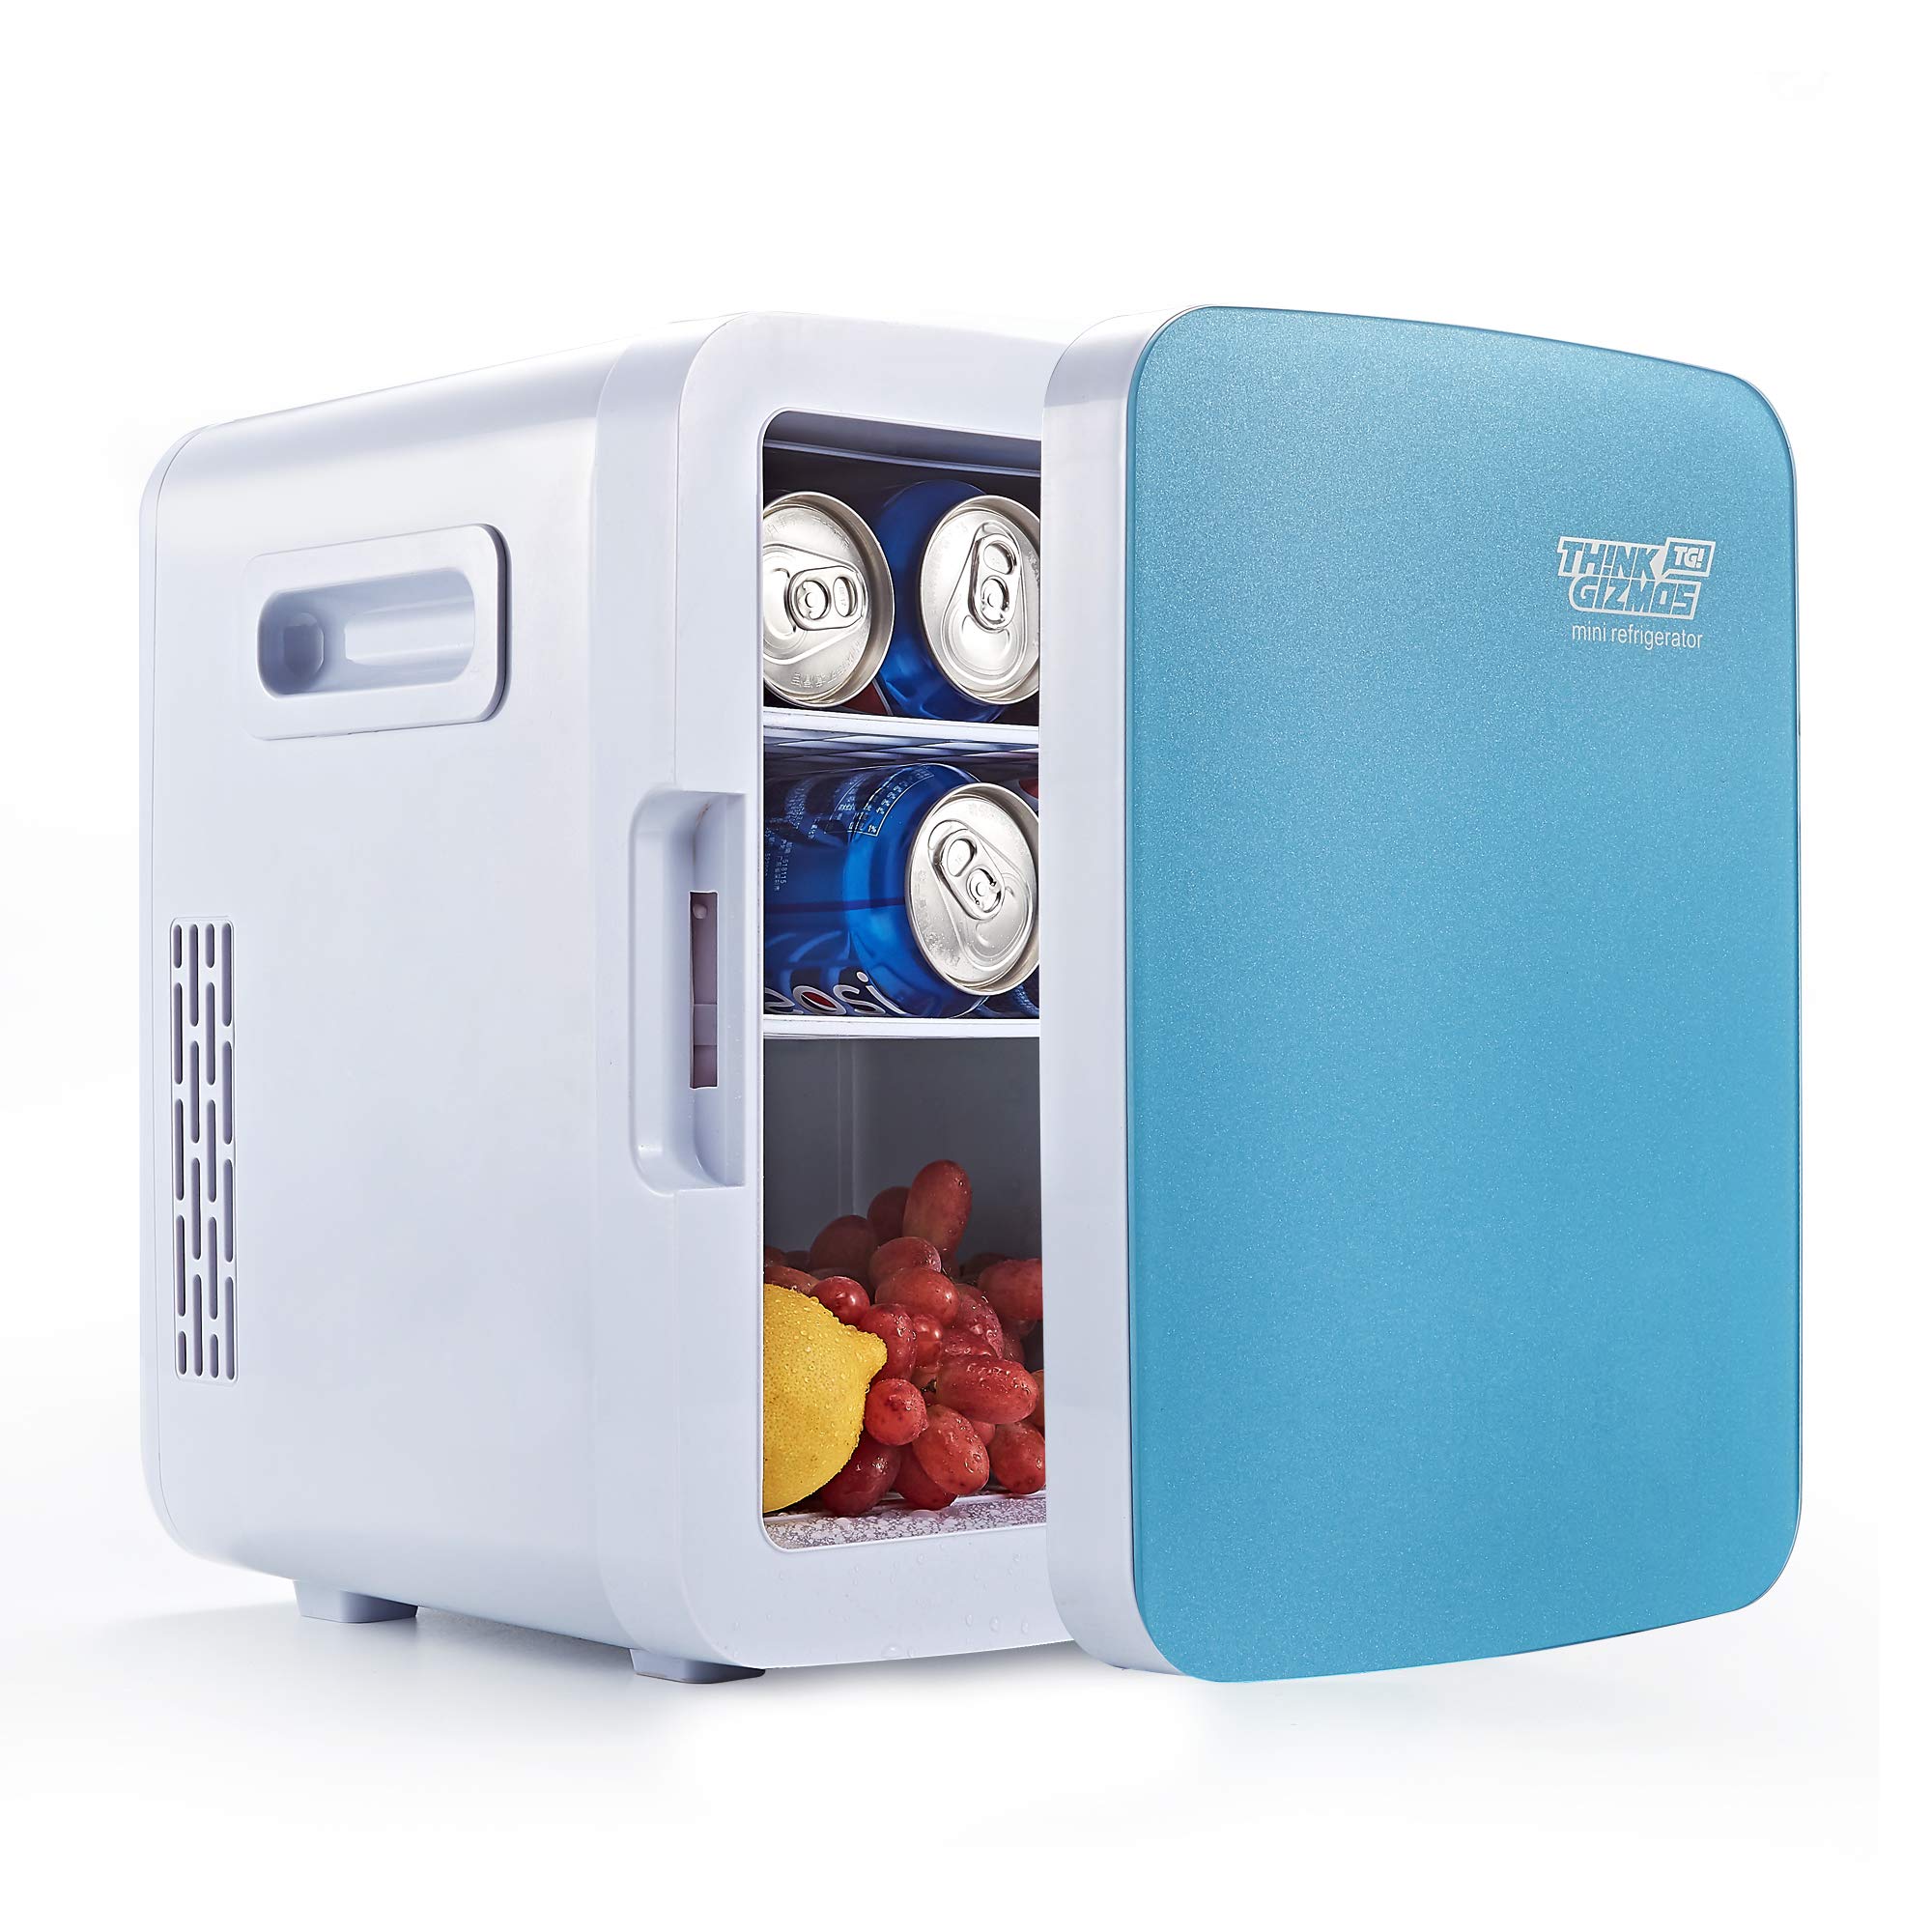 Benefits of Knowing How Many Watts a Mini Fridge Uses
 Final Thoughts
 Top White Small Fridge Models: In-Depth Reviews
 Top Use Cases for White Small Fridges
 Comparing White Small Fridges to Other Colors and Styles
 How to Choose the Right Size of White Small Fridge
 Future Trends in White Small Fridge Technology
 Popular Types of Mini Fridges for Sale
 Common Uses for Mini Fridges
 Tips for Maximizing the Efficiency of Your Mini Fridge for Sale
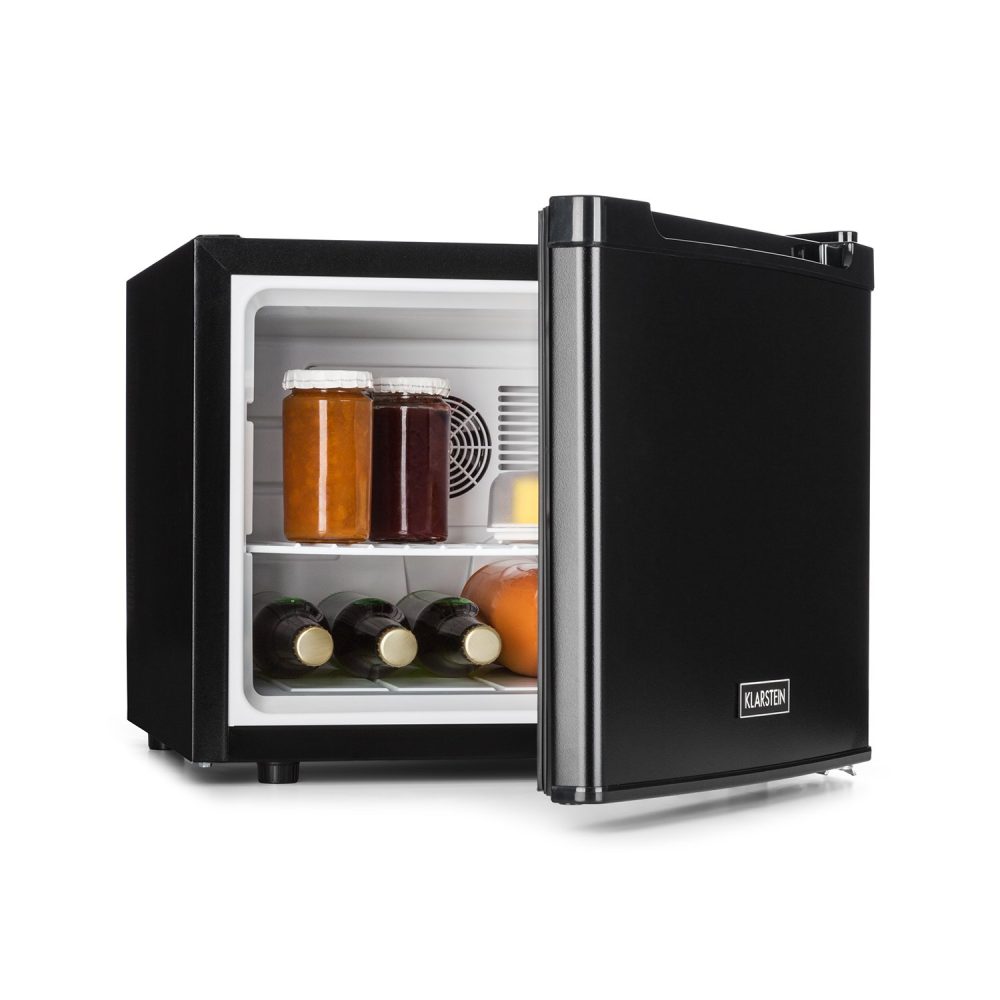 Conclusion
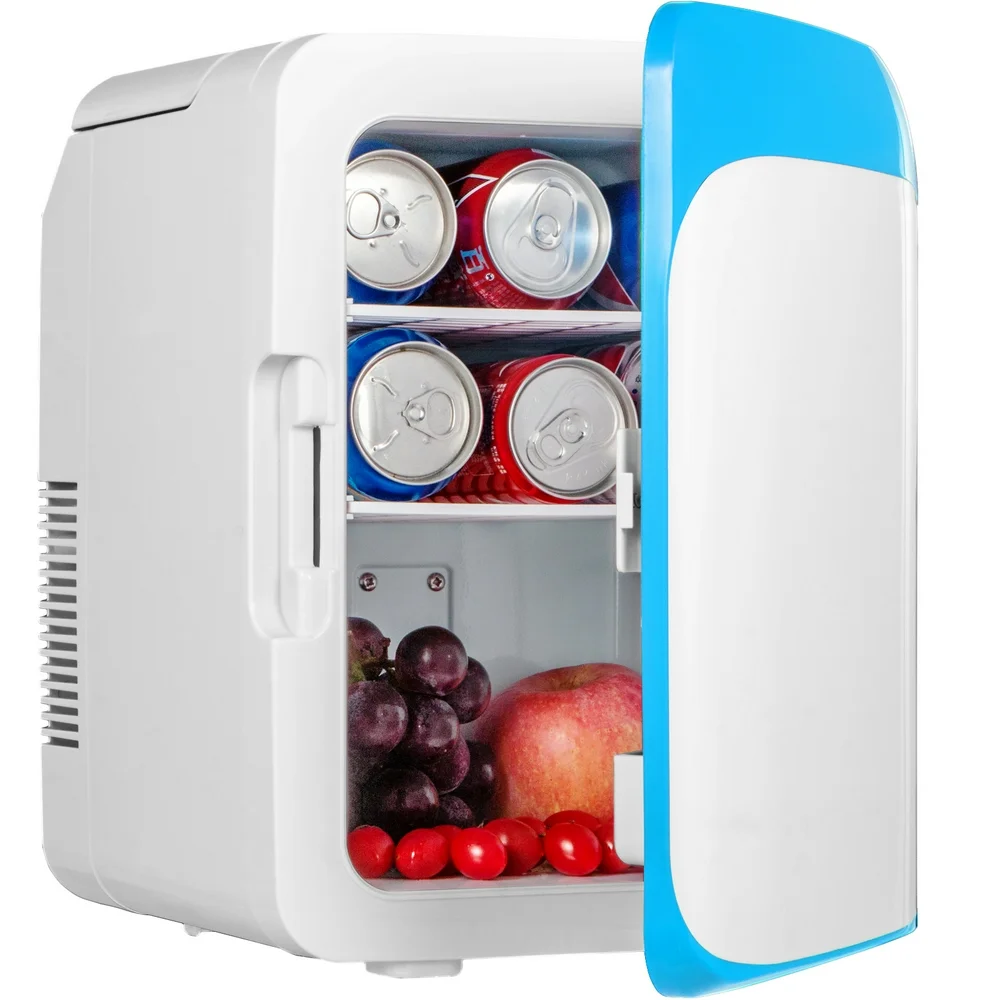 Key Benefits of Owning a Portable Small Fridge
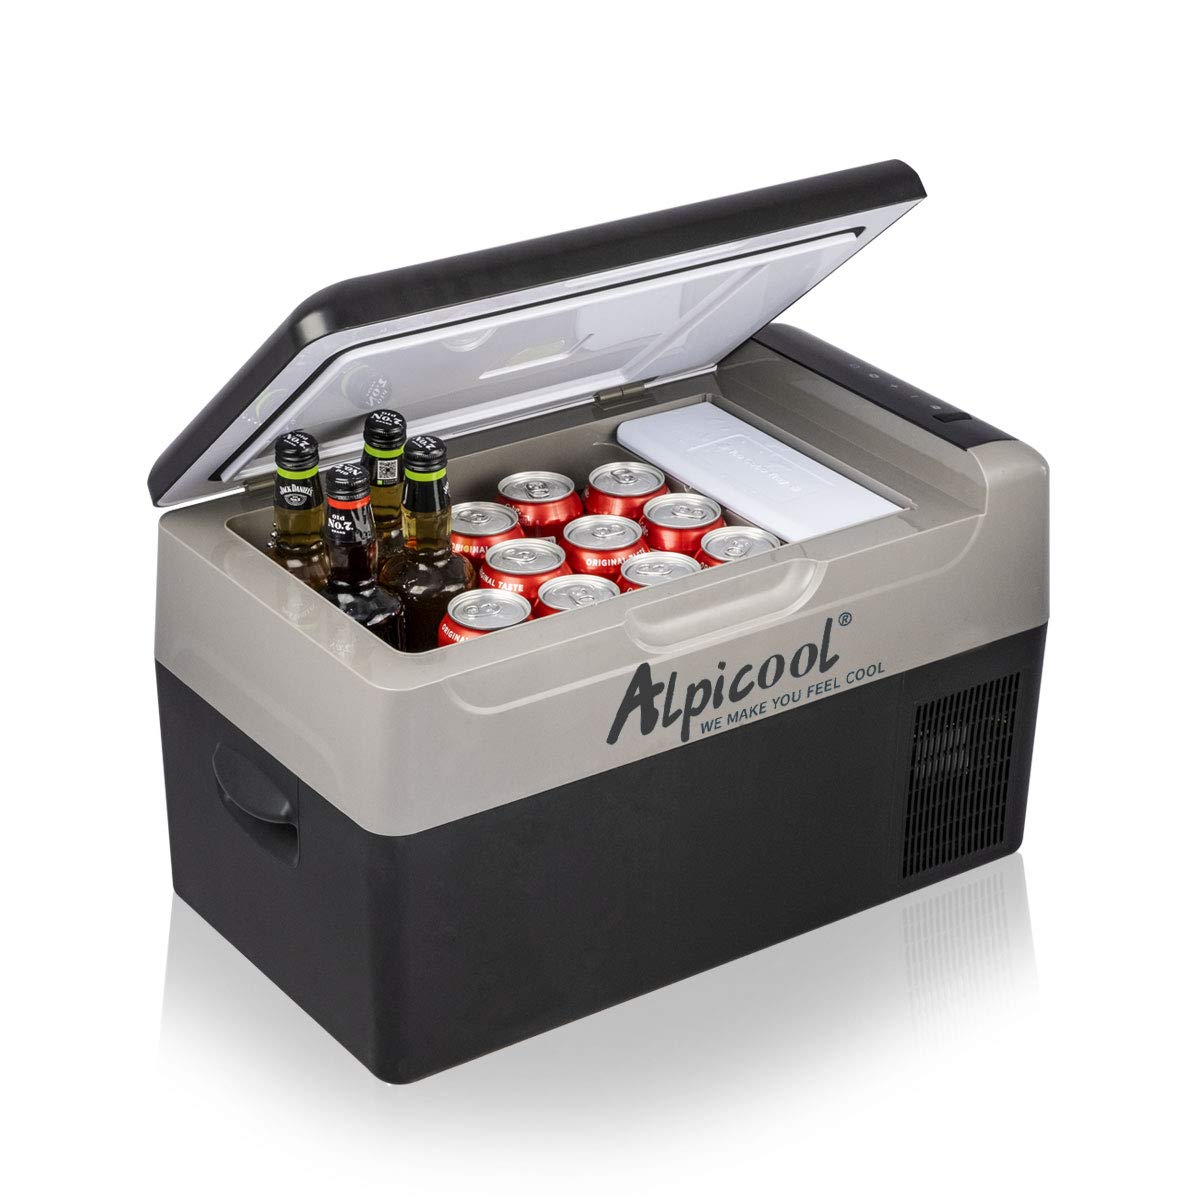 Practical Uses for Portable Small Fridges
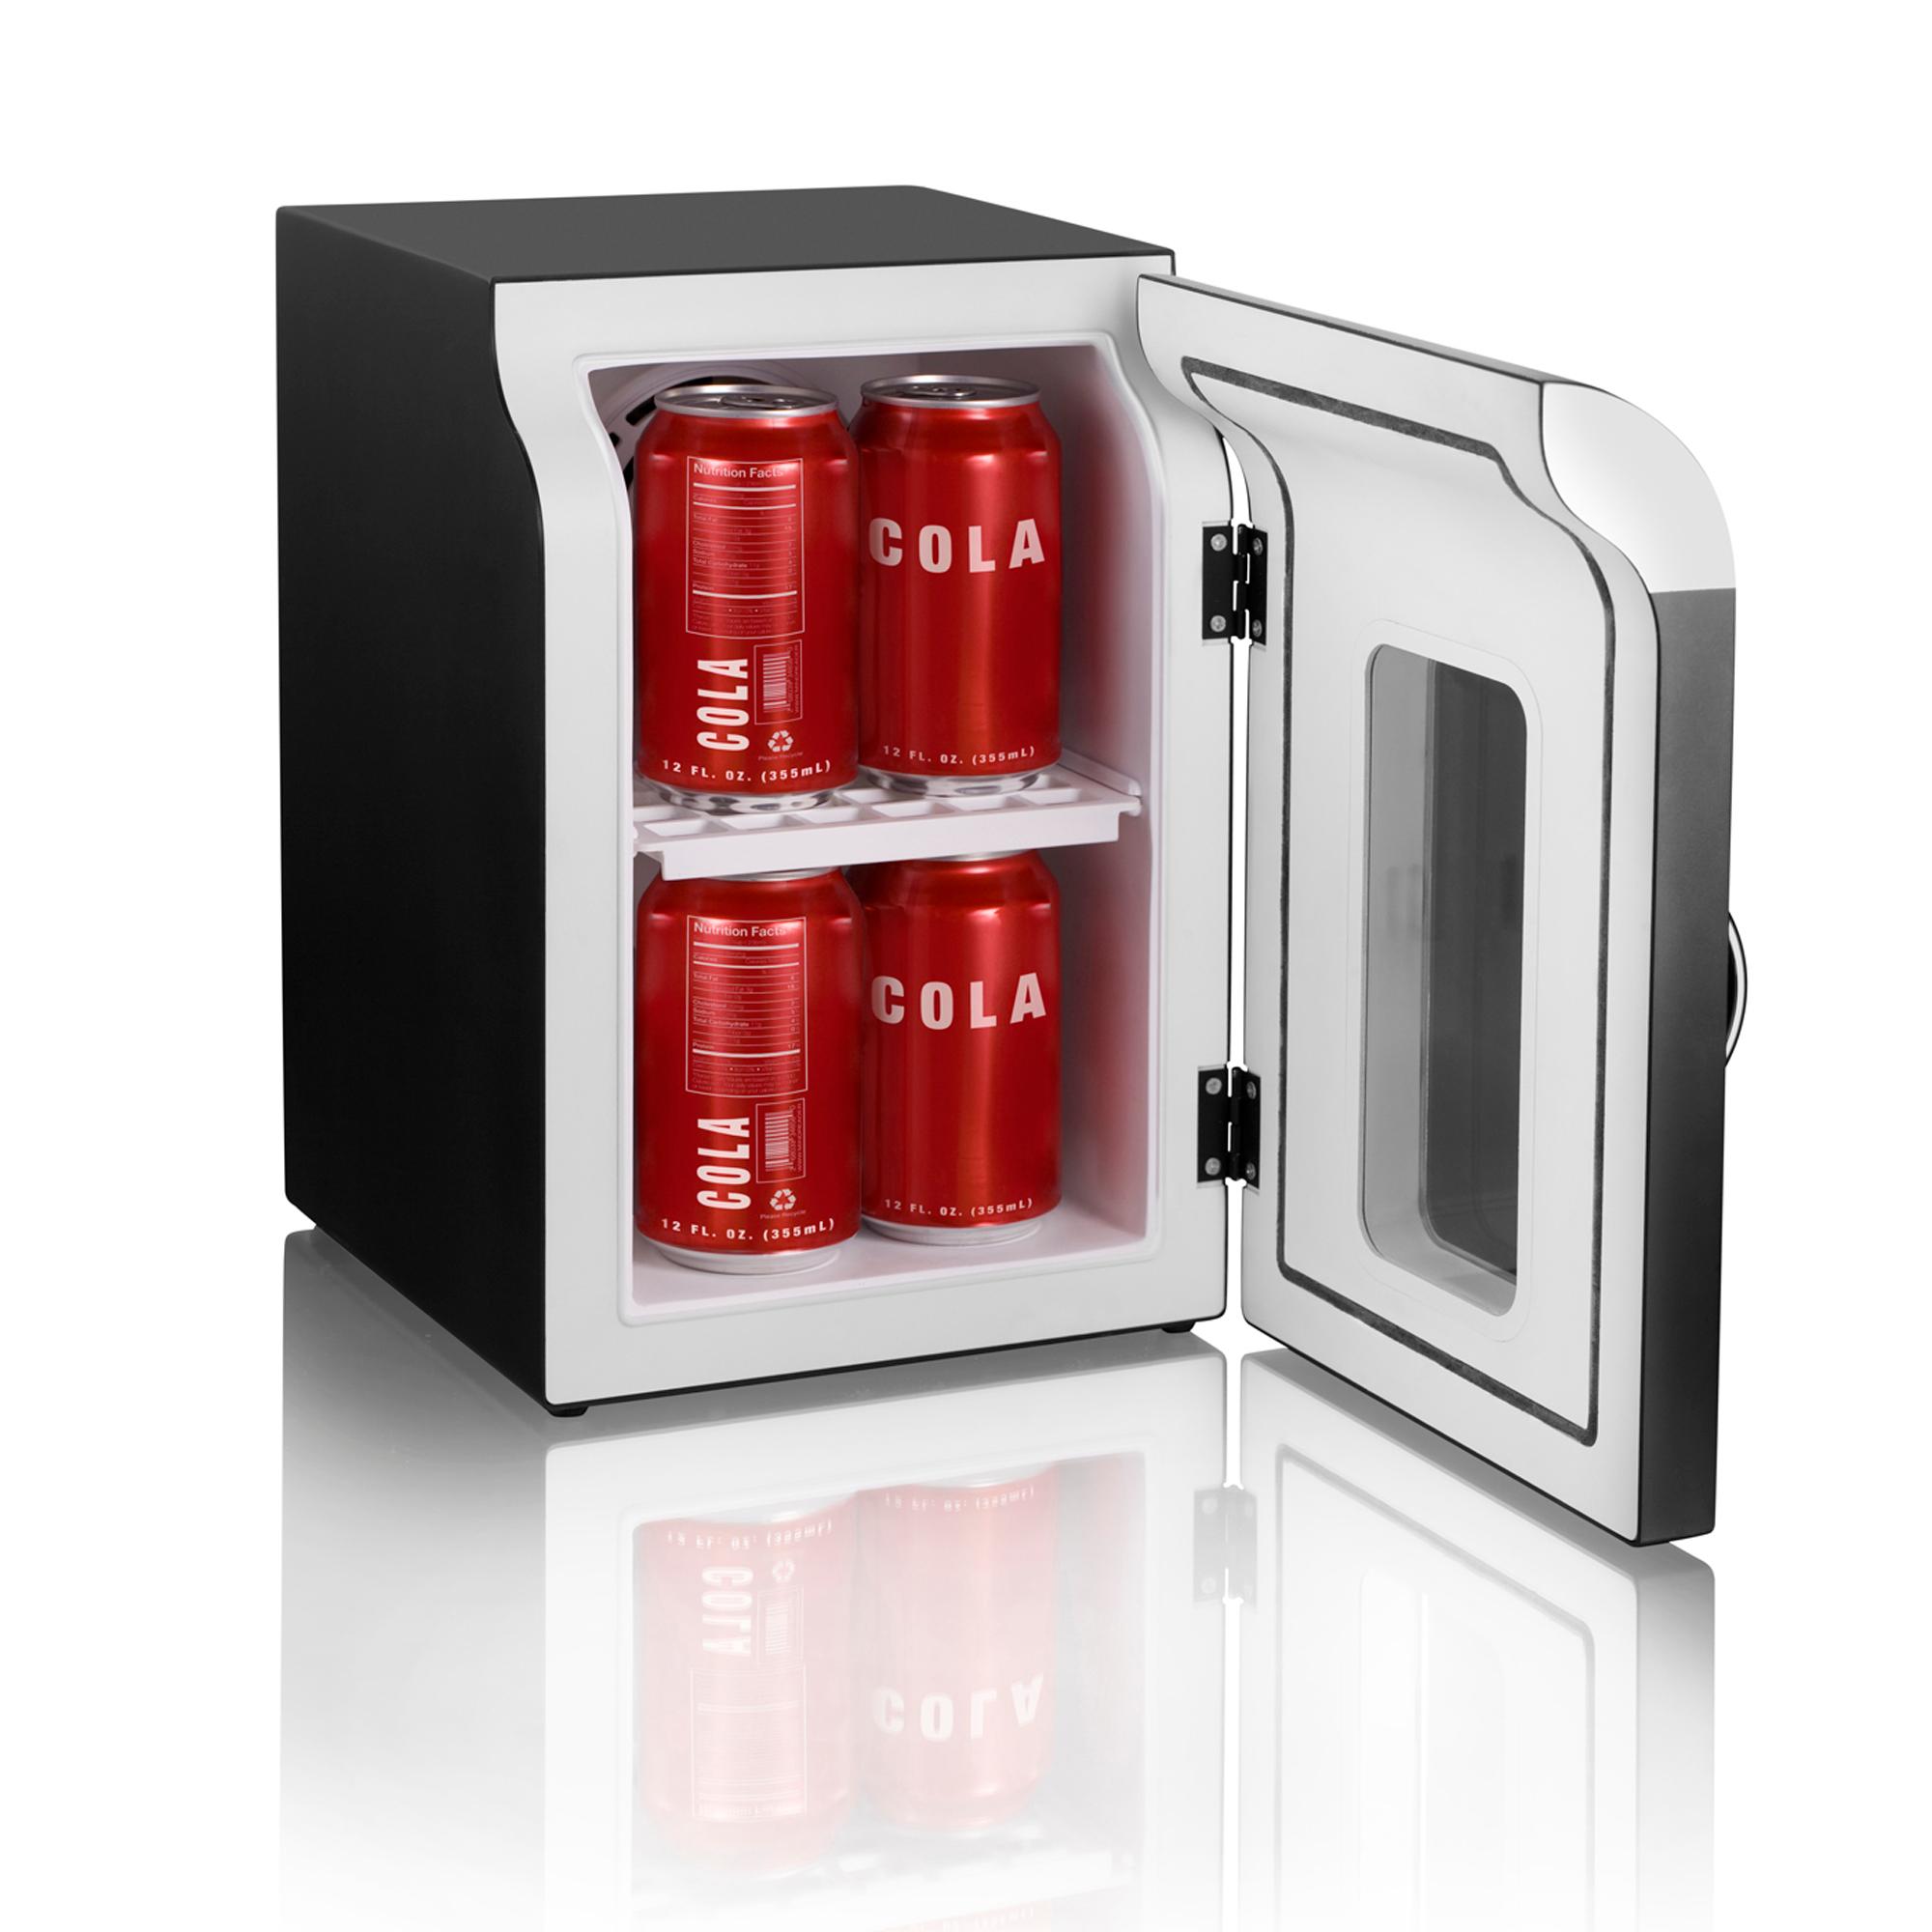 Maintenance Tips for Your Portable Small Fridge
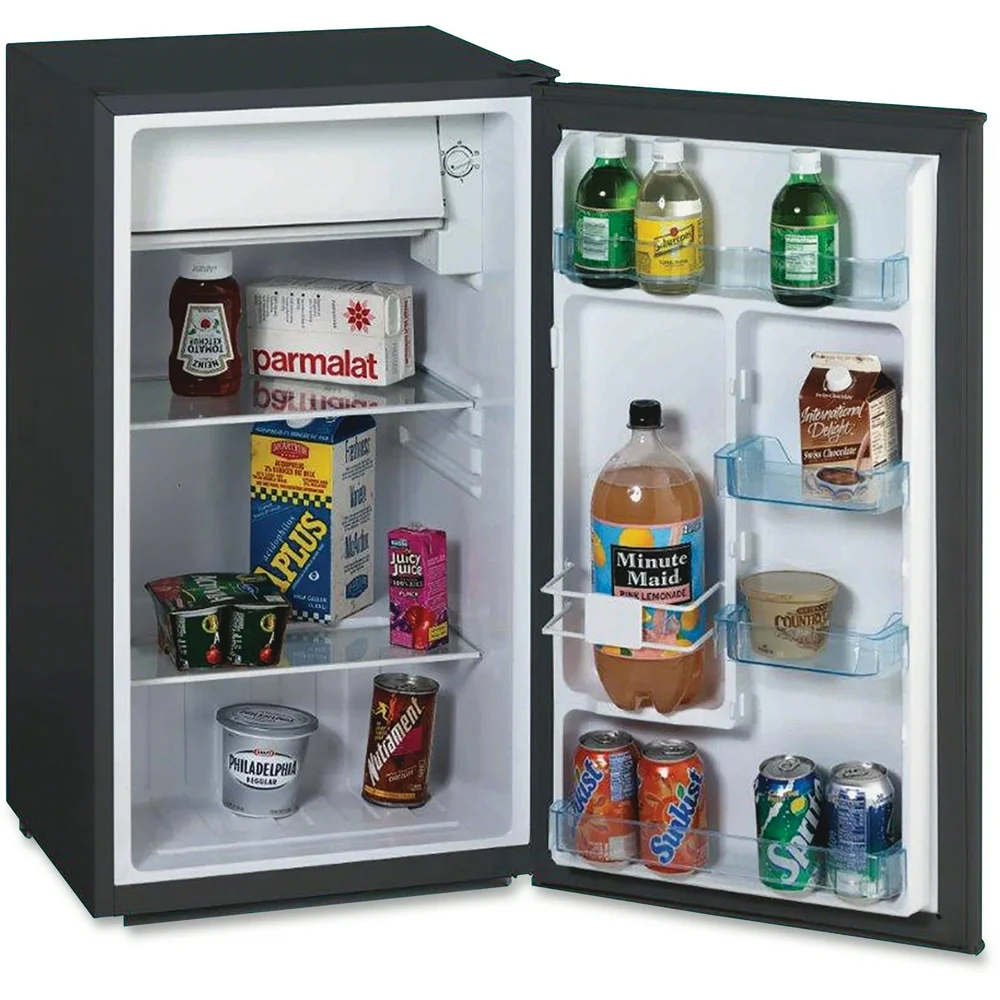 Comparing Different Types of Portable Small Fridges
 Conclusion
 Factors Influencing the Cost of a Mini Fridge
 Where to Find the Best Mini Fridge Deals
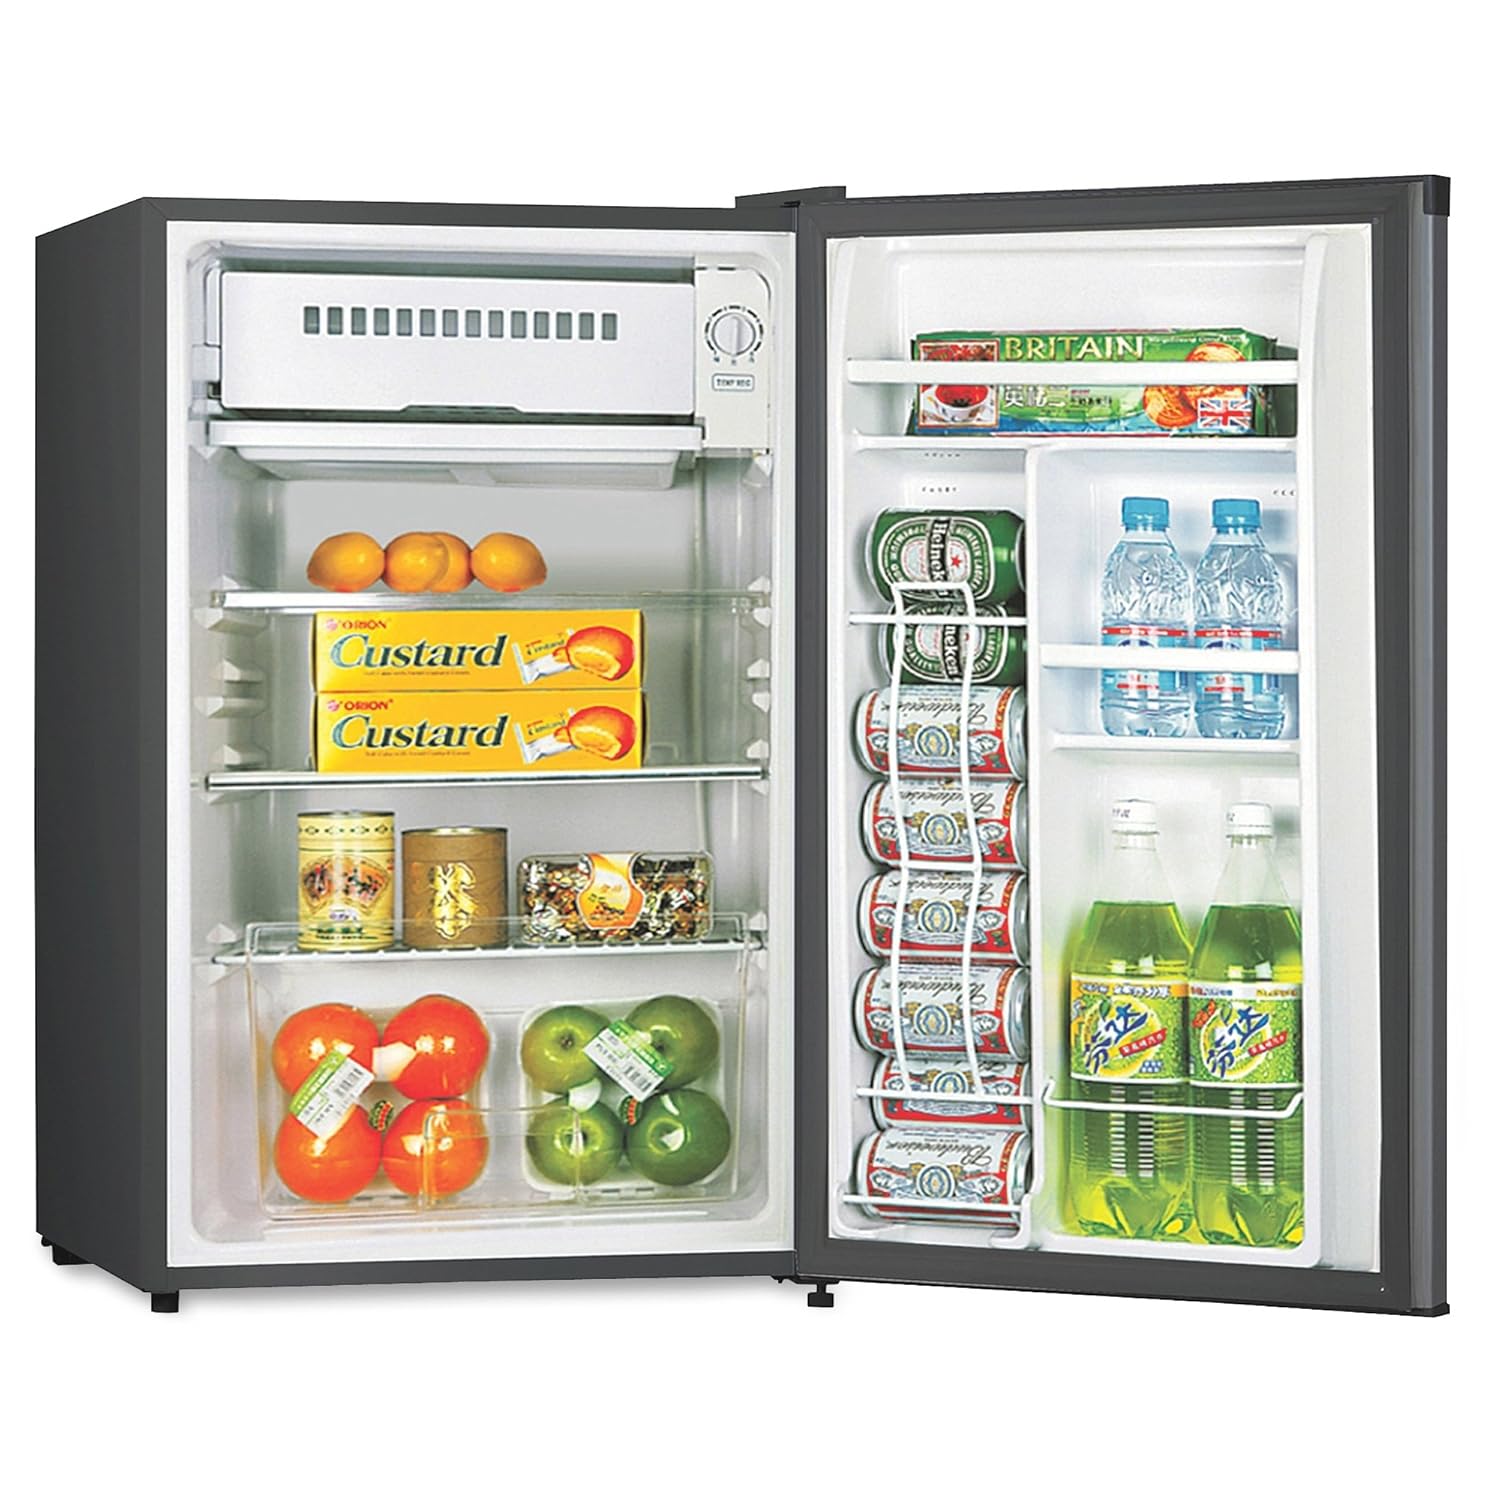 Understanding the Cost Breakdown of Mini Fridges
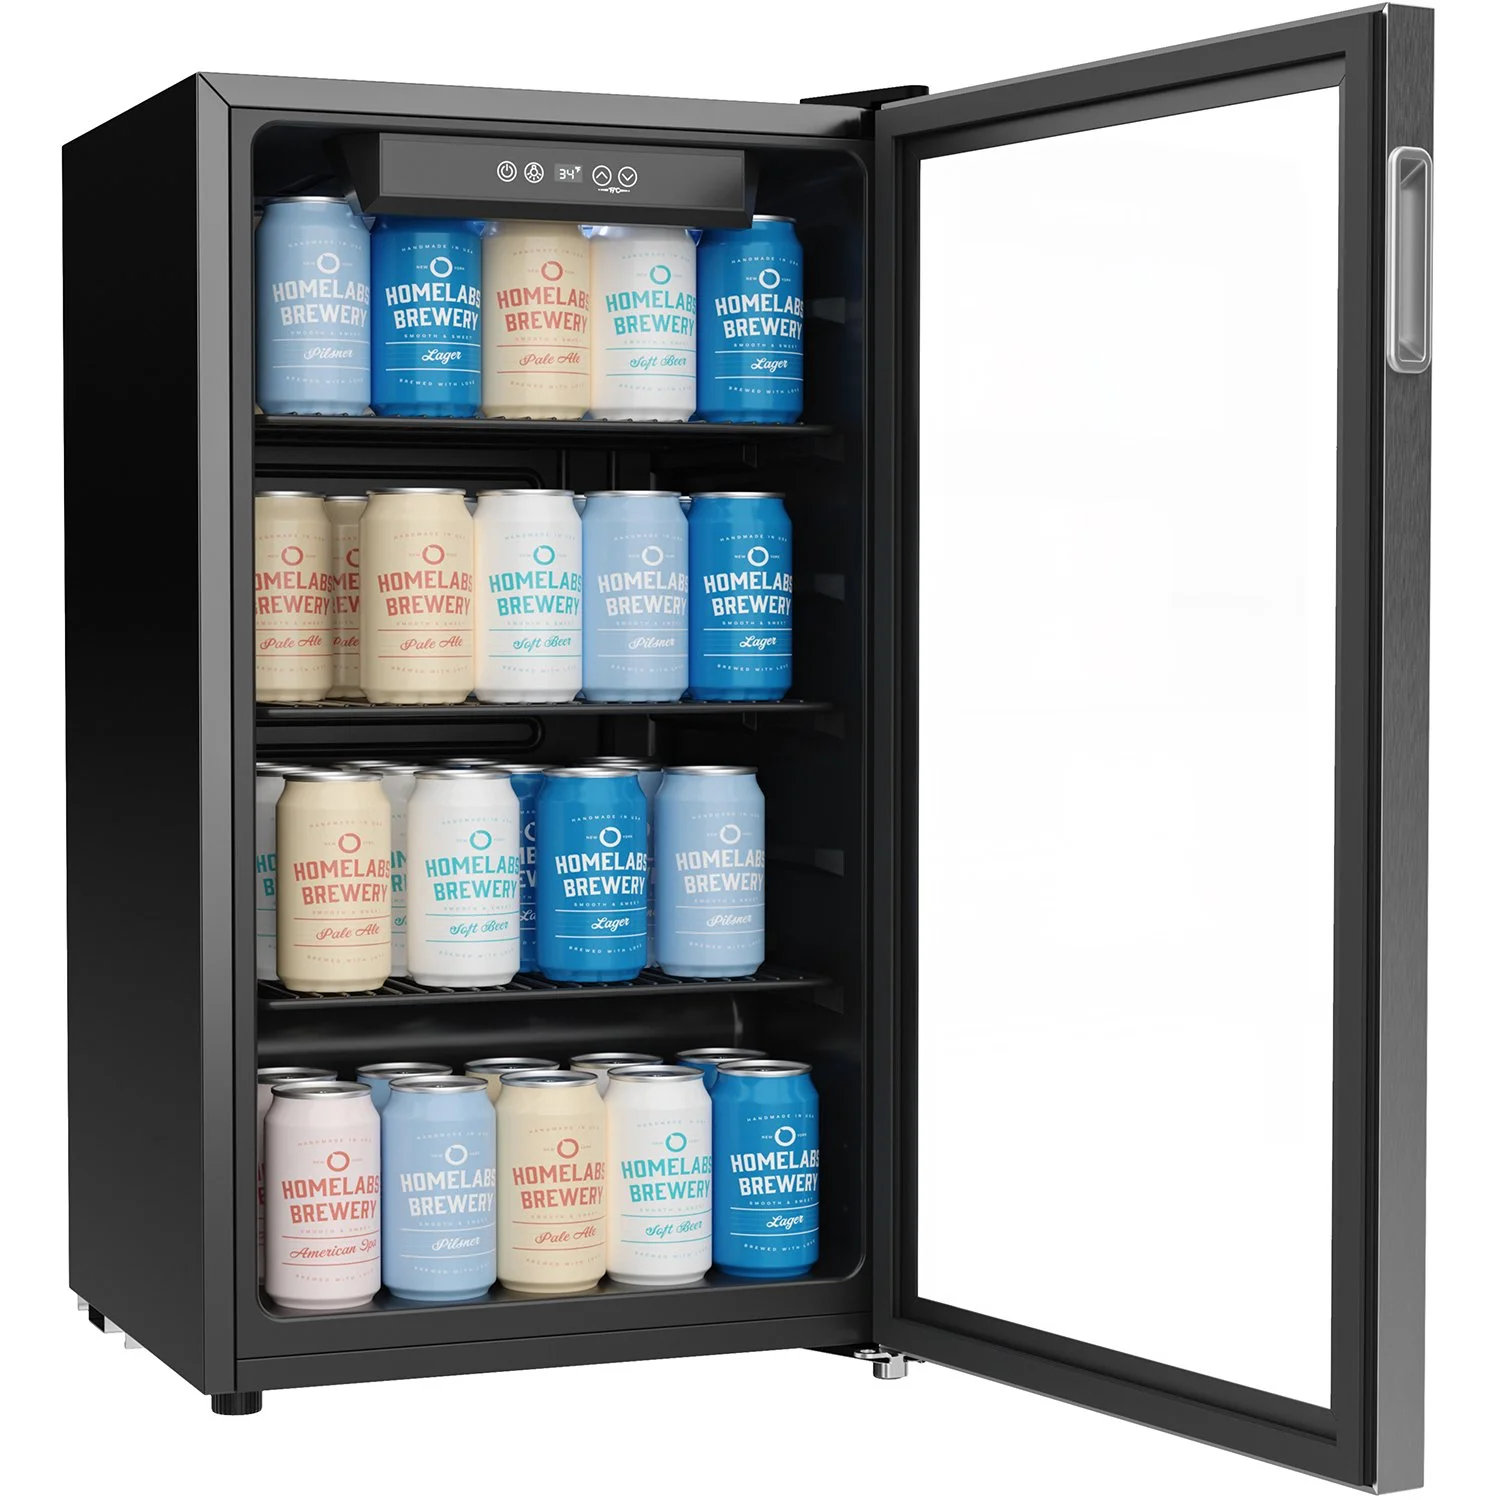 Frequently Asked Questions
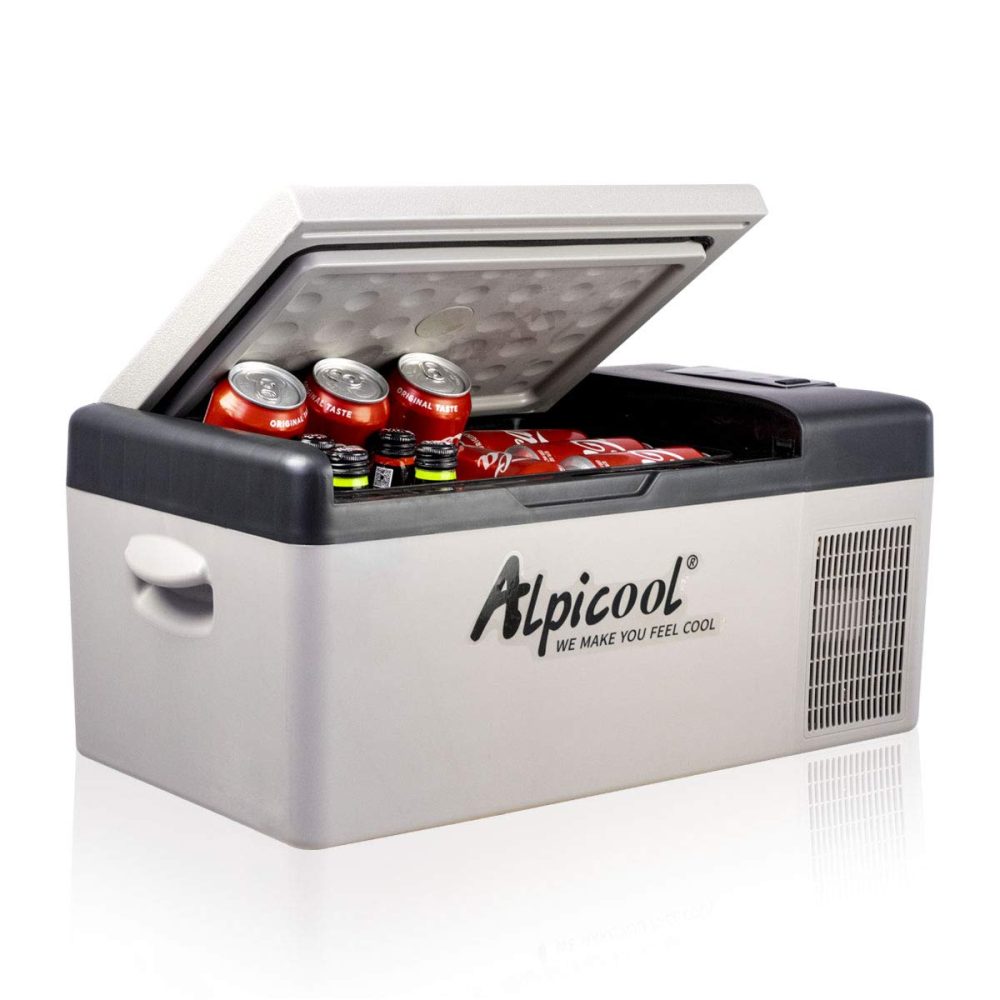 Conclusion
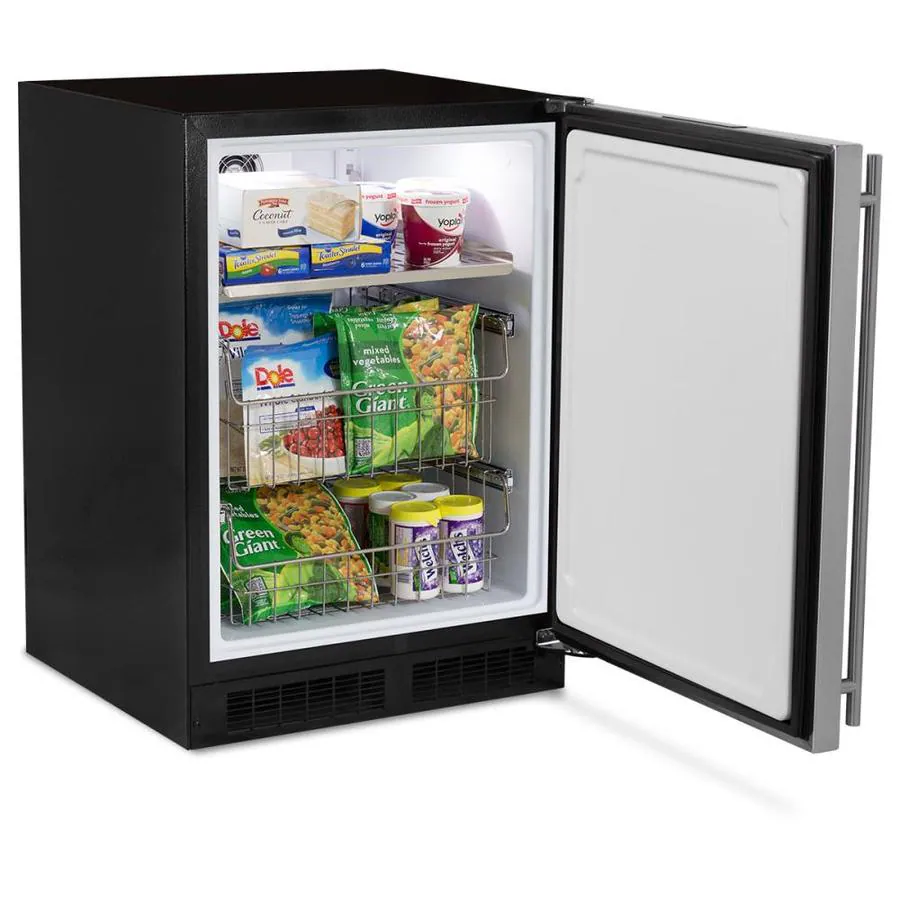 Why Choose a Mini Fridge with Freezer?
 Top Mini Fridge with Freezer Models on Sale
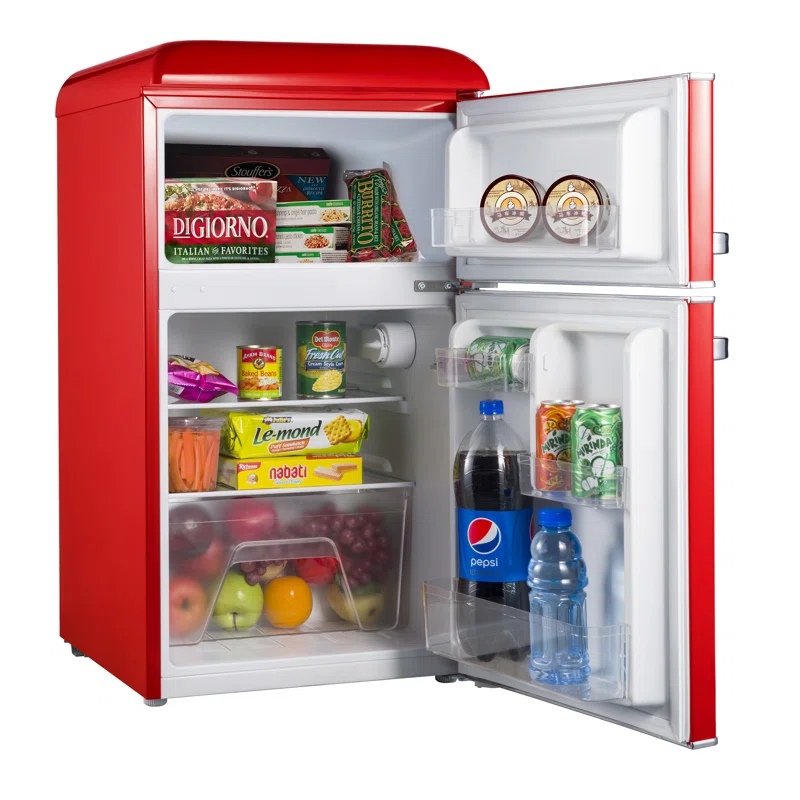 How to Find the Best Mini Fridge with Freezer Deals
 Maintenance Tips for Your Mini Fridge with Freezer
 Conclusion
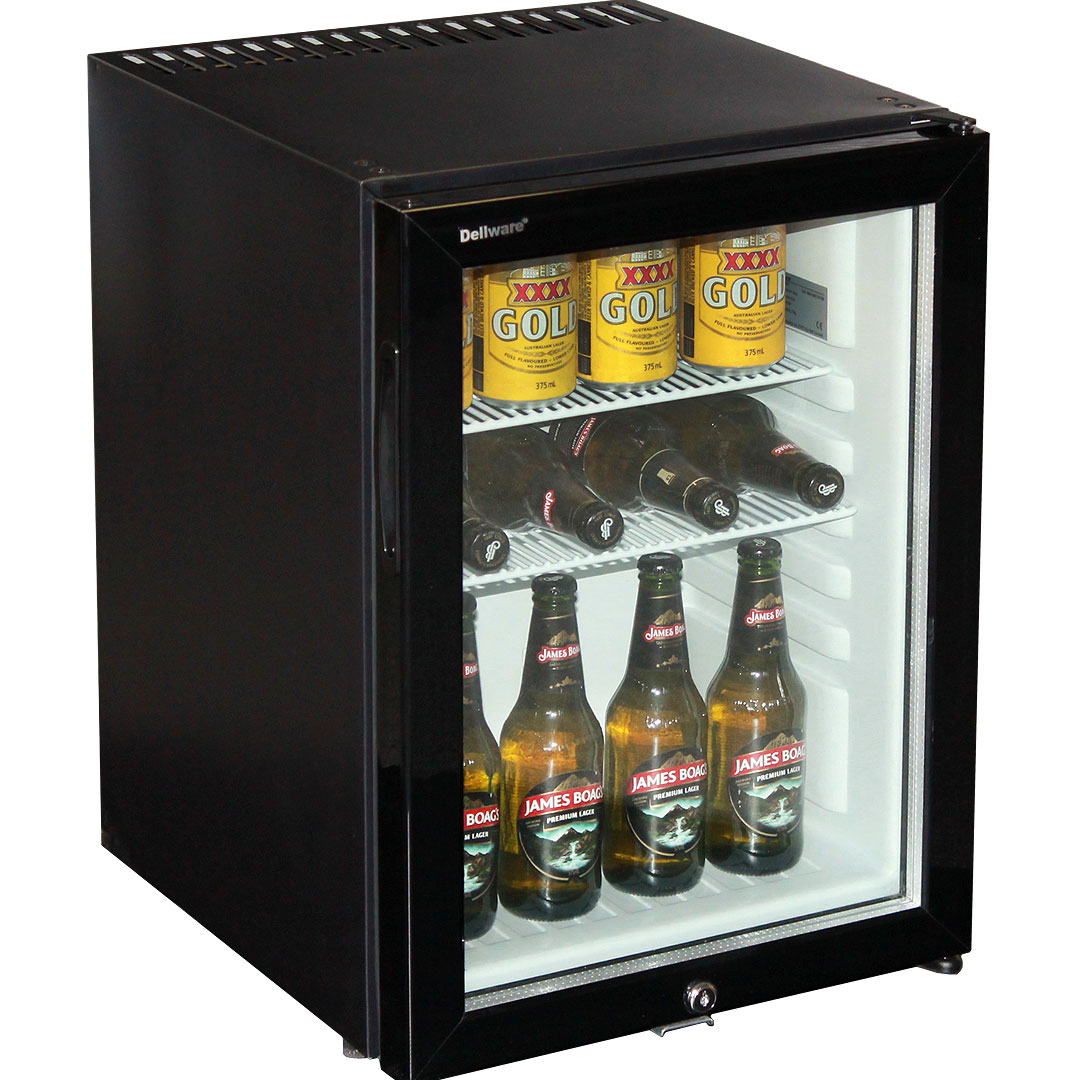 Top Small Bar Fridge Models on the Market
 Practical Tips for Using a Small Bar Fridge
 Comparing Small Bar Fridges to Traditional Refrigerators
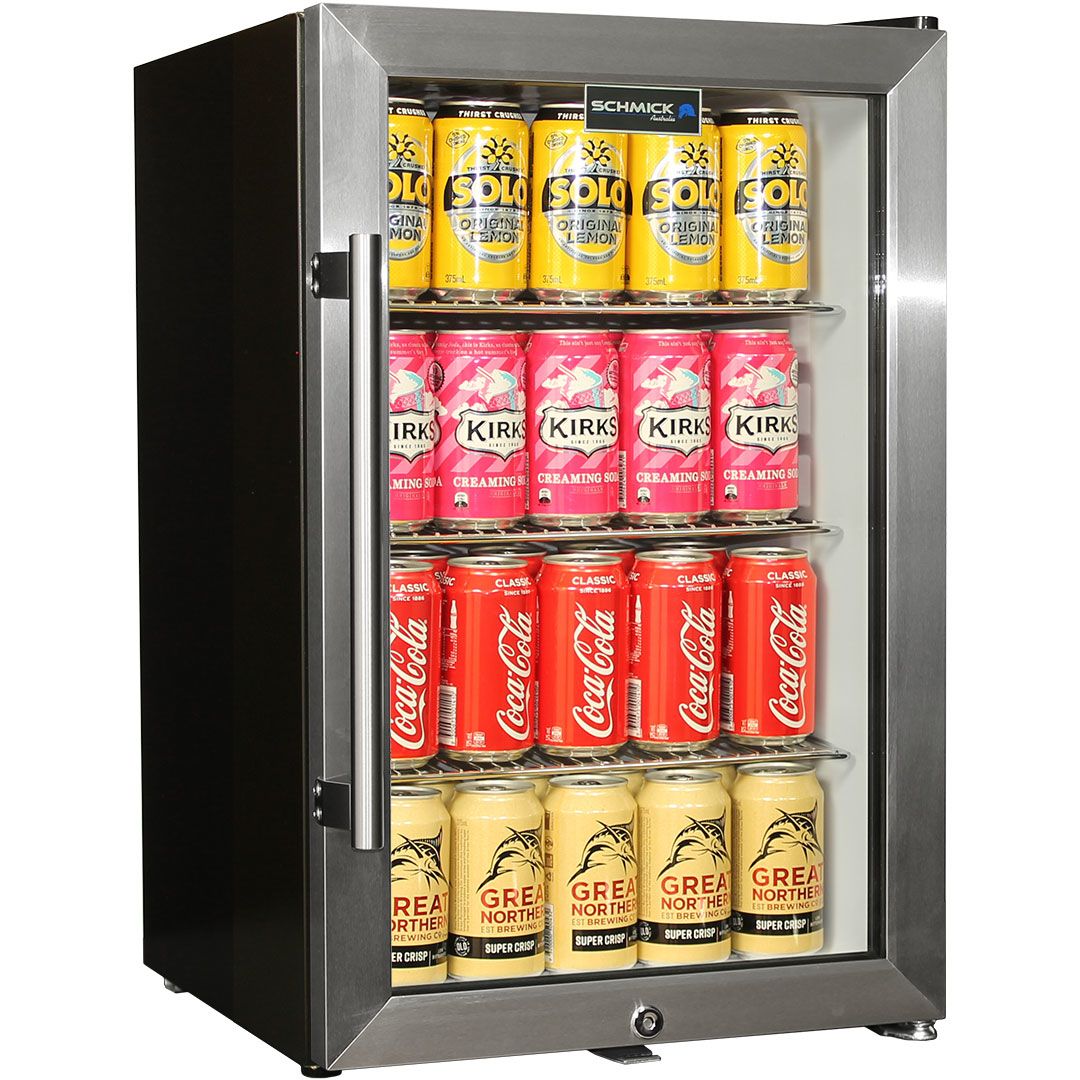 Future Trends in Small Bar Fridges Technology
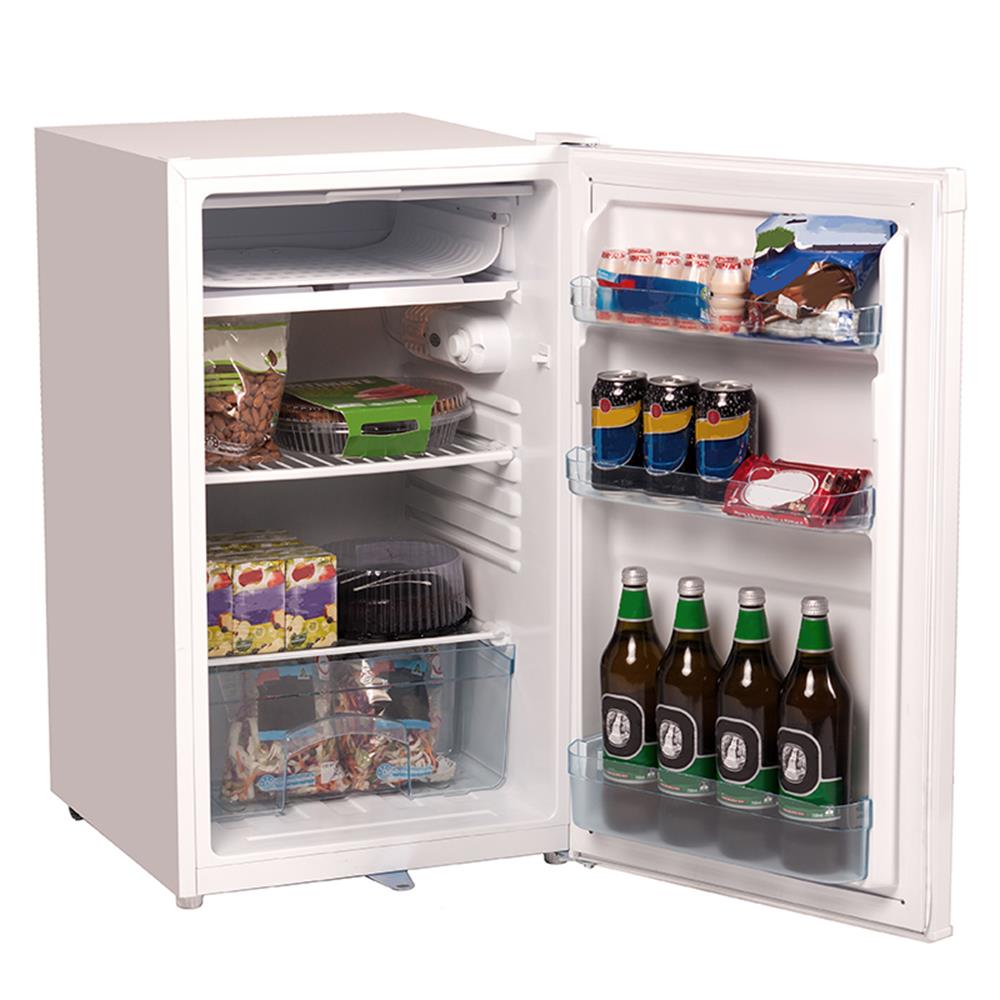 Conclusion
 Benefits of Having a Mini Fridge Cool in the Bedroom
 Installation and Placement Tips for Your Mini Fridge Cool
 Comparing Mini Fridge Cool Types for the Bedroom
 Expert Tips for Selecting the Best Mini Fridge Cool for Your Bedroom
 Conclusion