Introduction:
Storing and managing ground beef properly in your refrigerator is crucial to ensuring food safety and maintaining its quality. This comprehensive guide explores how long ground beef lasts in the refrigerator, the factors that affect its shelf life, signs of spoilage, proper storage methods, and tips to maximize its freshness. Understanding these aspects helps you minimize waste, prevent foodborne illnesses, and enjoy your meals with peace of mind.
How Long Is Ground Beef Good in the Refrigerator?
Understanding the Refrigeration Lifespan of Ground Beef
The shelf life of ground beef varies depending on several factors, including storage conditions and packaging.
General Shelf Life: Typically, ground beef lasts 1 to 2 days in the refrigerator. This short shelf life requires prompt cooking or freezing to prevent spoilage. Ground beef contains more surface area than whole cuts, making it more susceptible to bacteria growth.
Factors Affecting Shelf Life: Several factors influence how long ground beef remains fresh in the refrigerator:
- Freshness at Purchase: Ground beef that’s very fresh when purchased will last longer.
- Temperature: Maintaining a refrigerator temperature at or below 40°F (4°C) slows bacterial growth, extending the shelf life.
- Packaging: Quality packaging that’s airtight and minimizes exposure to air helps preserve freshness.
- Handling: Proper handling, such as avoiding contamination with other foods, also plays a critical role.
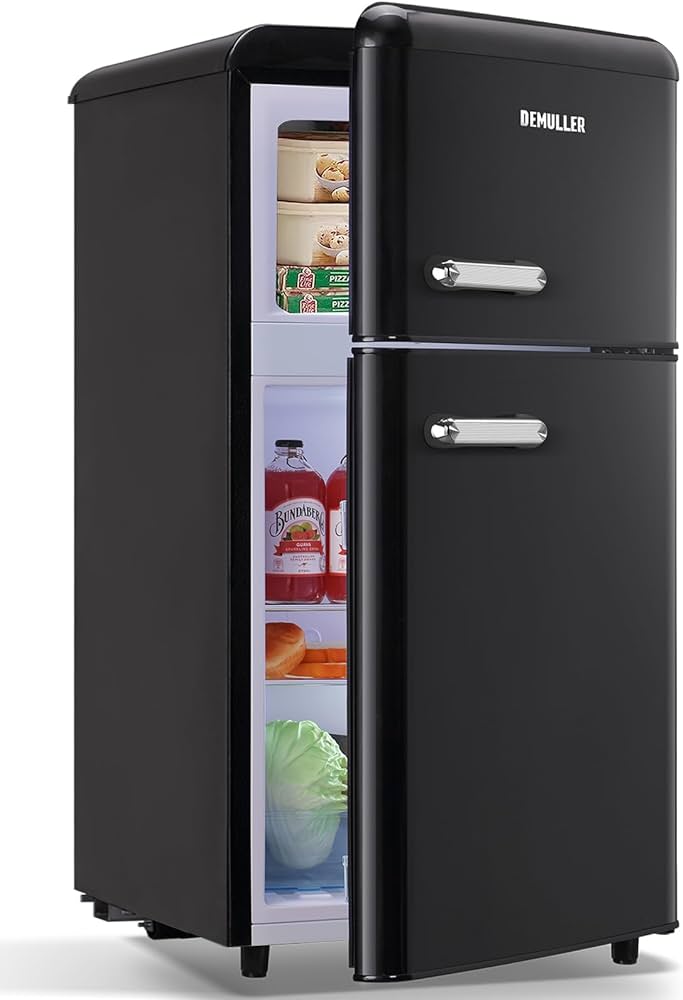
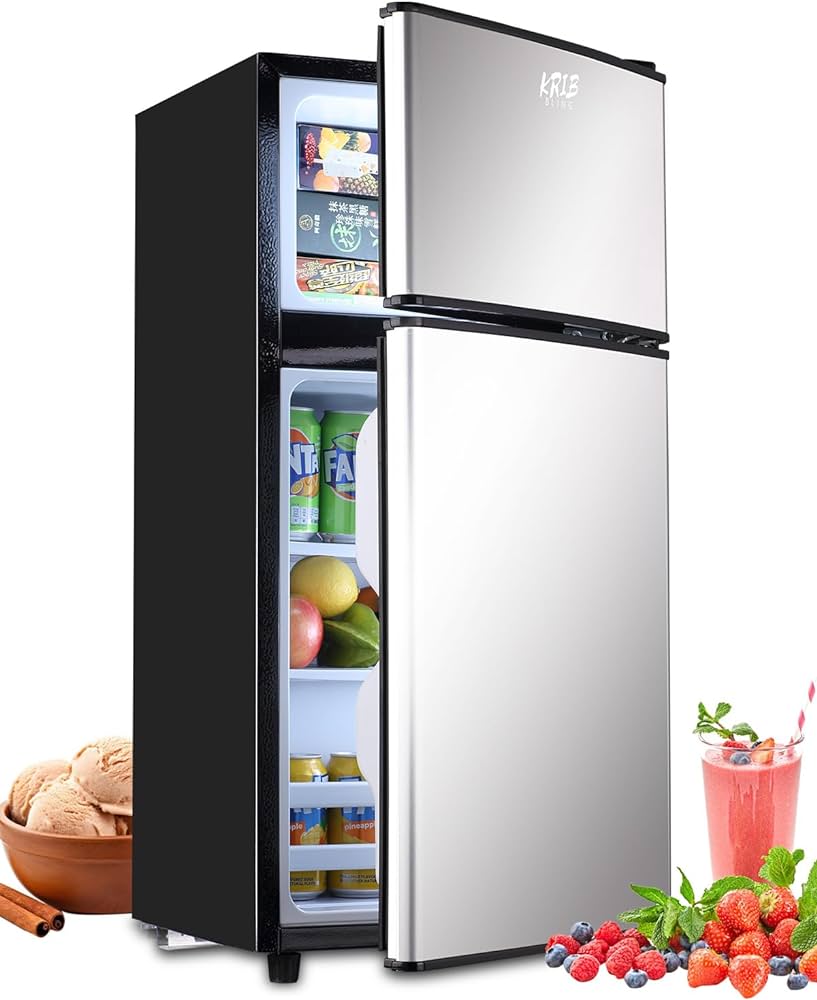
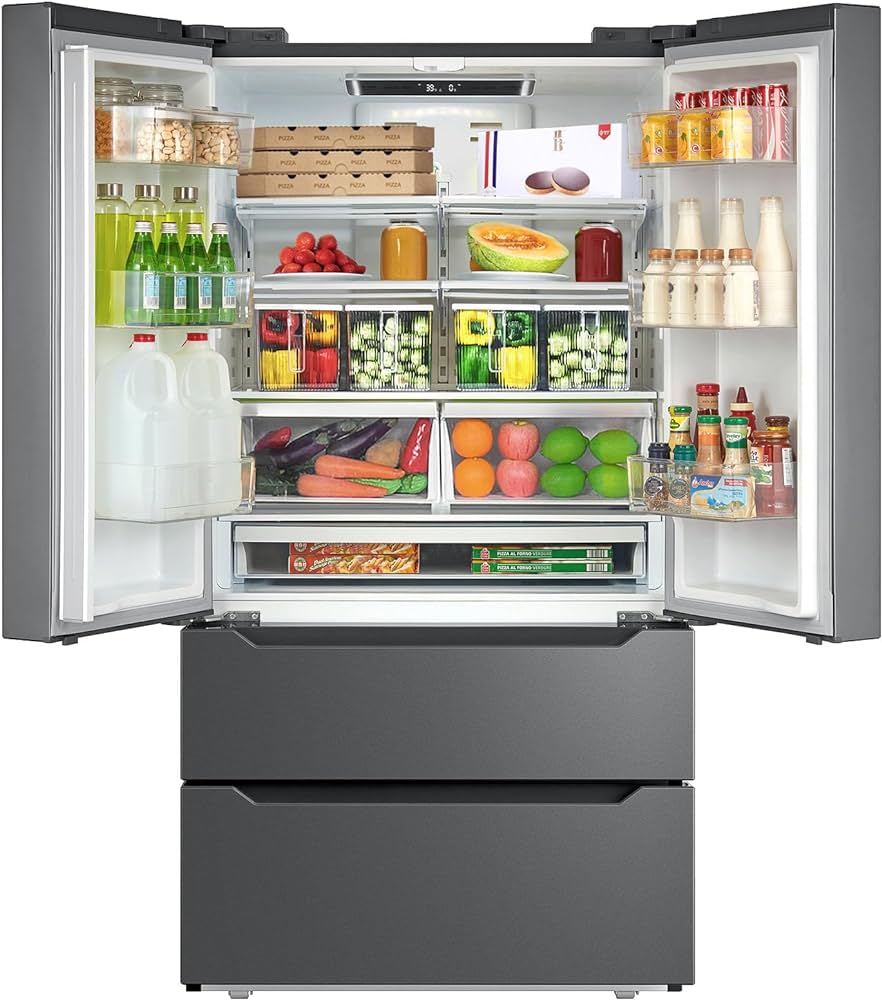
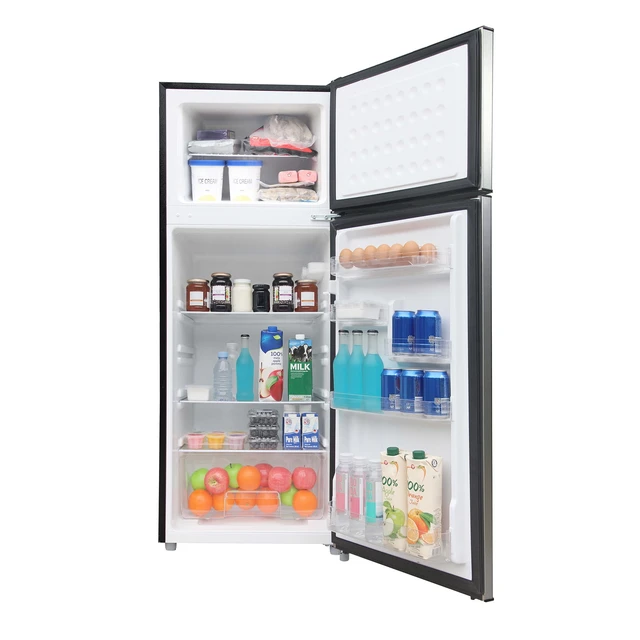
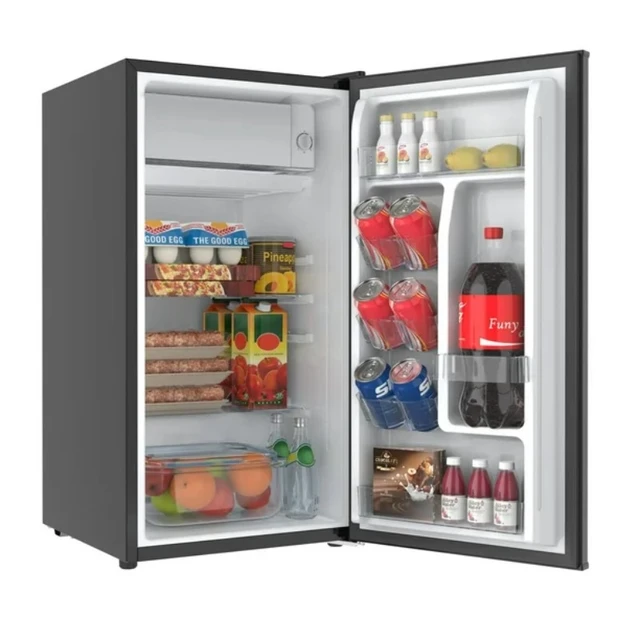
Storing Ground Beef Properly in the Refrigerator
Proper storage methods significantly impact how long ground beef remains safe and fresh.
Check the Expiry Date: Before purchasing ground beef, check the “sell by” or “use by” date. Choose packages with the furthest date for maximum freshness. Remember that the “sell by” date indicates the last day it should be sold, not necessarily consumed.
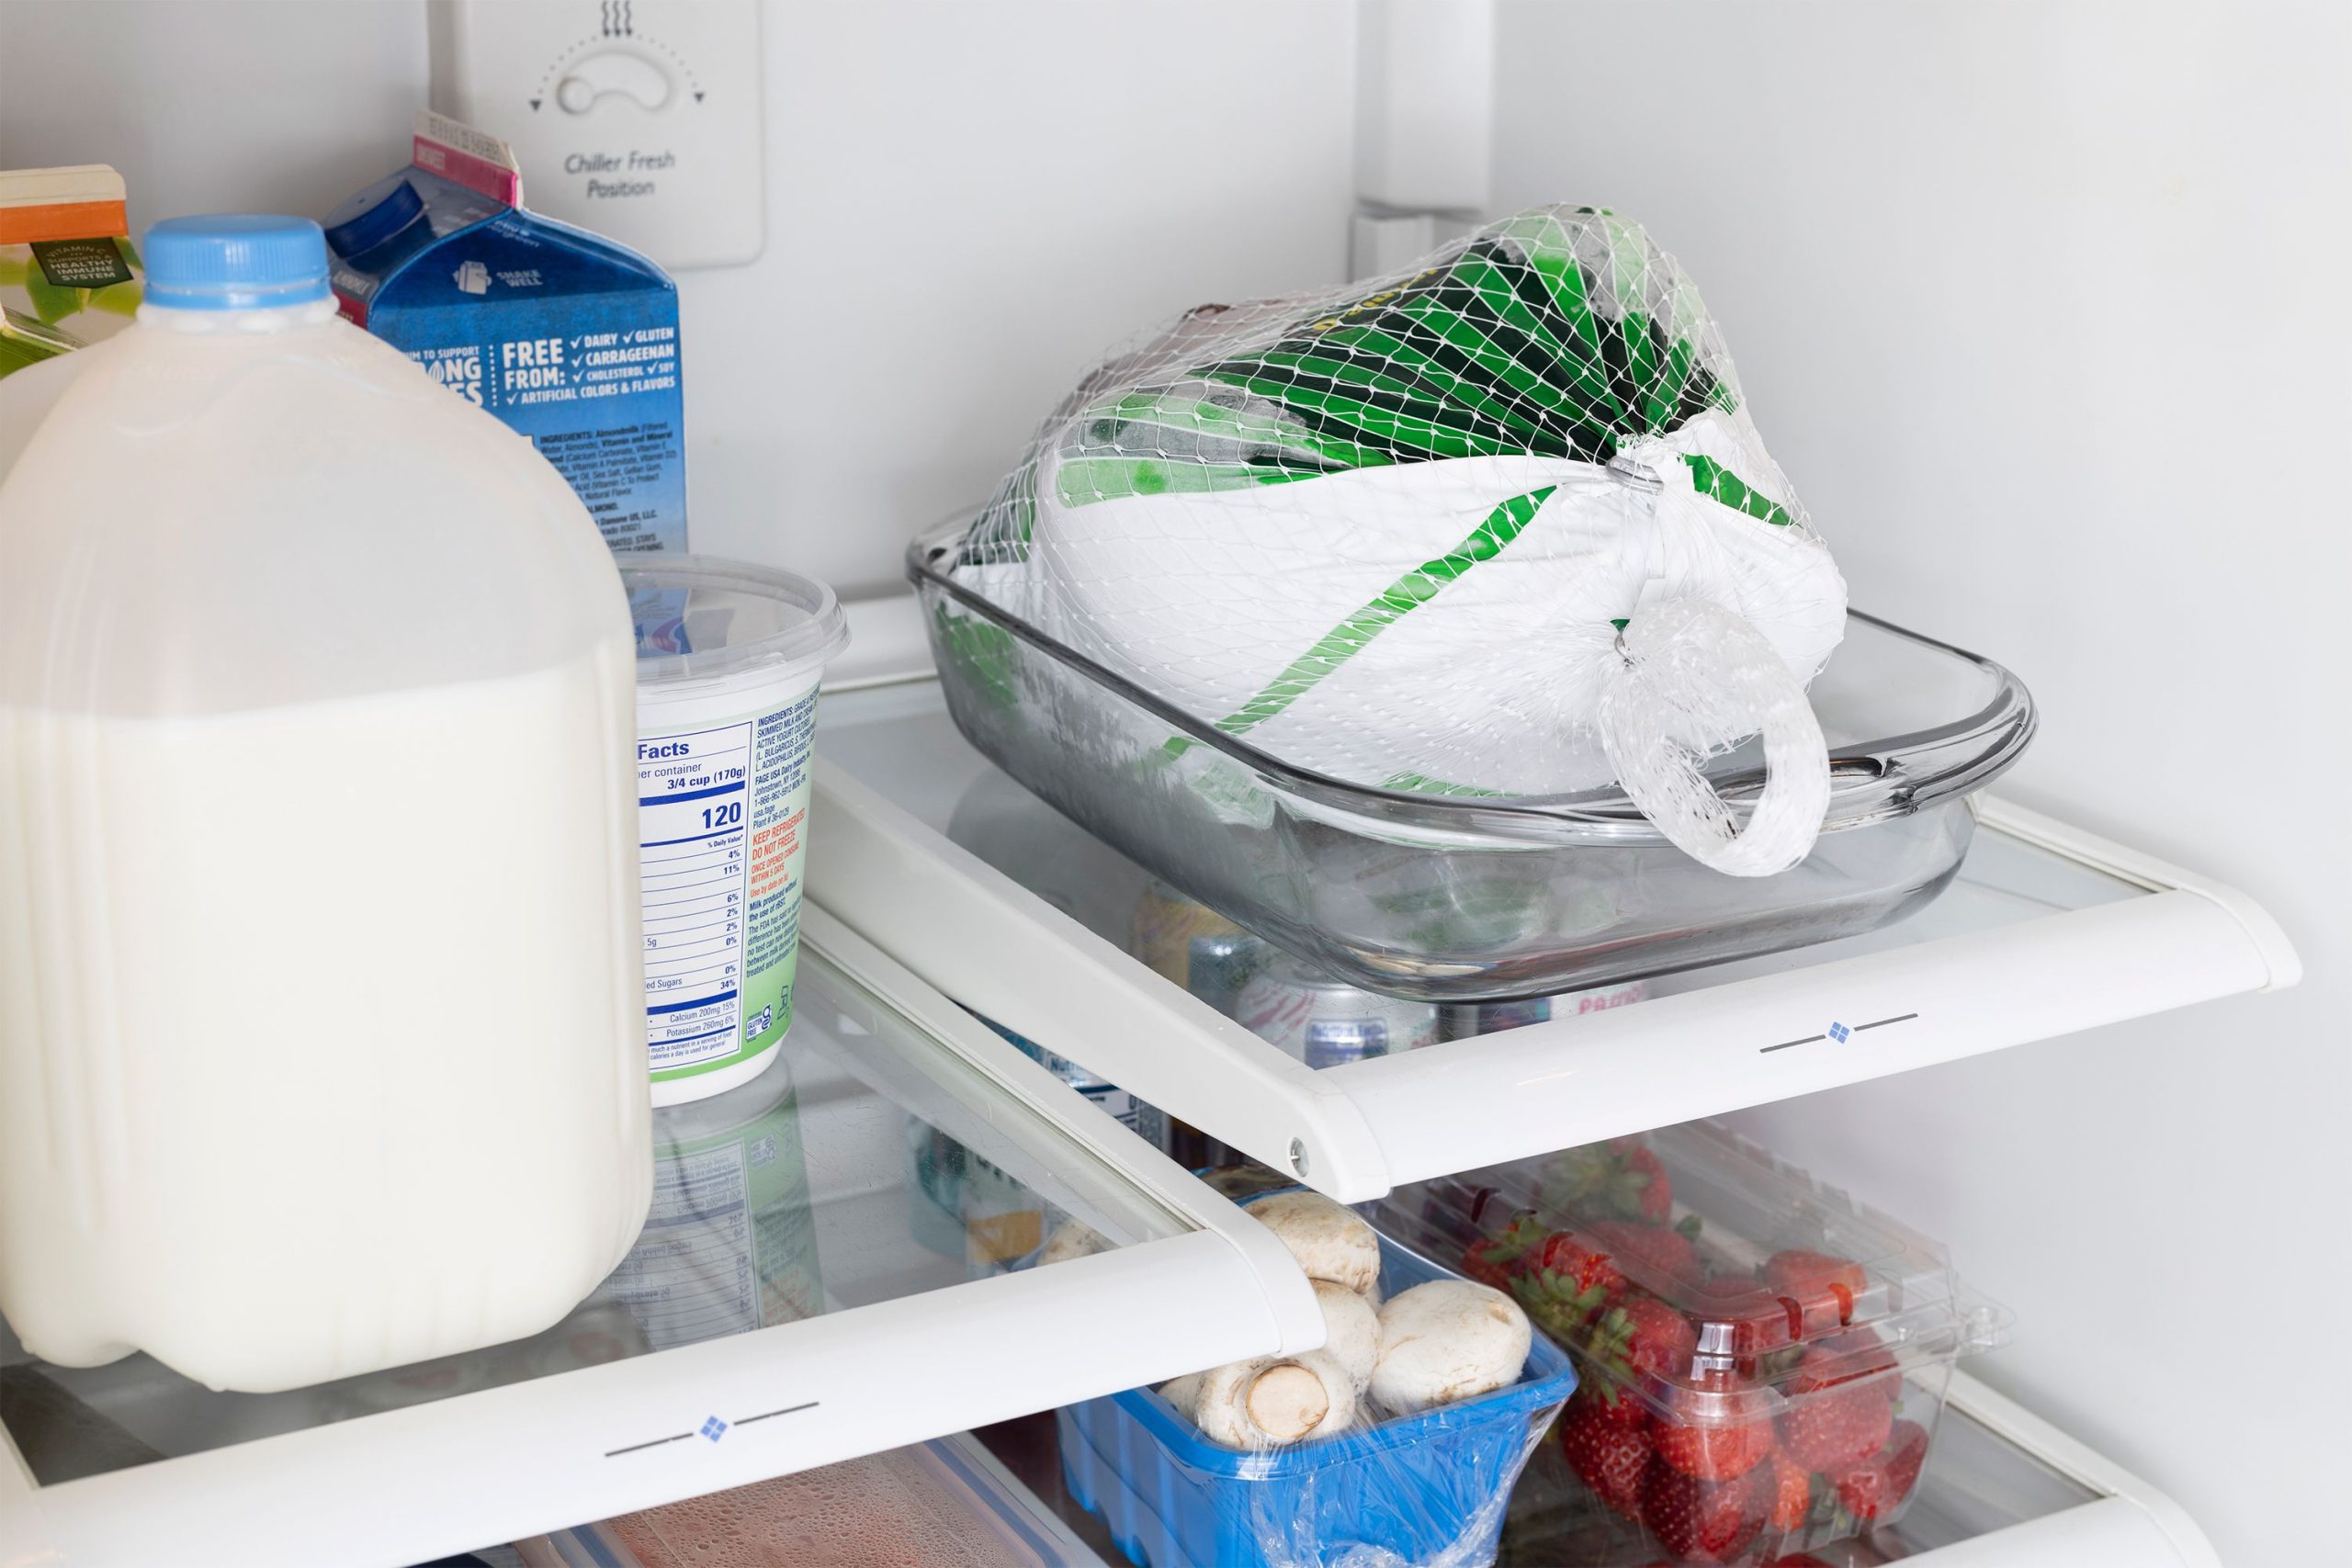
Refrigeration Temperature: Ensure your refrigerator maintains a steady temperature at or below 40°F (4°C). Use a refrigerator thermometer to monitor and adjust the temperature settings as needed.
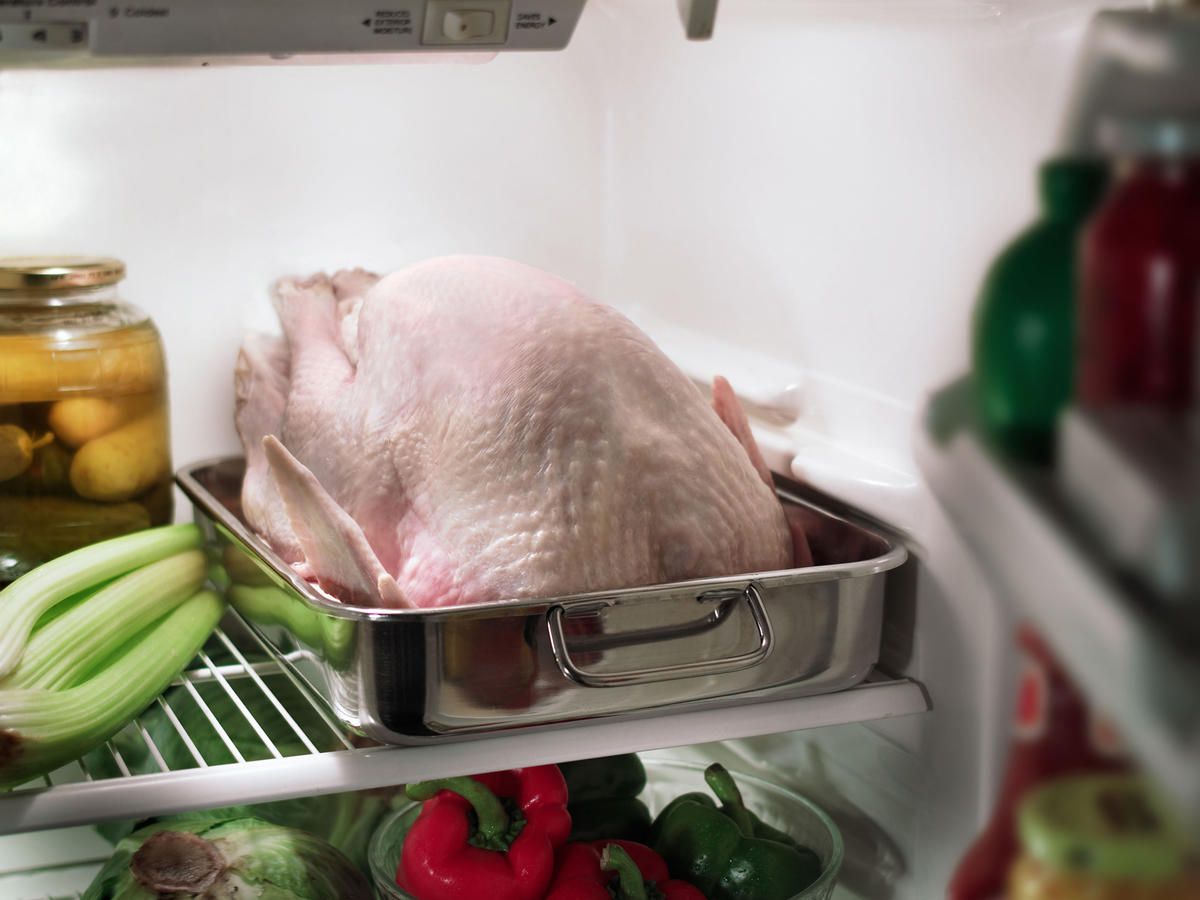
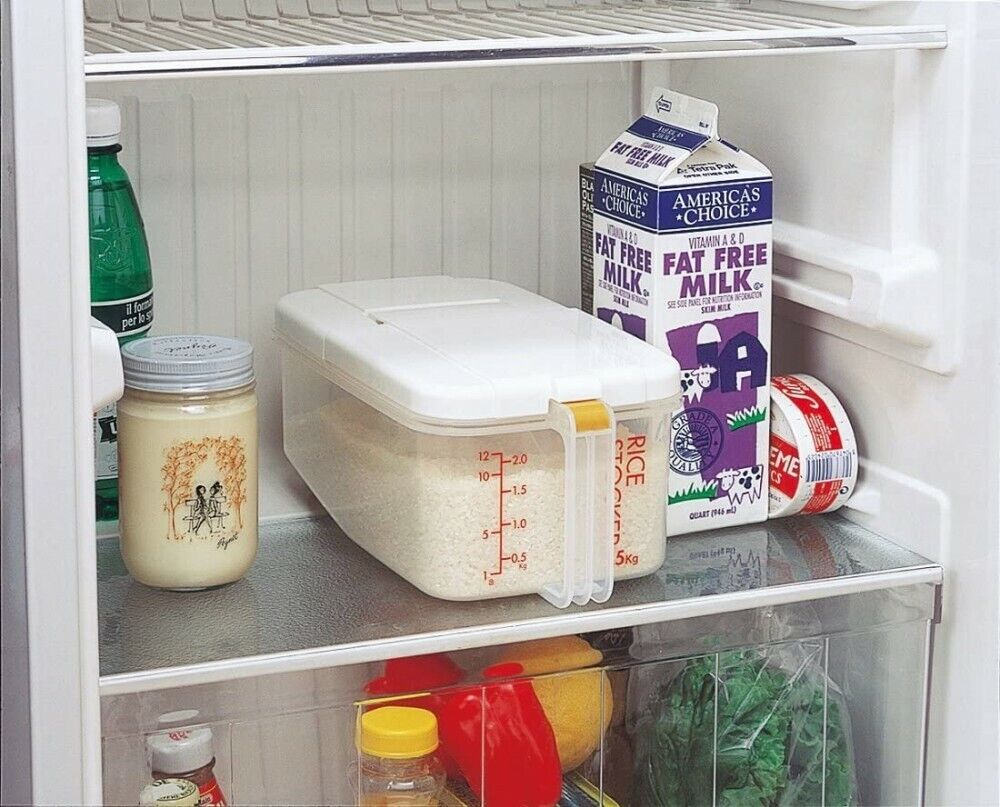
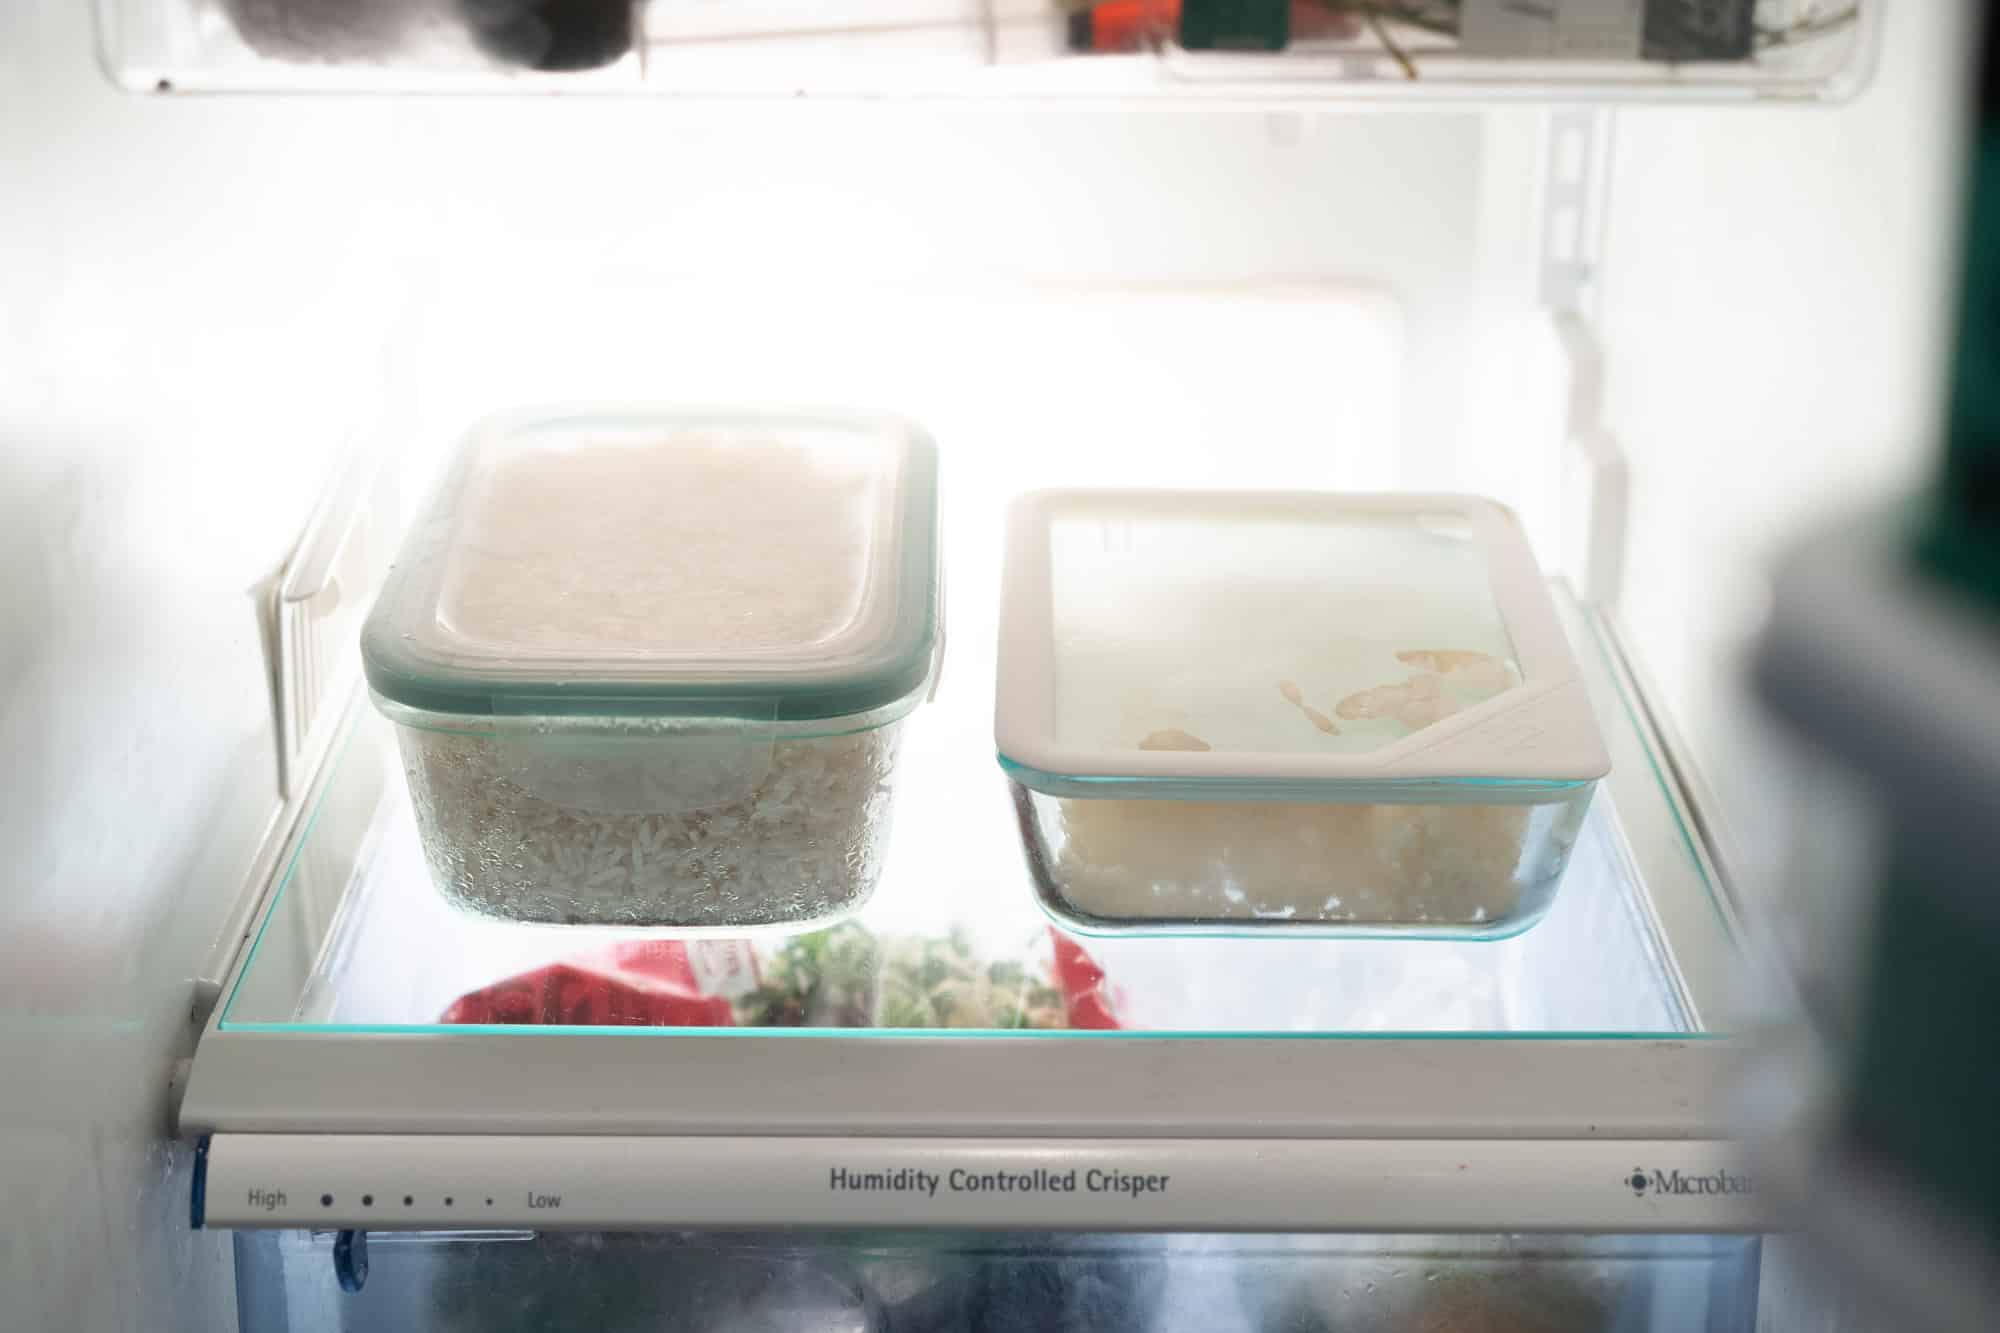
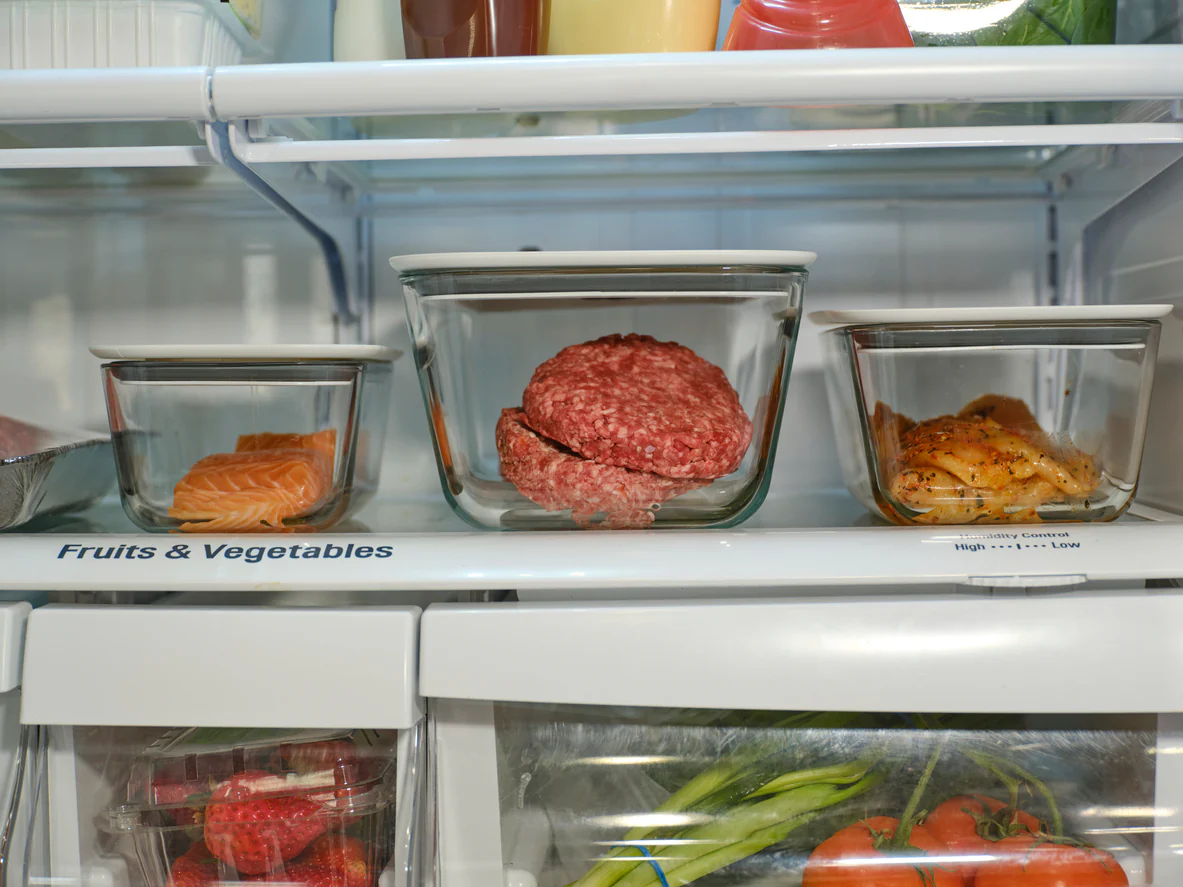
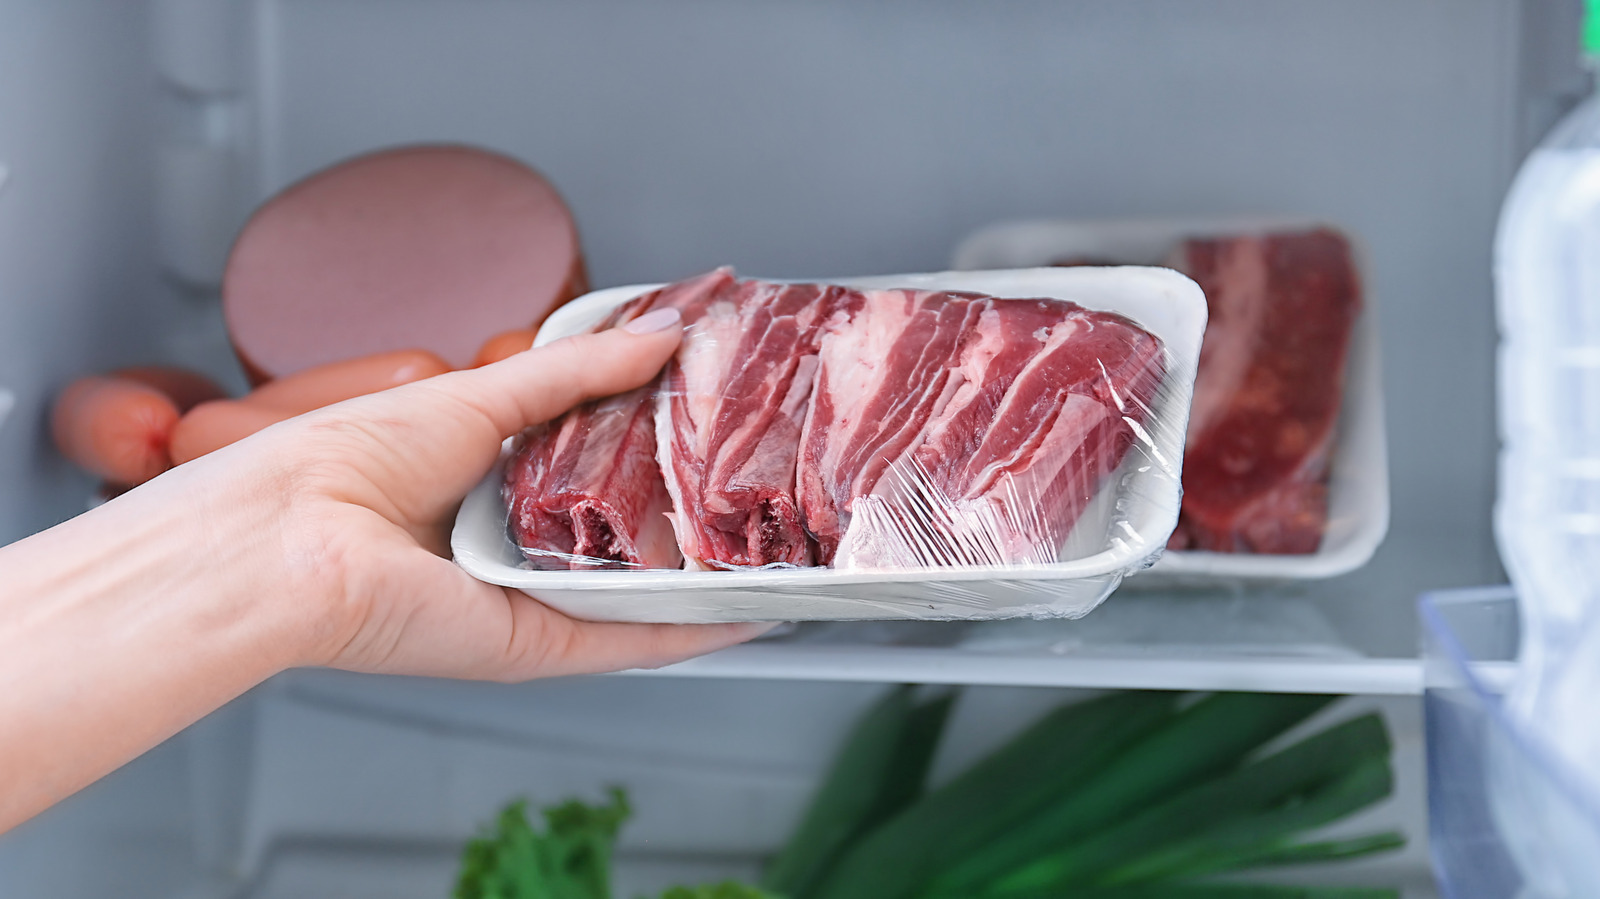
Optimal Packaging: Store ground beef in its original packaging if unopened. If opened or repackaged, transfer it to an airtight container or wrap it tightly in plastic wrap or aluminum foil to prevent exposure to air and contaminants.
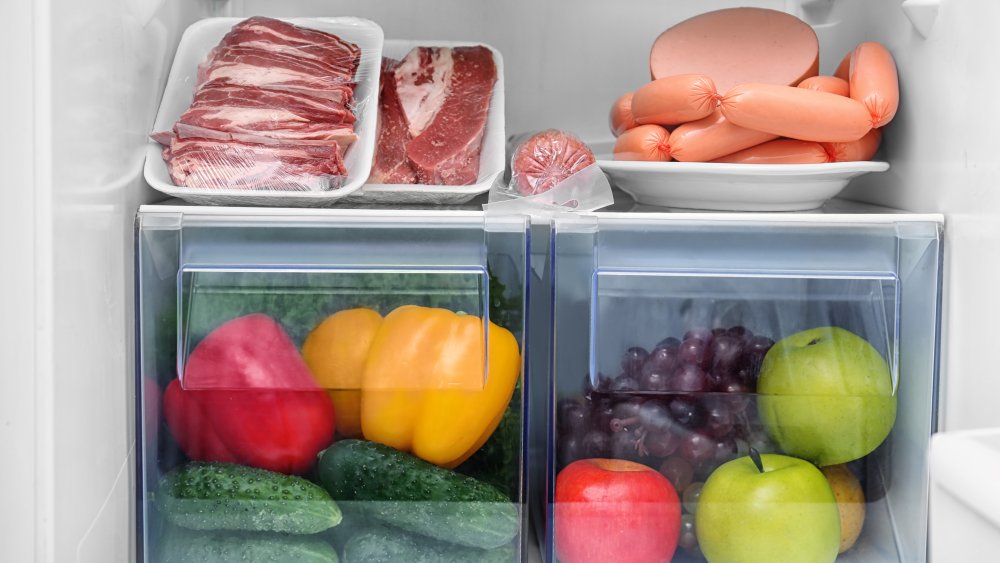
Separate from Other Foods: Store ground beef on the bottom shelf or in a designated meat drawer, separate from other foods to avoid cross-contamination. Place it on a plate or in a container to catch any drips and prevent juices from contaminating other items.
Signs of Spoilage to Watch For
Recognizing the signs of spoilage is essential to determine if ground beef is still safe to consume.
Color Changes: Fresh ground beef usually has a bright red color due to oxygen exposure. However, discoloration to a dull brown or gray doesn’t necessarily indicate spoilage if it’s been stored properly. Yet, green, black, or off-color patches are clear signs of spoilage.
Texture Changes: Spoiled ground beef often develops a slimy or sticky texture. This change indicates bacterial growth, even if there’s no visible discoloration.
Unpleasant Odor: Fresh ground beef has a mild, meaty smell. A strong, unpleasant, or sour odor is a definitive sign that the meat has spoiled and should be discarded.
Presence of Mold: Growth of mold on ground beef, appearing as white, green, blue, or gray fuzzy spots, is an unmistakable sign of spoilage. Mold often means the meat is far past its safe consumption period.
Tips to Maximize Freshness and Safety
Maximizing the freshness of ground beef involves following best practices from purchase to preparation.
Buy Fresh: Purchase ground beef close to when you plan to cook it. Avoid keeping it in the refrigerator for days before use.
Use or Freeze Promptly: If you’re not planning to cook ground beef within 1 to 2 days of purchase, freeze it. Freezing halts bacterial growth and preserves the meat’s quality for longer periods.
Avoid Temperature Fluctuations: Minimize the time ground beef is exposed to room temperature. Transfer it to the refrigerator or freezer as soon as possible after purchase and only take it out when you’re ready to cook.
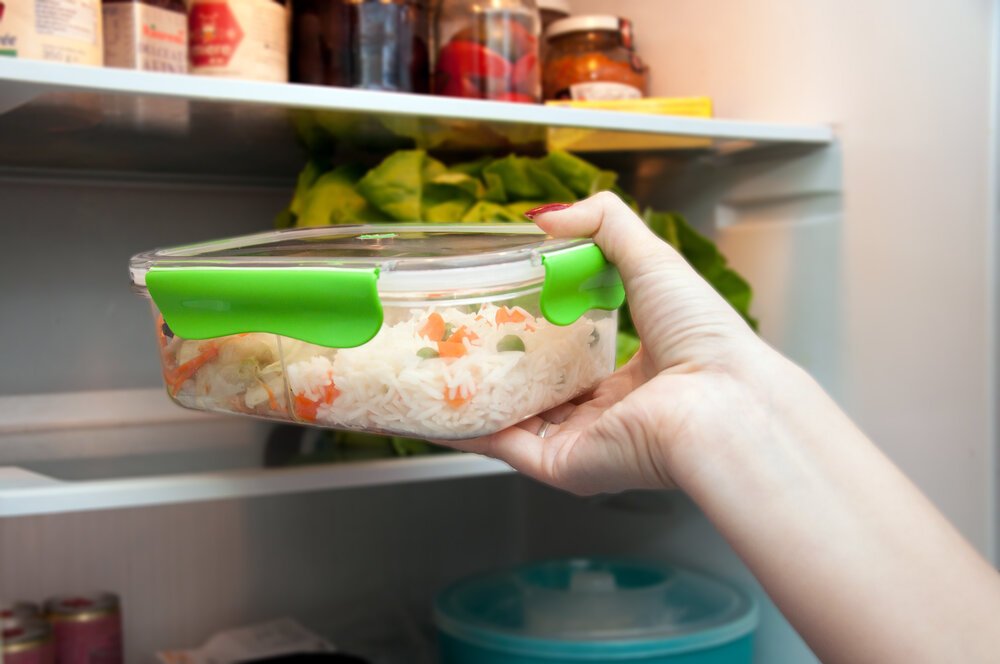
Refrigerate Leftovers Soon: If you cook ground beef and have leftovers, refrigerate them within two hours. Store leftovers in airtight containers and consume them within 3 to 4 days.
Defrost Safely: If you’ve frozen ground beef, defrost it in the refrigerator rather than at room temperature to prevent bacterial growth. For quicker thawing, use a microwave or submerge it in cold water, changing the water regularly.
Health Risks of Consuming Spoiled Ground Beef
Understanding the potential health risks of consuming spoiled ground beef underscores the importance of proper storage and vigilance.
Foodborne Illnesses: Spoiled ground beef can harbor harmful bacteria, such as Escherichia coli (E. coli), Salmonella, and Listeria. Consuming contaminated meat may lead to foodborne illnesses with symptoms like nausea, vomiting, diarrhea, abdominal cramps, and fever.
Severe Complications: In severe cases or for vulnerable populations (young children, elderly, pregnant women, and individuals with weakened immune systems), foodborne illnesses can lead to serious health complications or even be life-threatening.
Preventive Measures: To avoid the risk of foodborne illness, always ensure ground beef is fresh before consumption, follow proper storage guidelines, and cook it to a safe internal temperature of at least 160°F (71°C).
Freezing Ground Beef to Extend Shelf Life
Freezing is an effective method to extend the shelf life of ground beef while preserving its quality.
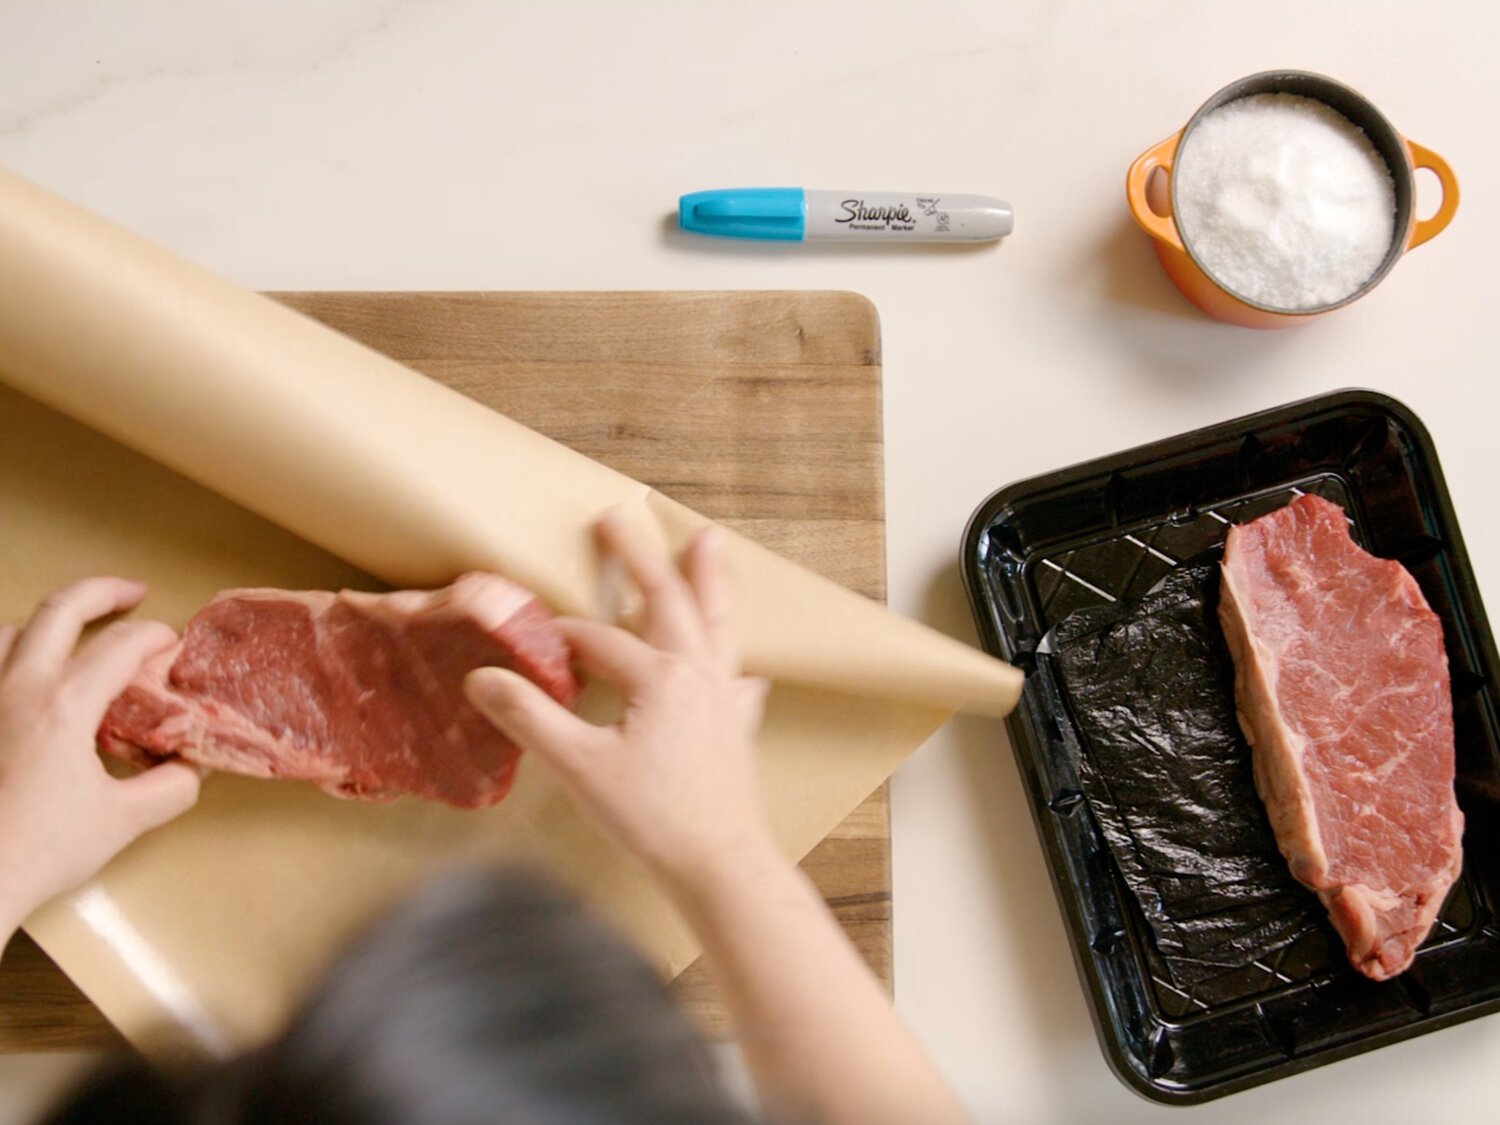
How Long Can You Freeze Ground Beef? Ground beef can be frozen for up to 3 to 4 months while maintaining its best quality. Label the packaging with the date of freezing to keep track of storage time.
Proper Freezing Techniques: For optimal results, follow these steps to freeze ground beef:
Portion Control: Divide ground beef into meal-sized portions before freezing. This practice ensures you only defrost what you need, reducing waste.
Vacuum Seal or Wrap Tightly: Use a vacuum sealer to remove air and seal ground beef airtight. If vacuum sealing is unavailable, wrap the meat tightly in plastic wrap, followed by aluminum foil or a heavy-duty freezer bag. Removing as much air as possible minimizes freezer burn.
Thawing Frozen Ground Beef: Thaw frozen ground beef in the refrigerator overnight. For quicker thawing, use a microwave’s defrost setting or submerge the sealed package in cold water, changing the water every 30 minutes until defrosted.
Preventative Tips to Maintain Freshness and Safety
Implementing regular practices can help maintain the freshness and safety of ground beef.
Regularly Monitor Refrigerator Temperature: Continuously check and adjust refrigerator temperatures to maintain a safe range for storing perishables, including ground beef.
Adopt FIFO (First In, First Out): Organize your refrigerator using the FIFO principle. Place newer items behind older ones to ensure older products are used first, reducing waste and spoilage.
Educate on Safe Handling Practices: Ensure everyone in your household knows and follows safe handling practices. Clean hands, utensils, and surfaces thoroughly to prevent cross-contamination.
Minimize Ground Beef Exposure: When handling ground beef, minimize its exposure to room temperature by promptly refrigerating or cooking it. Use clean, separate utensils and cutting boards for raw and cooked foods.
User Insights and Experiences
Learning from other users’ experiences can provide valuable insights and tips for managing ground beef in your refrigerator.
Positive Feedback: Many users emphasize the importance of checking expiry dates, maintaining proper refrigeration temperatures, and prompt usage or freezing of ground beef to ensure freshness and safety.
Common Issues and Solutions: Frequently encountered problems include premature spoilage due to improper storage or handling. Solutions include investing in airtight containers, regular refrigerator maintenance, and adhering to recommended storage times.
Importance of Visual and Sensory Checks: Users often highlight the value of visual and sensory checks—examining color, texture, and smell—to determine ground beef freshness before use.
Comparison of Fresh vs. Frozen Ground Beef: While fresh ground beef is preferred for immediate cooking, freezing is lauded for its effectiveness in extending shelf life without significantly compromising quality. Balancing fresh and frozen options caters to varying needs and consumption patterns.
Conclusion
Determining how long ground beef is good in the refrigerator involves understanding its short shelf life, proper storage methods, vigilance for signs of spoilage, and implementing preventative measures. Ground beef typically lasts 1 to 2 days in the refrigerator, but proper handling and storage can help maximize its freshness. Freezing ground beef extends its shelf life significantly, providing a convenient solution for longer storage. By following the detailed guidelines in this comprehensive guide, you can ensure safe consumption, minimize waste, and enhance your overall food safety practices. Whether using fresh or frozen ground beef, maintaining a keen awareness of storage and handling principles is essential for a healthy and enjoyable culinary experience.