
Introduction
In today’s fast-paced lifestyle, having immediate access to chilled beverages can significantly enhance your daily routine. A mini beverage fridge offers a compact and convenient solution for keeping your drinks cool, whether you’re at home, in the office, or even traveling. But is a beverage fridge worth it? This article delves into the advantages, practical uses, and key considerations of investing in a mini beverage fridge, helping you determine if this appliance is the right addition to your space.
 The Appeal of Beverage Mini Fridges
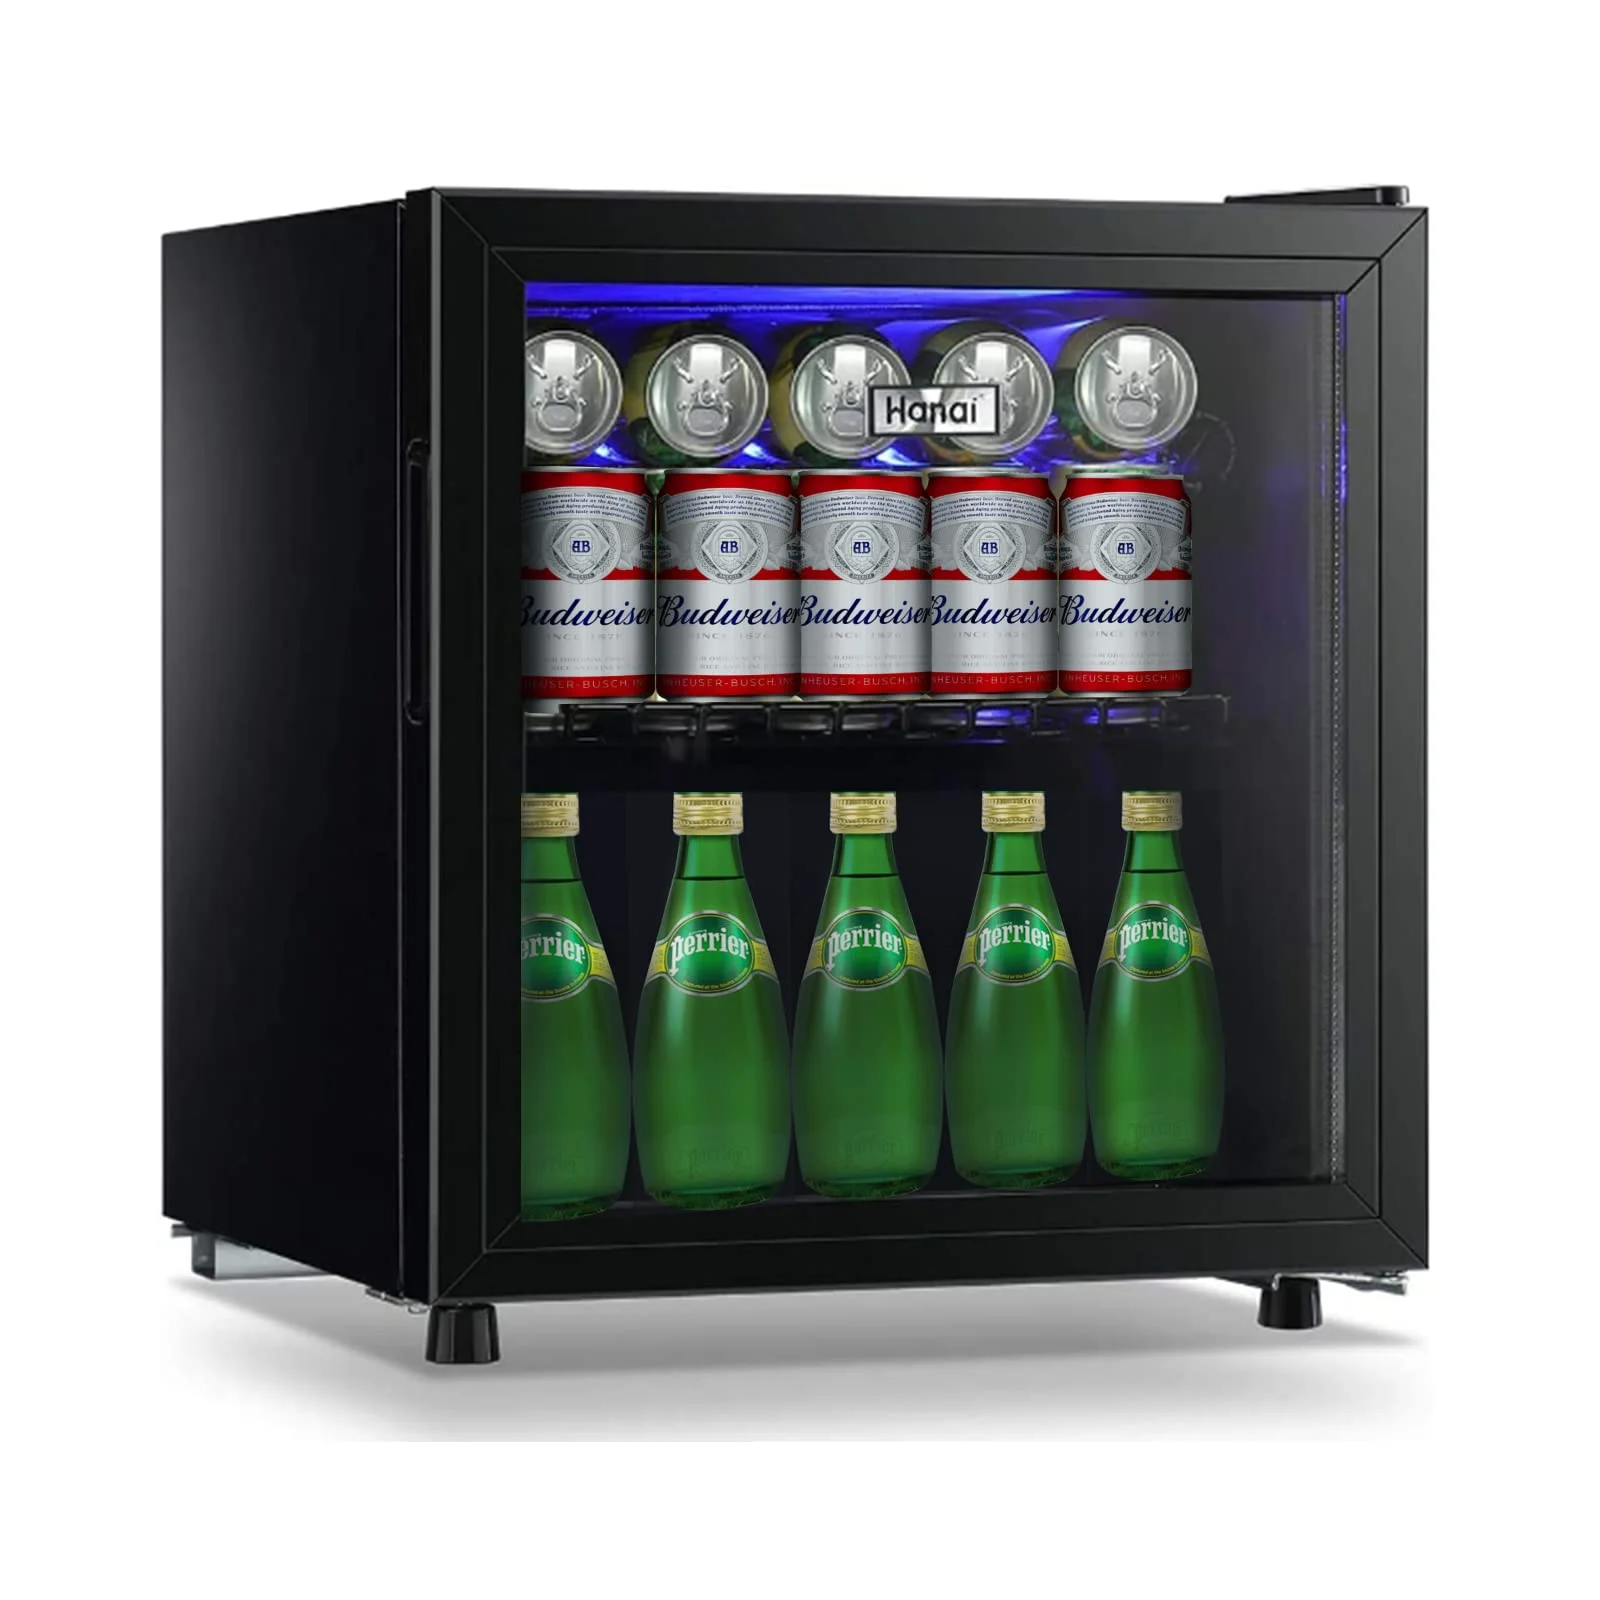
Mini beverage fridges have gained popularity due to their versatility and convenience. Firstly, they provide a dedicated space for storing your favorite drinks, eliminating the need to constantly reach for the main refrigerator. Moreover, their compact size makes them ideal for environments where space is limited, such as dorm rooms, offices, or small apartments.
Space-Saving Design and Portability
One of the primary advantages of a mini beverage fridge is its space-saving design. Unlike traditional refrigerators, these compact units take up minimal space. You can place them in bedrooms, home offices, or entertainment centers without clutter. Their lightweight and portable design allows for easy movement between rooms. You can even take them on trips to keep your beverages cool wherever you go.
Energy Efficiency and Cost-Effectiveness
Furthermore, mini beverage fridges consume significantly less energy compared to full-sized refrigerators. This makes them an energy-efficient choice, helping you reduce your electricity bills while still enjoying chilled beverages. Additionally, since they are smaller, the initial investment cost is much lower, making them an affordable option for those looking to enhance their beverage storage without a substantial financial commitment.
Practical Uses of a Beverage Mini Fridge
A mini beverage fridge offers numerous practical applications beyond just storing drinks. By understanding these uses, you can maximize the functionality and value of your appliance.
Enhancing Home Entertaining
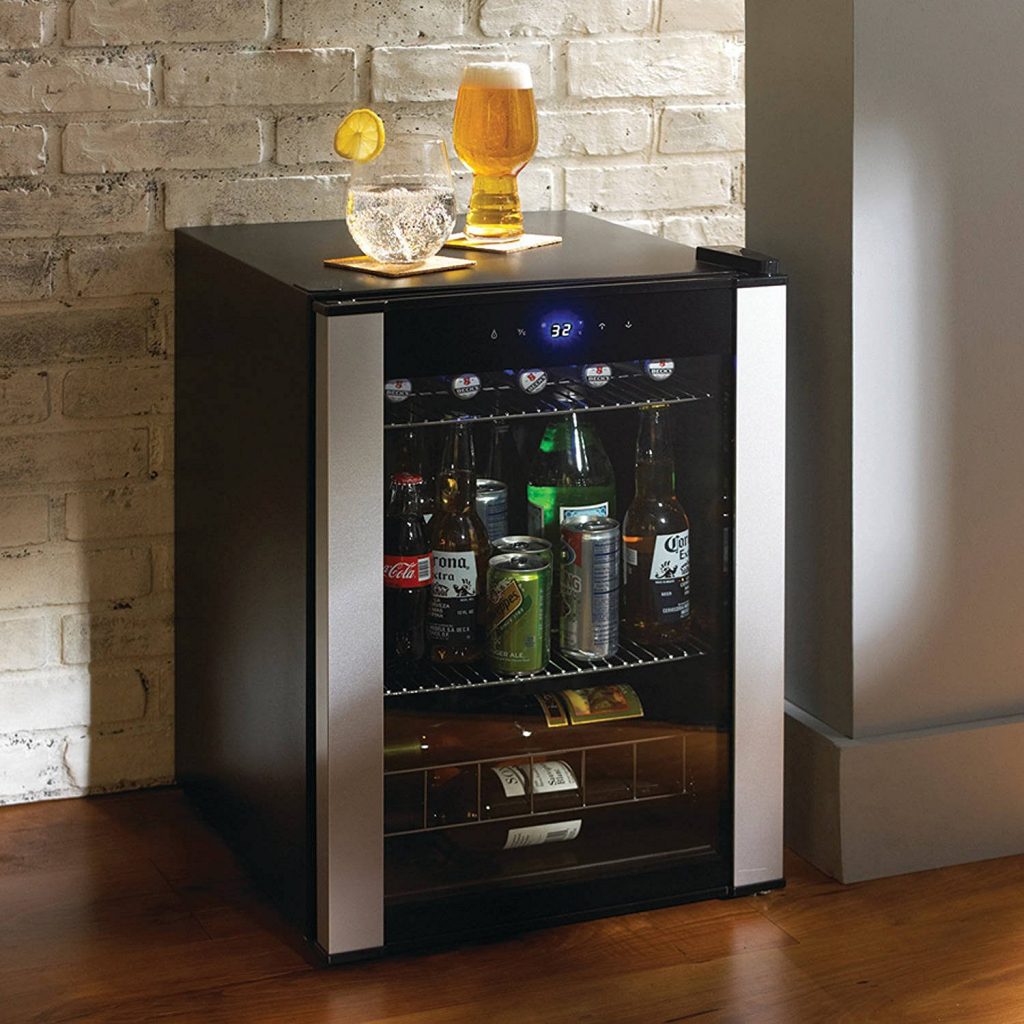
Firstly, a mini beverage fridge is a fantastic addition to any home entertainment setup. Whether you’re hosting a movie night or a small gathering, having a nearby supply of cold beverages ensures that guests remain satisfied without the need to make frequent trips to the kitchen. This enhances the overall hosting experience, making your events more enjoyable and seamless.
Office Convenience and Efficiency
Additionally, in office settings, a mini beverage fridge can contribute to increased productivity and employee satisfaction. By providing easy access to cold drinks, employees can stay refreshed throughout the day, reducing downtime and fostering a more comfortable work environment. Moreover, it serves as a convenient place to store personal beverages, eliminating the need for communal refrigerators and ensuring that everyone’s drinks remain undisturbed.
Travel and Outdoor Activities
Moreover, the portability of mini beverage fridges makes them ideal for travel and outdoor activities. Whether you’re on a road trip, camping, or attending an outdoor event, a portable mini fridge can keep your drinks cold and fresh, ensuring that you stay hydrated and refreshed no matter where you are. This versatility adds significant value, making it a worthwhile investment for those who enjoy an active lifestyle.
 Features to Consider When Choosing a Beverage Mini Fridge
Selecting the right mini beverage fridge involves evaluating various features to ensure it meets your specific needs and preferences. Here are some key aspects to consider:
Size and Capacity
Firstly, assess the size and capacity of the mini beverage fridge. Consider how many beverages you typically need to store and choose a model that accommodates your requirements without taking up unnecessary space. Additionally, measure the designated area where you plan to place the fridge to ensure a perfect fit.
Temperature Control and Settings
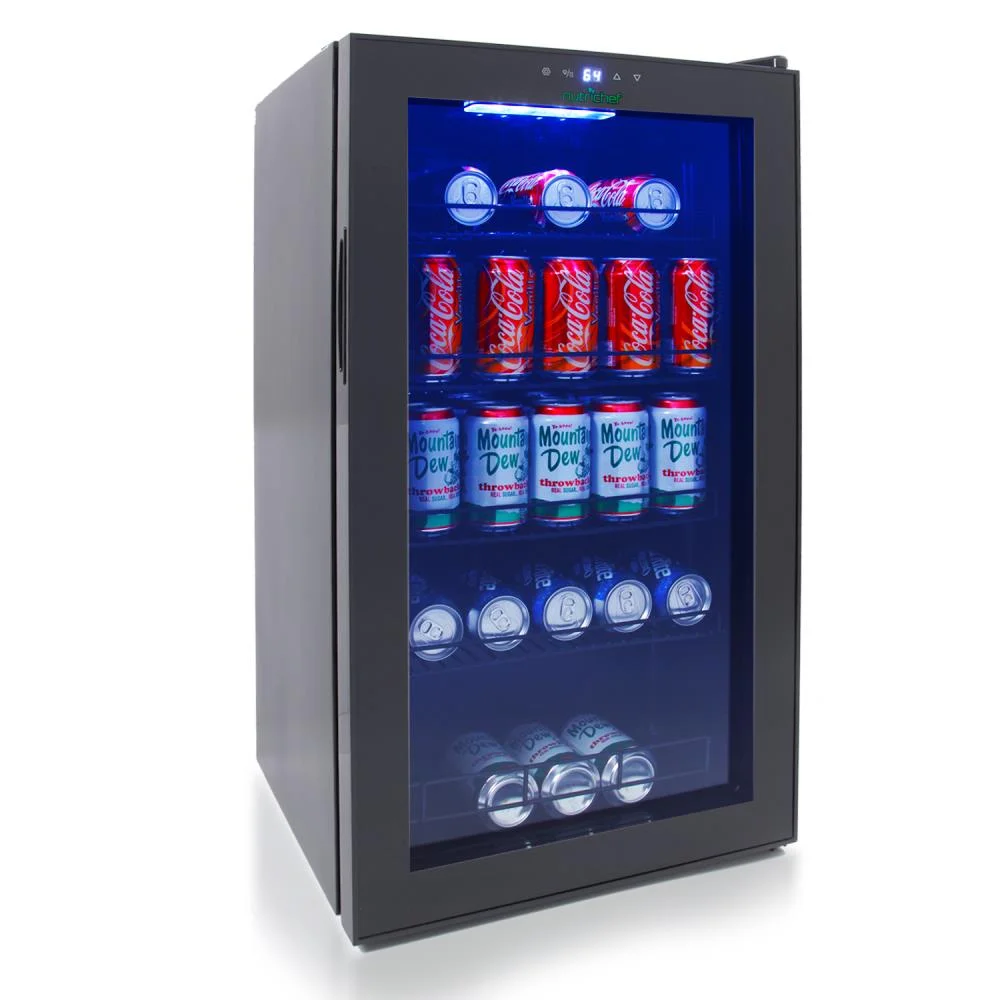
Moreover, the ability to control and adjust the temperature is crucial for maintaining the optimal cooling environment for your beverages. Look for fridges that offer adjustable temperature settings, allowing you to customize the cooling based on the types of drinks you store. This flexibility ensures that your beverages remain at the desired temperature, enhancing your overall experience.
Energy Efficiency and Power Consumption
Furthermore, evaluate the energy efficiency and power consumption of the mini beverage fridge. Opt for models with energy-saving features, such as LED lighting and low noise levels, which contribute to a quieter and more efficient operation. By selecting an energy-efficient model, you can enjoy the benefits of a chilled beverage fridge without significantly impacting your energy bills.
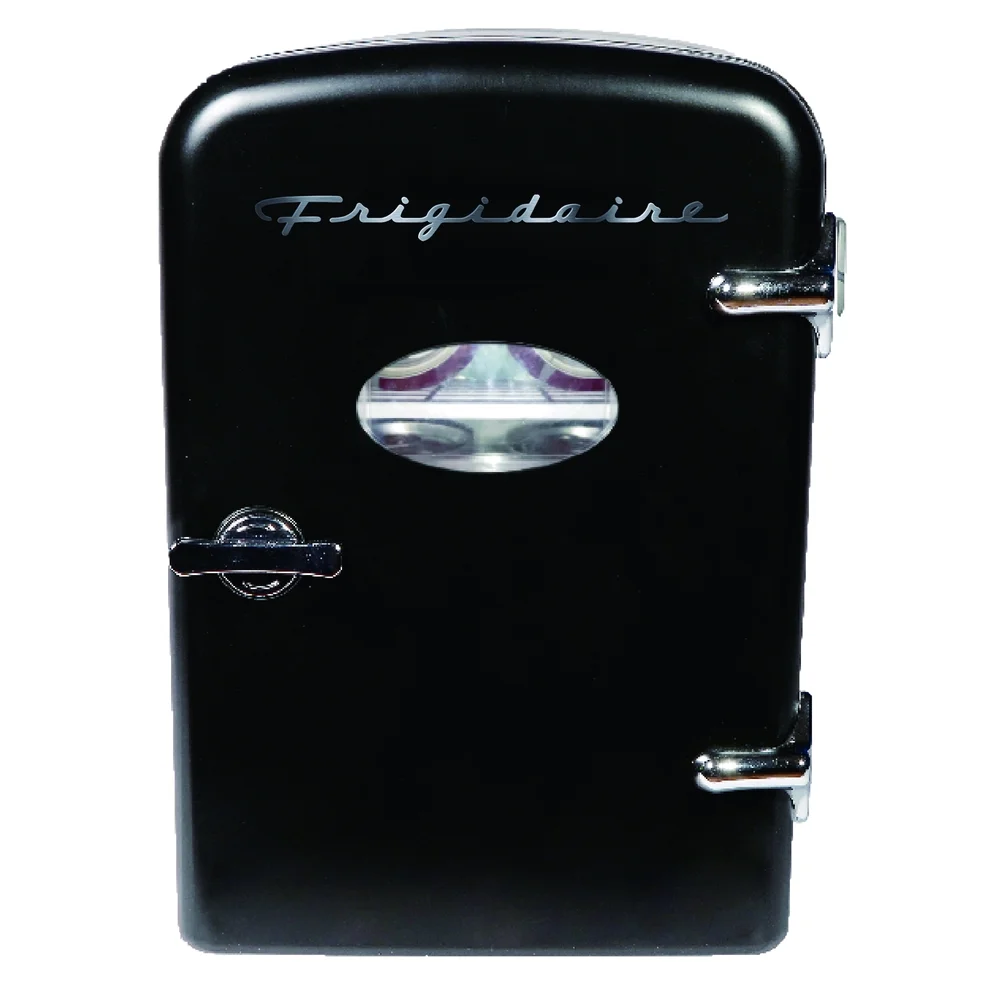
Design and Aesthetics
Additionally, the design and aesthetics of the mini beverage fridge should complement your existing décor. Whether you prefer a sleek and modern look or a more traditional style, there are numerous options available to suit various tastes. Choosing a fridge that aligns with your aesthetic preferences ensures that it seamlessly integrates into your space, enhancing the overall ambiance.
Portability and Mobility
Lastly, consider the portability and mobility features of the mini beverage fridge. Some models come with built-in handles or wheels, making it easier to move them around as needed. This is especially beneficial for those who plan to use the fridge in multiple locations or take it on the go, adding an extra layer of convenience and functionality.
 Benefits of Owning a Beverage Mini Fridge
Investing in a mini beverage fridge offers numerous benefits that extend beyond mere convenience. By exploring the advantages, you can better understand the value this appliance brings to your daily life.
Preserving Beverage Freshness and Flavor
Firstly, a mini beverage fridge helps preserve the freshness and flavor of your drinks by maintaining a consistent cooling environment. This is particularly important for beverages like wine, craft beers, and specialty sodas, which can lose their optimal taste and quality if not stored properly. By keeping your beverages at the right temperature, you ensure that each sip is as enjoyable as the first.
Reducing Energy Consumption and Costs
Moreover, mini beverage fridges consume less energy compared to full-sized refrigerators, making them a cost-effective solution for beverage storage. By selecting an energy-efficient model, you can lower your household’s overall energy consumption, contributing to both environmental sustainability and financial savings. This dual benefit makes a mini beverage fridge a smart investment for eco-conscious and budget-savvy individuals alike.
Enhancing Convenience and Accessibility
Additionally, having a mini beverage fridge within arm’s reach enhances convenience and accessibility. You no longer need to walk back and forth to the main refrigerator. This is especially helpful in large homes or busy households. Increased accessibility streamlines your beverage retrieval process. Enjoy your drinks whenever you want without unnecessary delays.
Supporting a Stylish and Organized Space
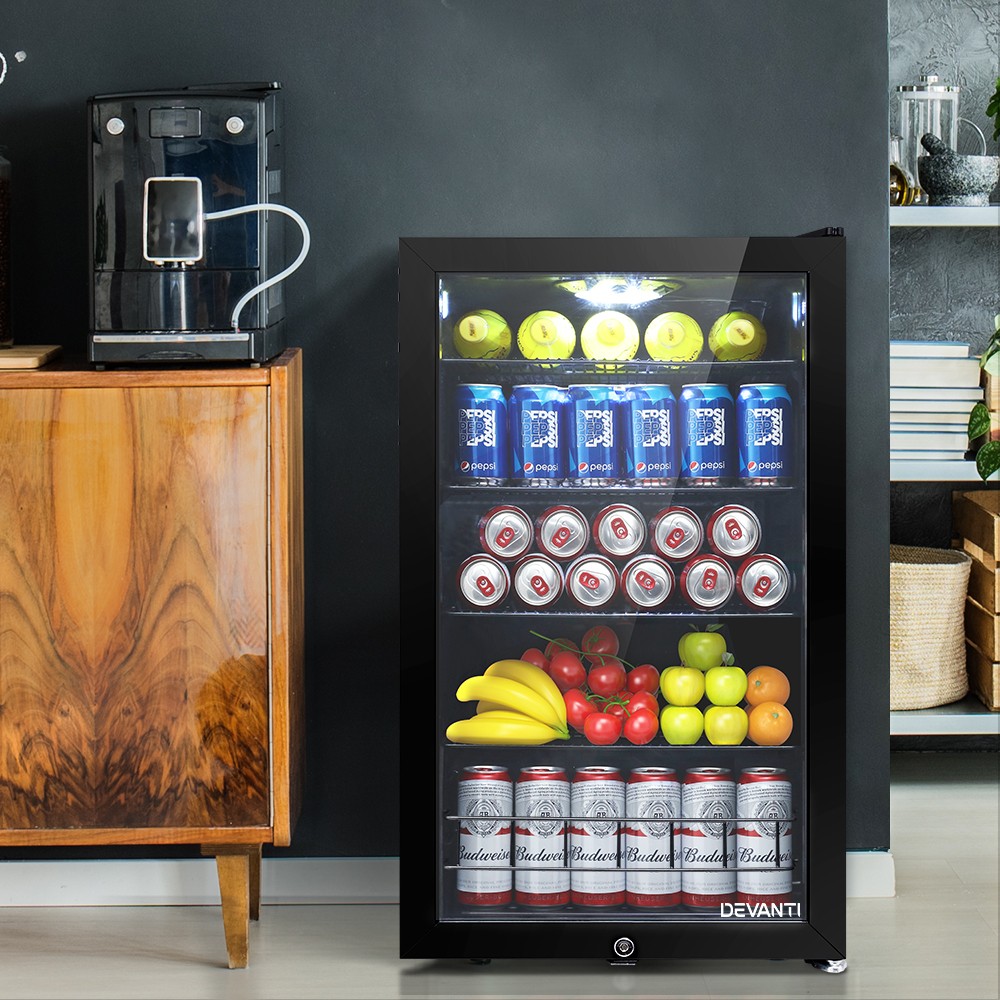
Furthermore, a mini beverage fridge can contribute to a more organized and stylish living or working space. By dedicating a specific area for beverage storage, you can reduce clutter and maintain a tidy environment. Moreover, the variety of designs available allows you to choose a fridge that not only functions well but also adds a touch of style to your interior décor, enhancing the overall aesthetic of your space.
 Practical Tips for Maximizing the Use of Your Beverage Mini Fridge
To fully leverage the benefits of a mini beverage fridge, implementing some practical tips can enhance its effectiveness and ensure a satisfying user experience.
Organize Your Beverages Strategically
Firstly, organize your beverages in a way that maximizes space and accessibility. Group similar items like wines, beers, and soft drinks to make finding what you need easier. Use shelf dividers or storage boxes to keep smaller items, such as bottles or cans, neatly arranged and prevent spills.
Regular Cleaning and Maintenance
Moreover, regular cleaning and maintenance are essential for keeping your mini beverage fridge in optimal condition. Wipe down the interior surfaces frequently to remove any spills or stains, ensuring that your beverages remain clean and hygienic. Additionally, periodically defrost the fridge if necessary and check for any signs of mold or mildew, addressing issues promptly to maintain a fresh environment.
Optimize Temperature Settings
Furthermore, optimize the temperature settings based on the types of beverages you store. For example, wines and beers generally require cooler temperatures than soft drinks or juices. By adjusting the temperature accordingly, you can ensure that each beverage type is stored at its ideal temperature, enhancing both taste and longevity.
Utilize Space-Efficient Storage Solutions
Additionally, employ space-efficient storage solutions to make the most of your mini beverage fridge’s capacity. Use stackable trays or risers to create additional levels within the fridge, allowing you to store more items without overcrowding. Moreover, consider using magnetic bottle holders or specialized racks to keep bottles in place, preventing movement and potential damage during transport or if the fridge is moved.
Monitor Energy Consumption
Lastly, monitor the energy consumption of your portable appliance to ensure it remains energy-efficient. Some models come with energy-monitoring features that allow you to track usage and identify areas for improvement. By being mindful of how much energy your mini beverage fridge consumes, you can make adjustments to usage habits or settings to further reduce your energy footprint.
 Conclusion
Deciding whether a mini beverage fridge is worth it depends on your specific needs, lifestyle, and space constraints. By understanding the benefits and practical applications of these compact appliances, you can assess if they meet your needs. Whether you desire convenience or energy efficiency, a mini beverage fridge serves as a versatile solution. It keeps your drinks chilled and easily accessible.
 Temperature Range of a 6 Can Fridge
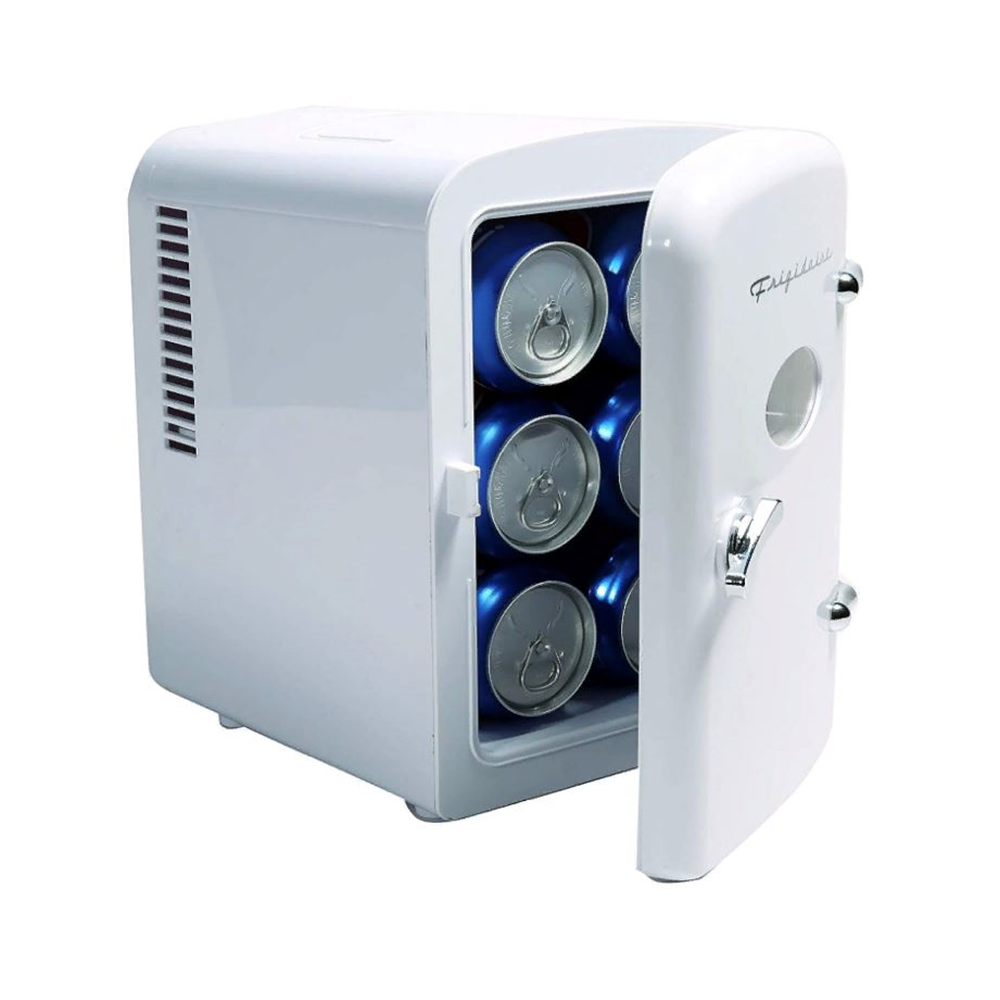 Comparing 6 Can Fridges to Larger Models
 Top 6 Can Fridge Models to Consider
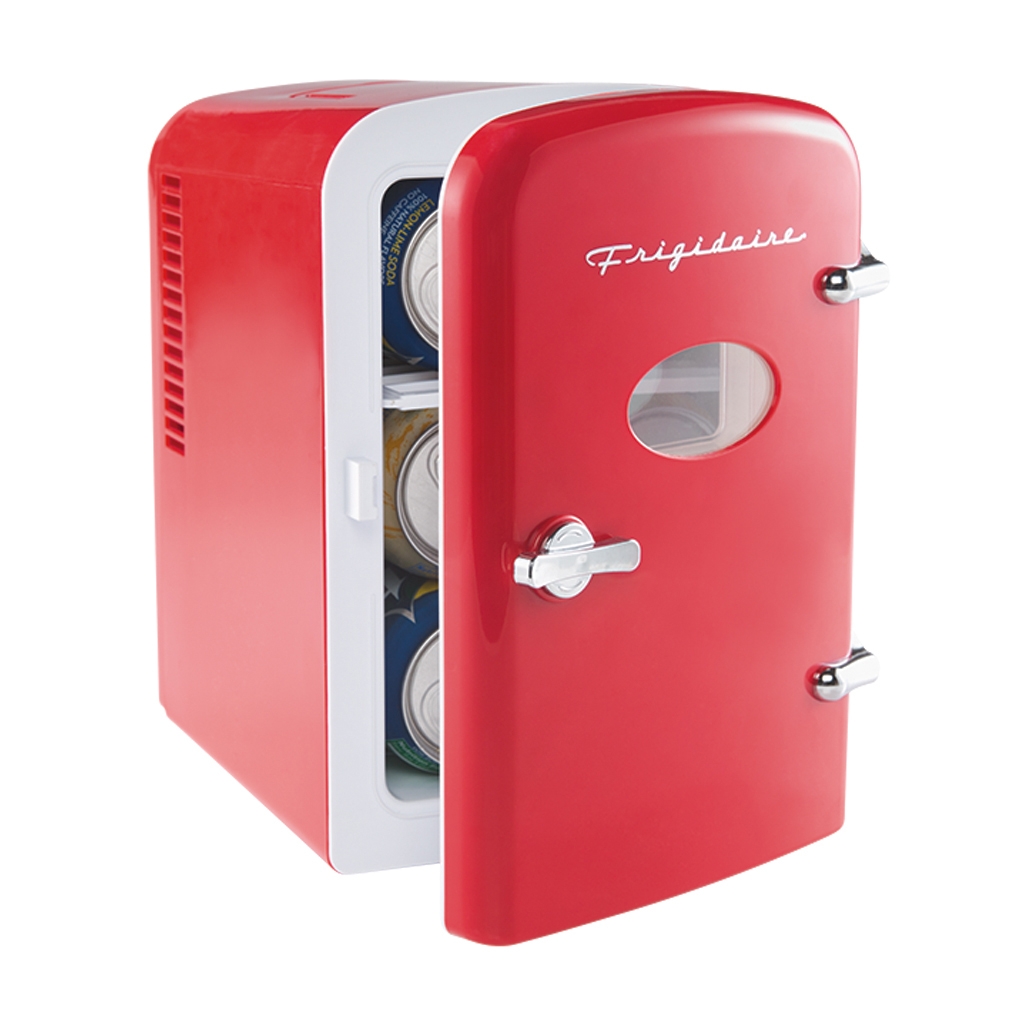 Energy Efficiency and Its Impact on Mini Fridge Performance
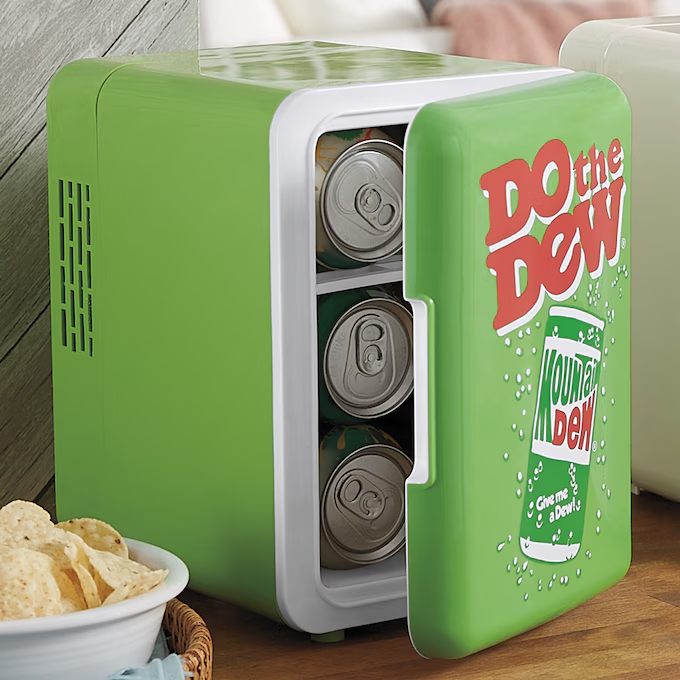 Final Thoughts
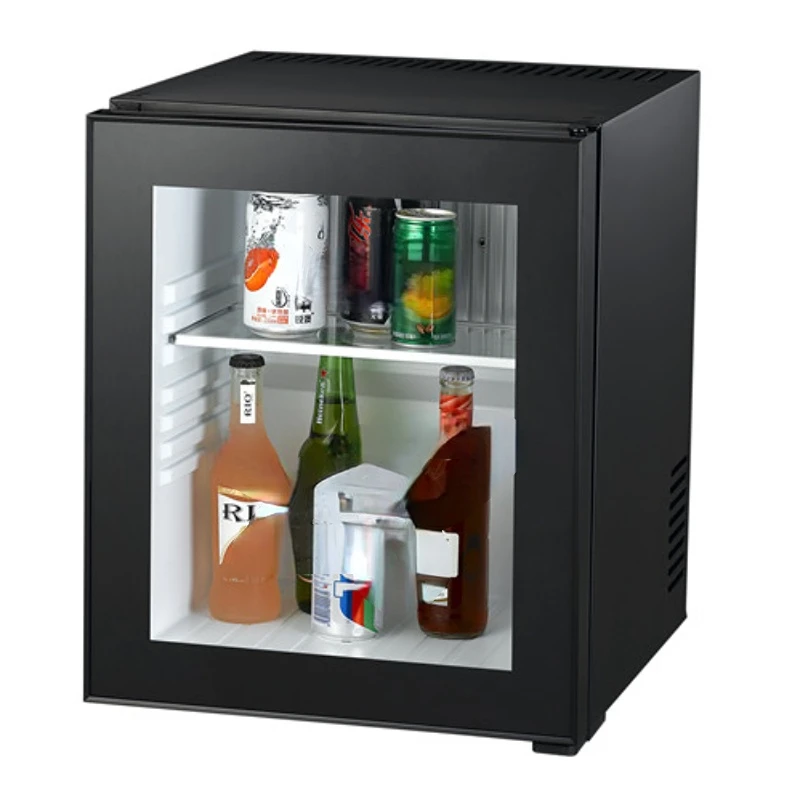 Understanding Mini Fridge With Glass Front
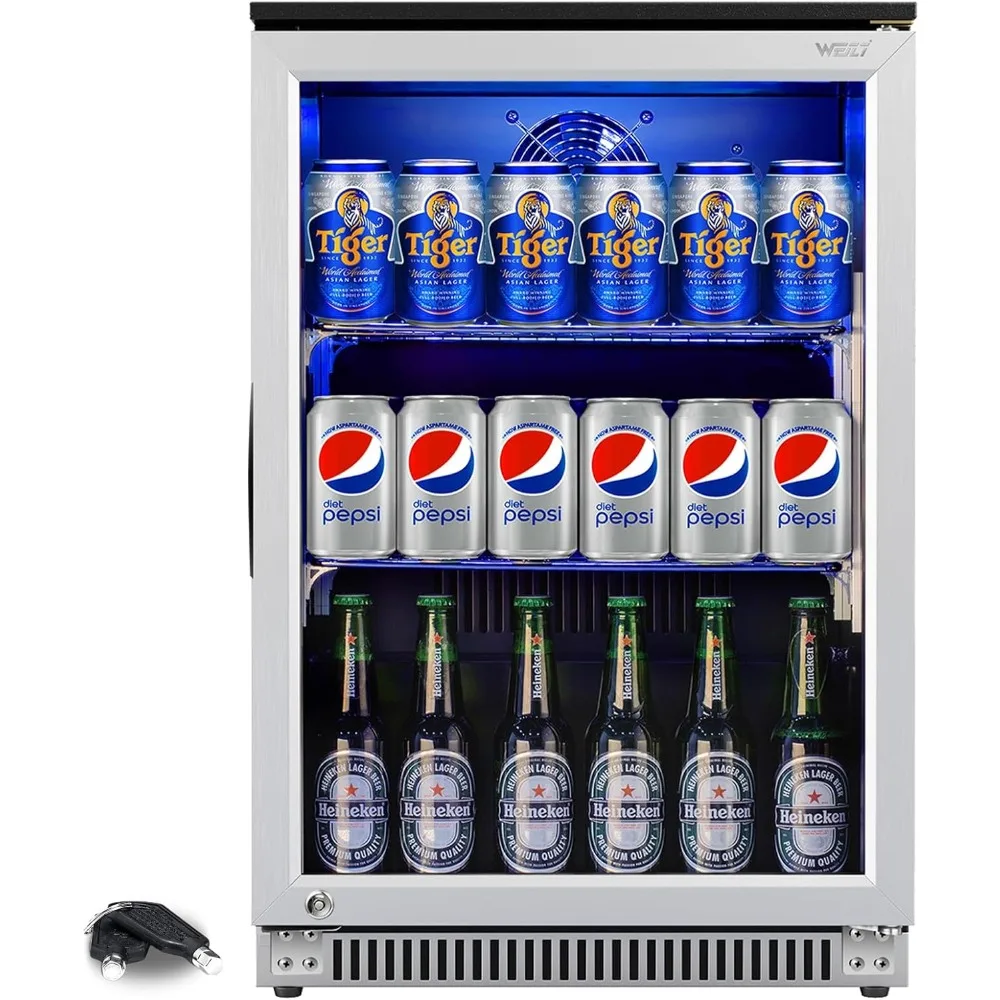 Comparing Mini Fridges With Glass Front to Traditional Mini Fridges
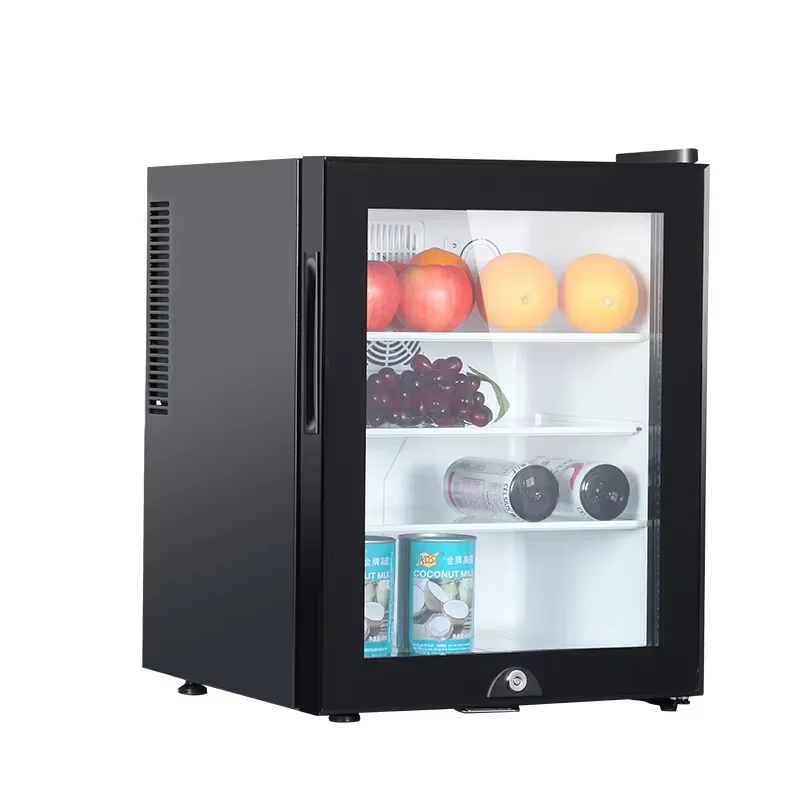 Comparing Energy Consumption: Mini Fridges With Glass Front vs. Traditional Models
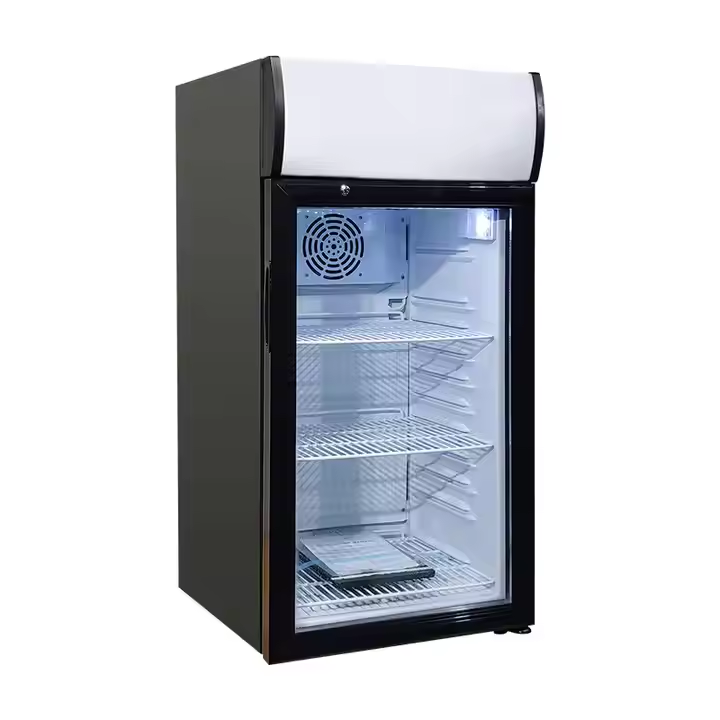 Future Trends in Mini Fridges With Glass Front
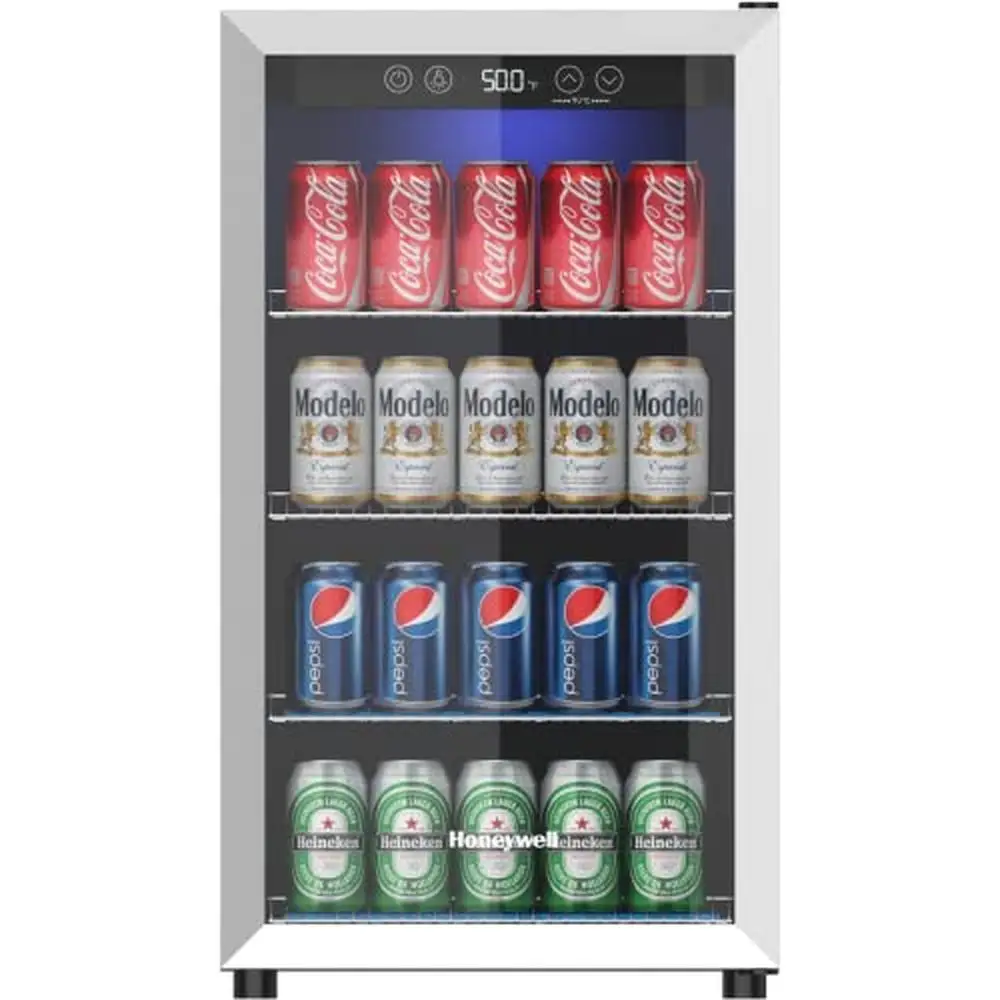 Conclusion
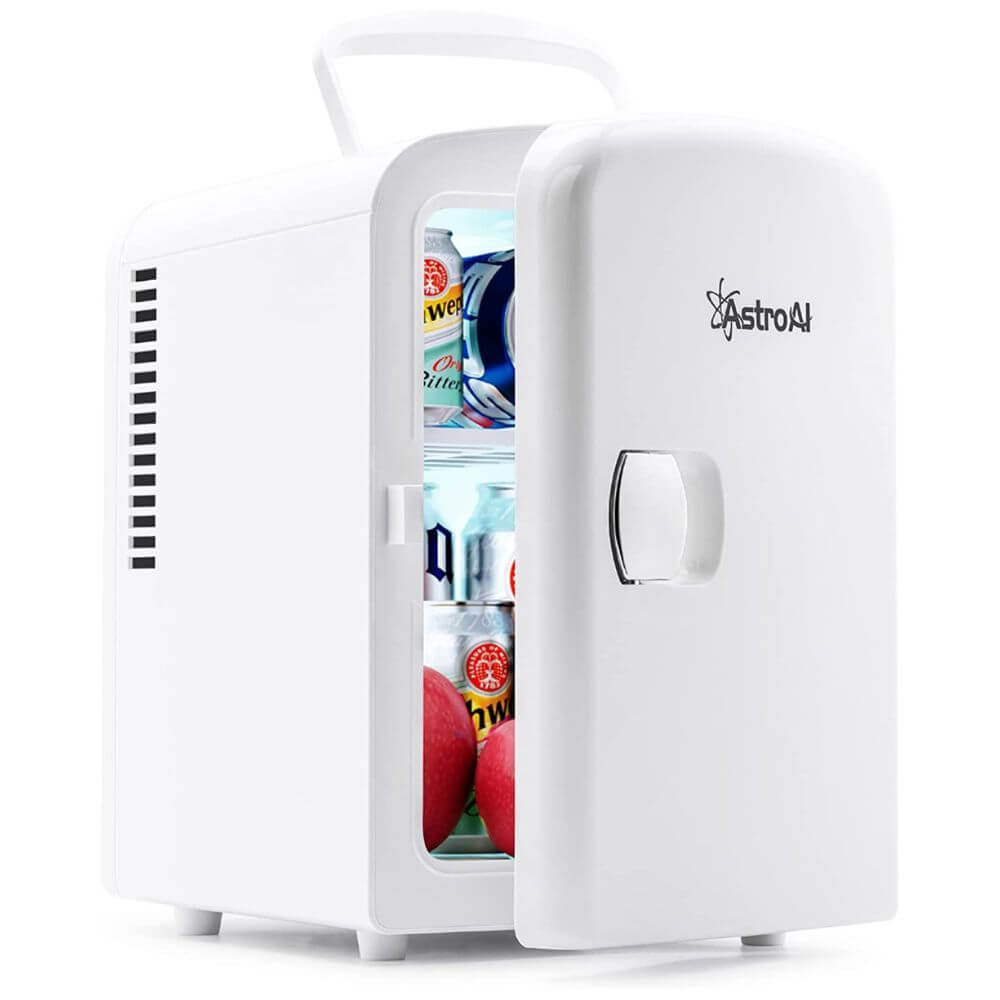 The Science Behind Breast Milk Storage
 Practical Tips for Using a Mini Fridge for Breast Milk
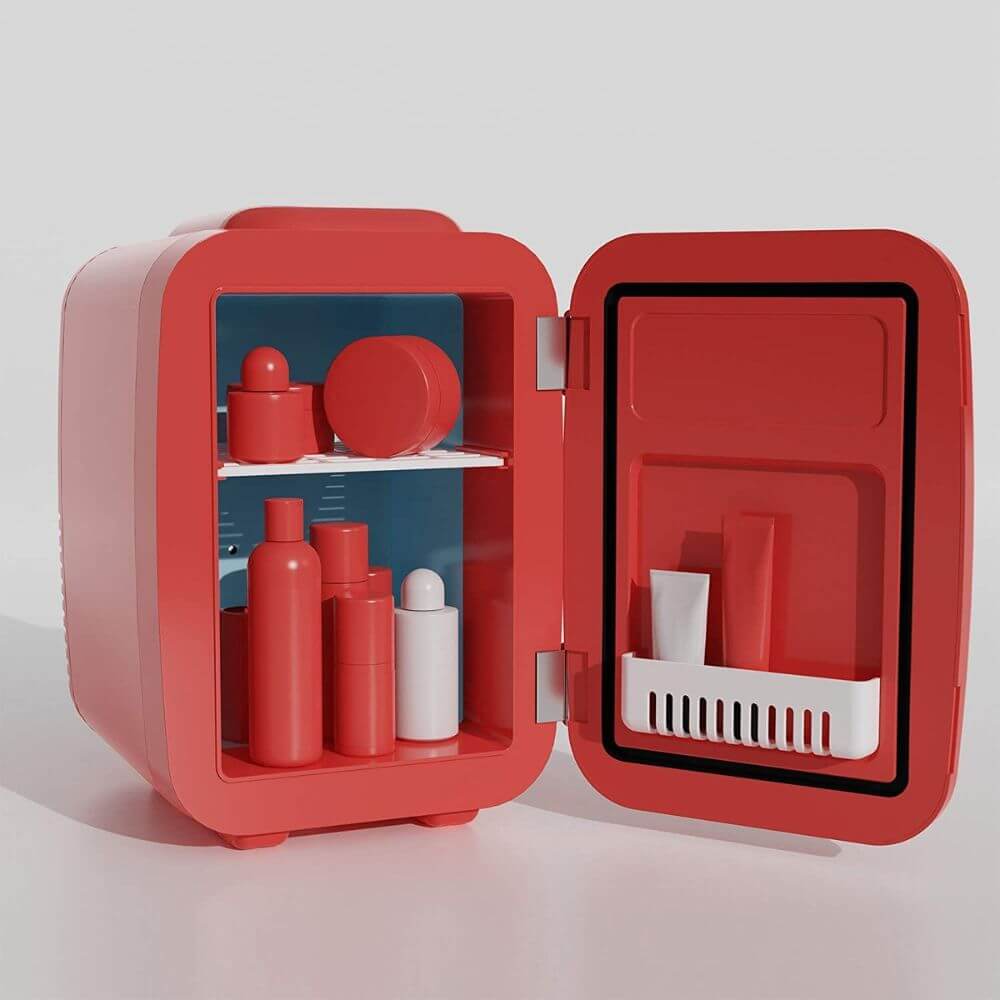 Common Concerns: Addressing Questions about Mini Fridges for Breast Milk
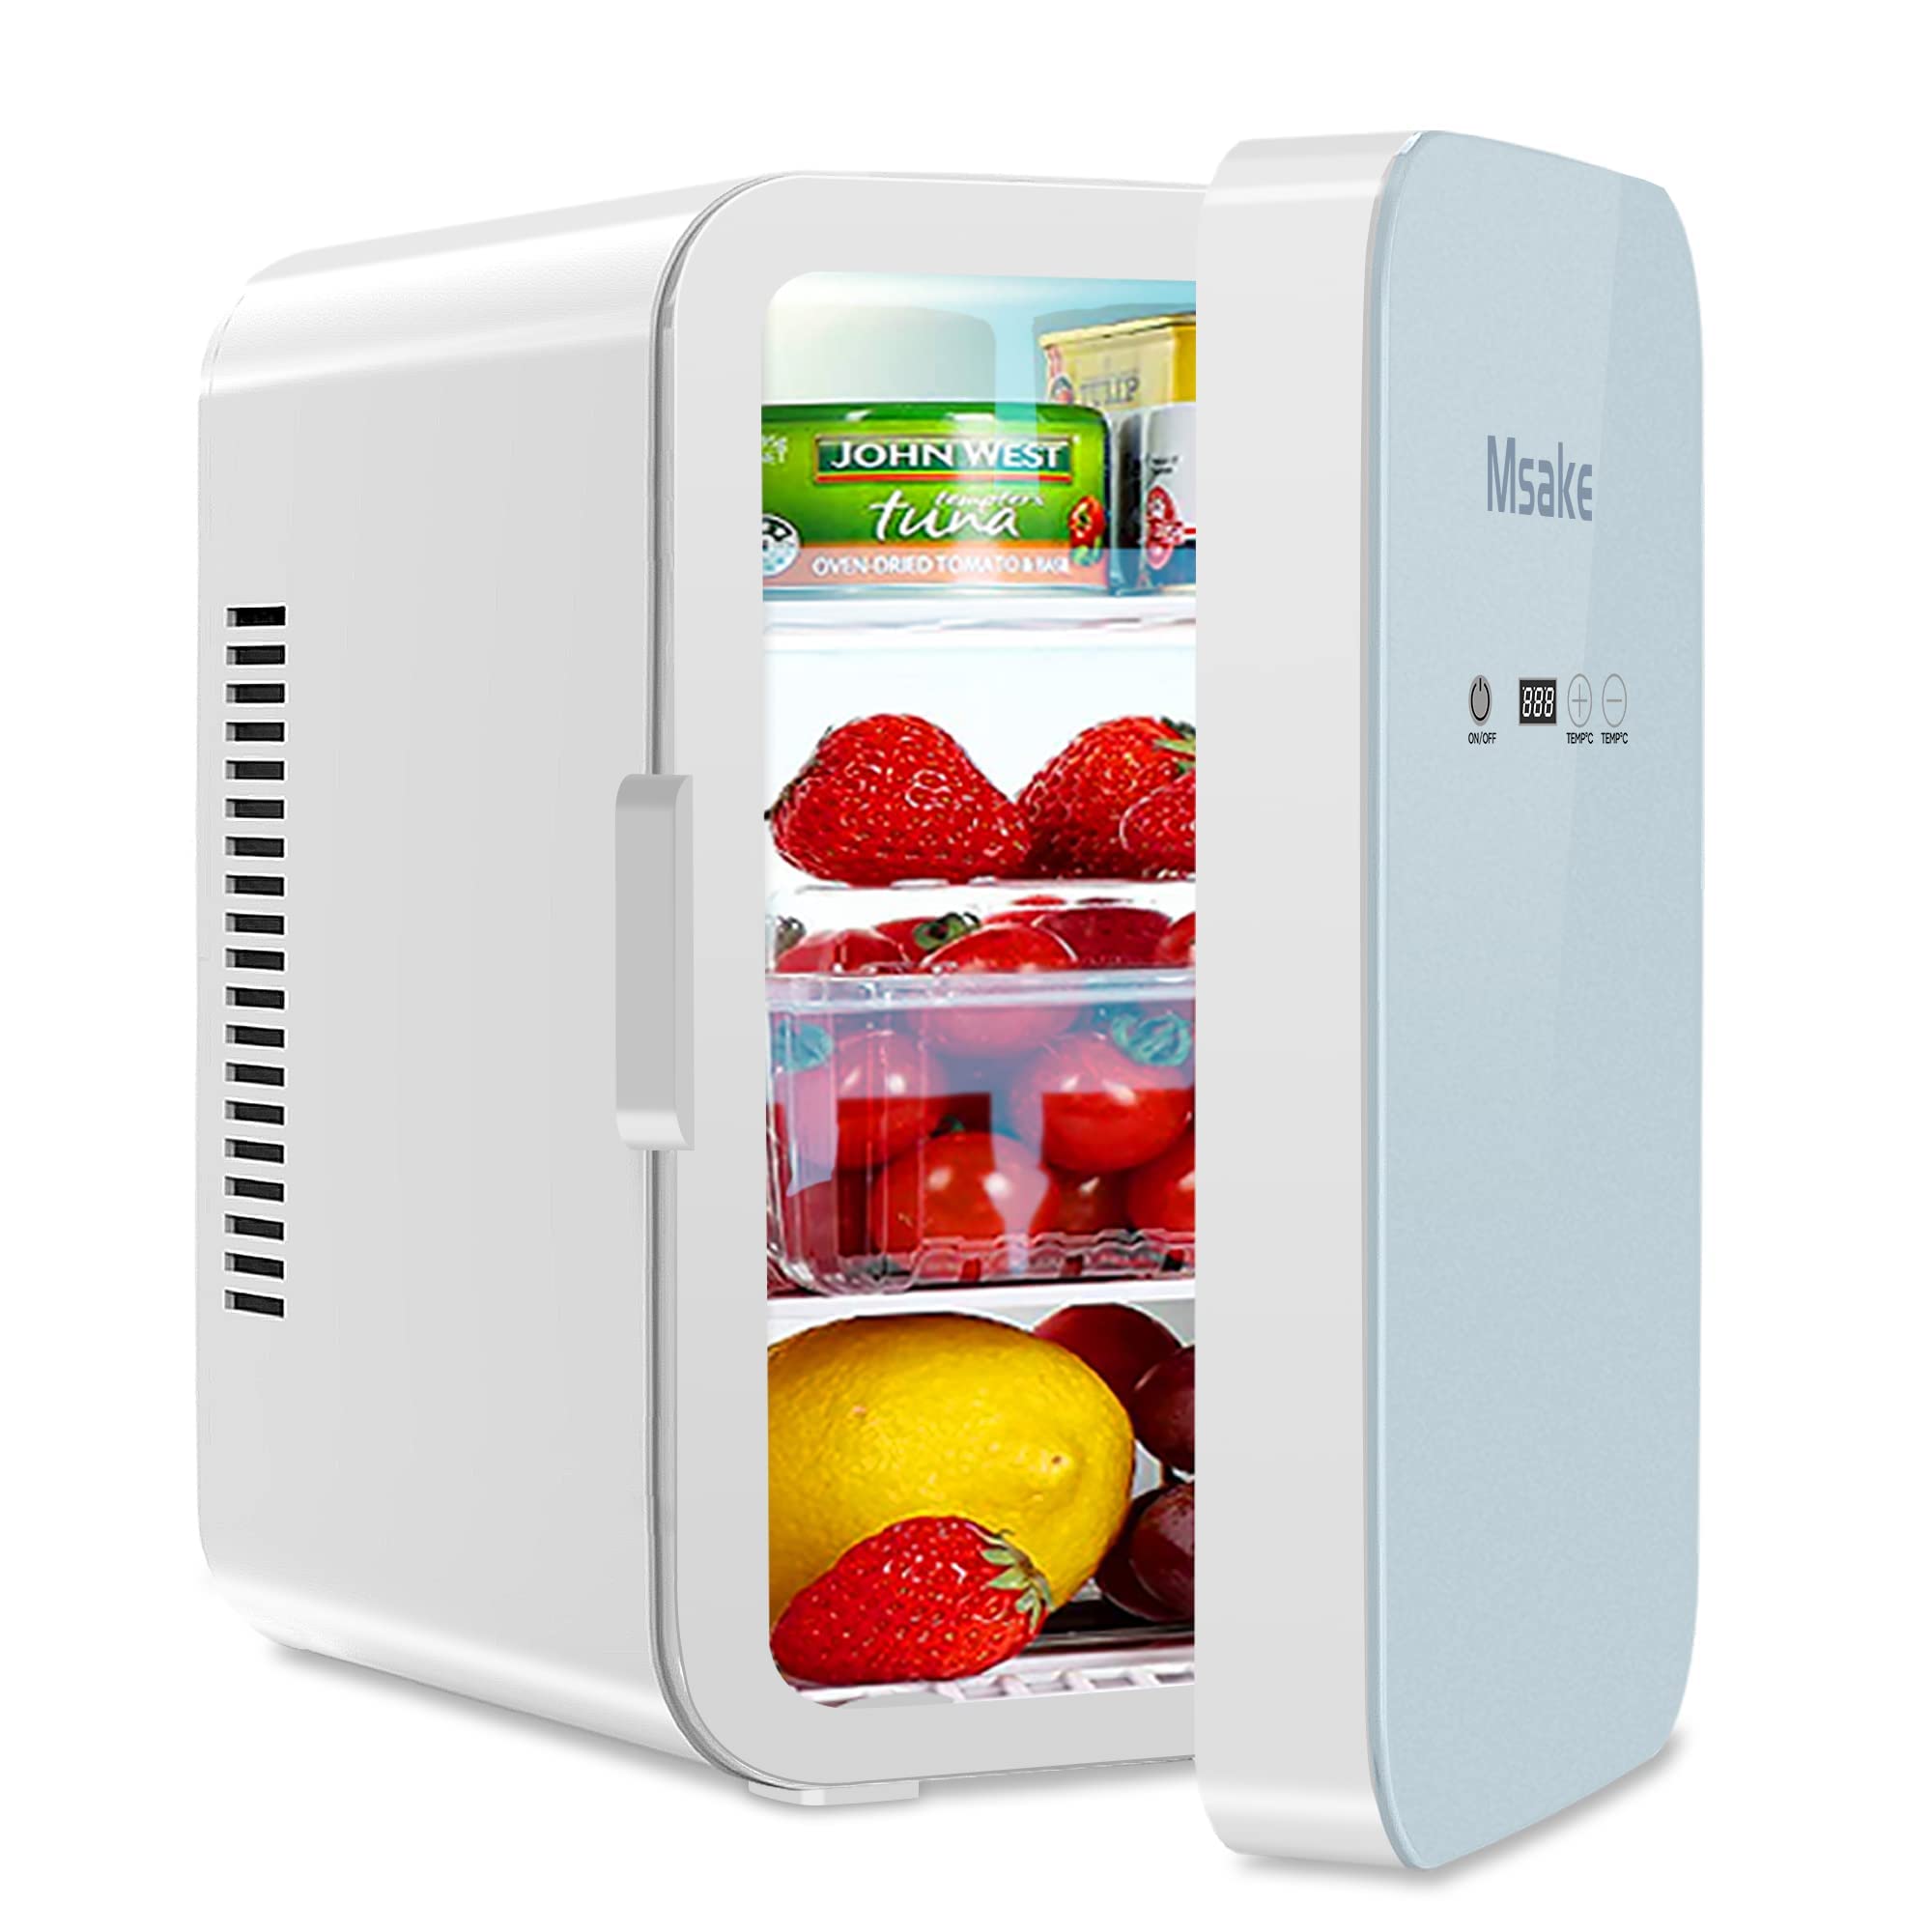 Future Trends in Mini Fridges for Breast Milk
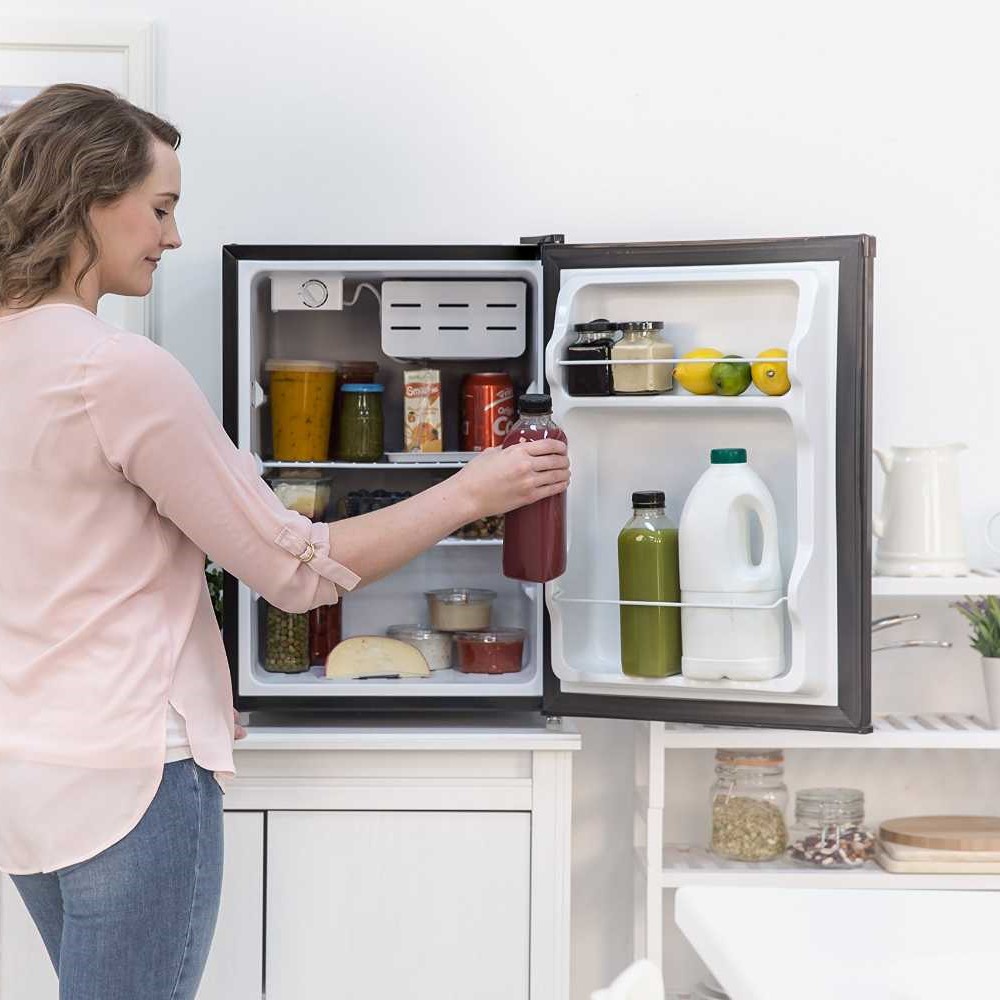 Conclusion
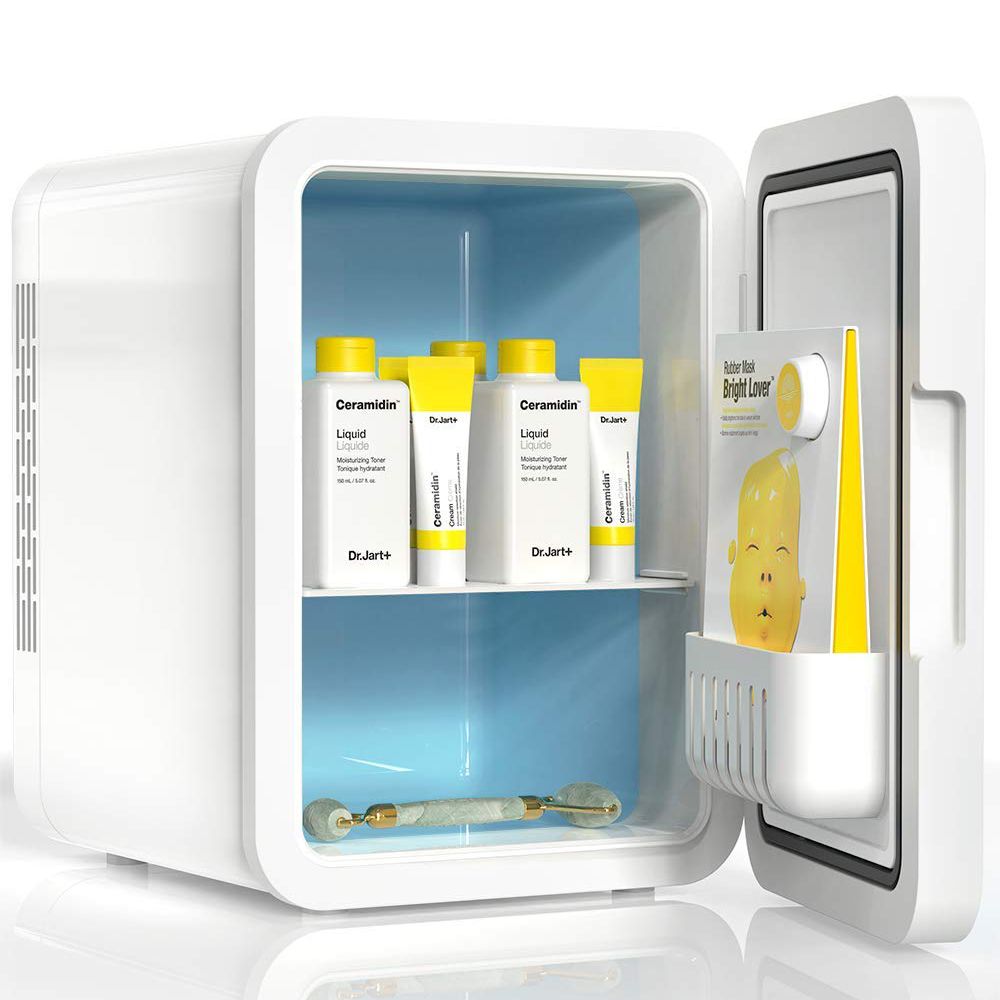 The Concept of a Mini Skin Fridge
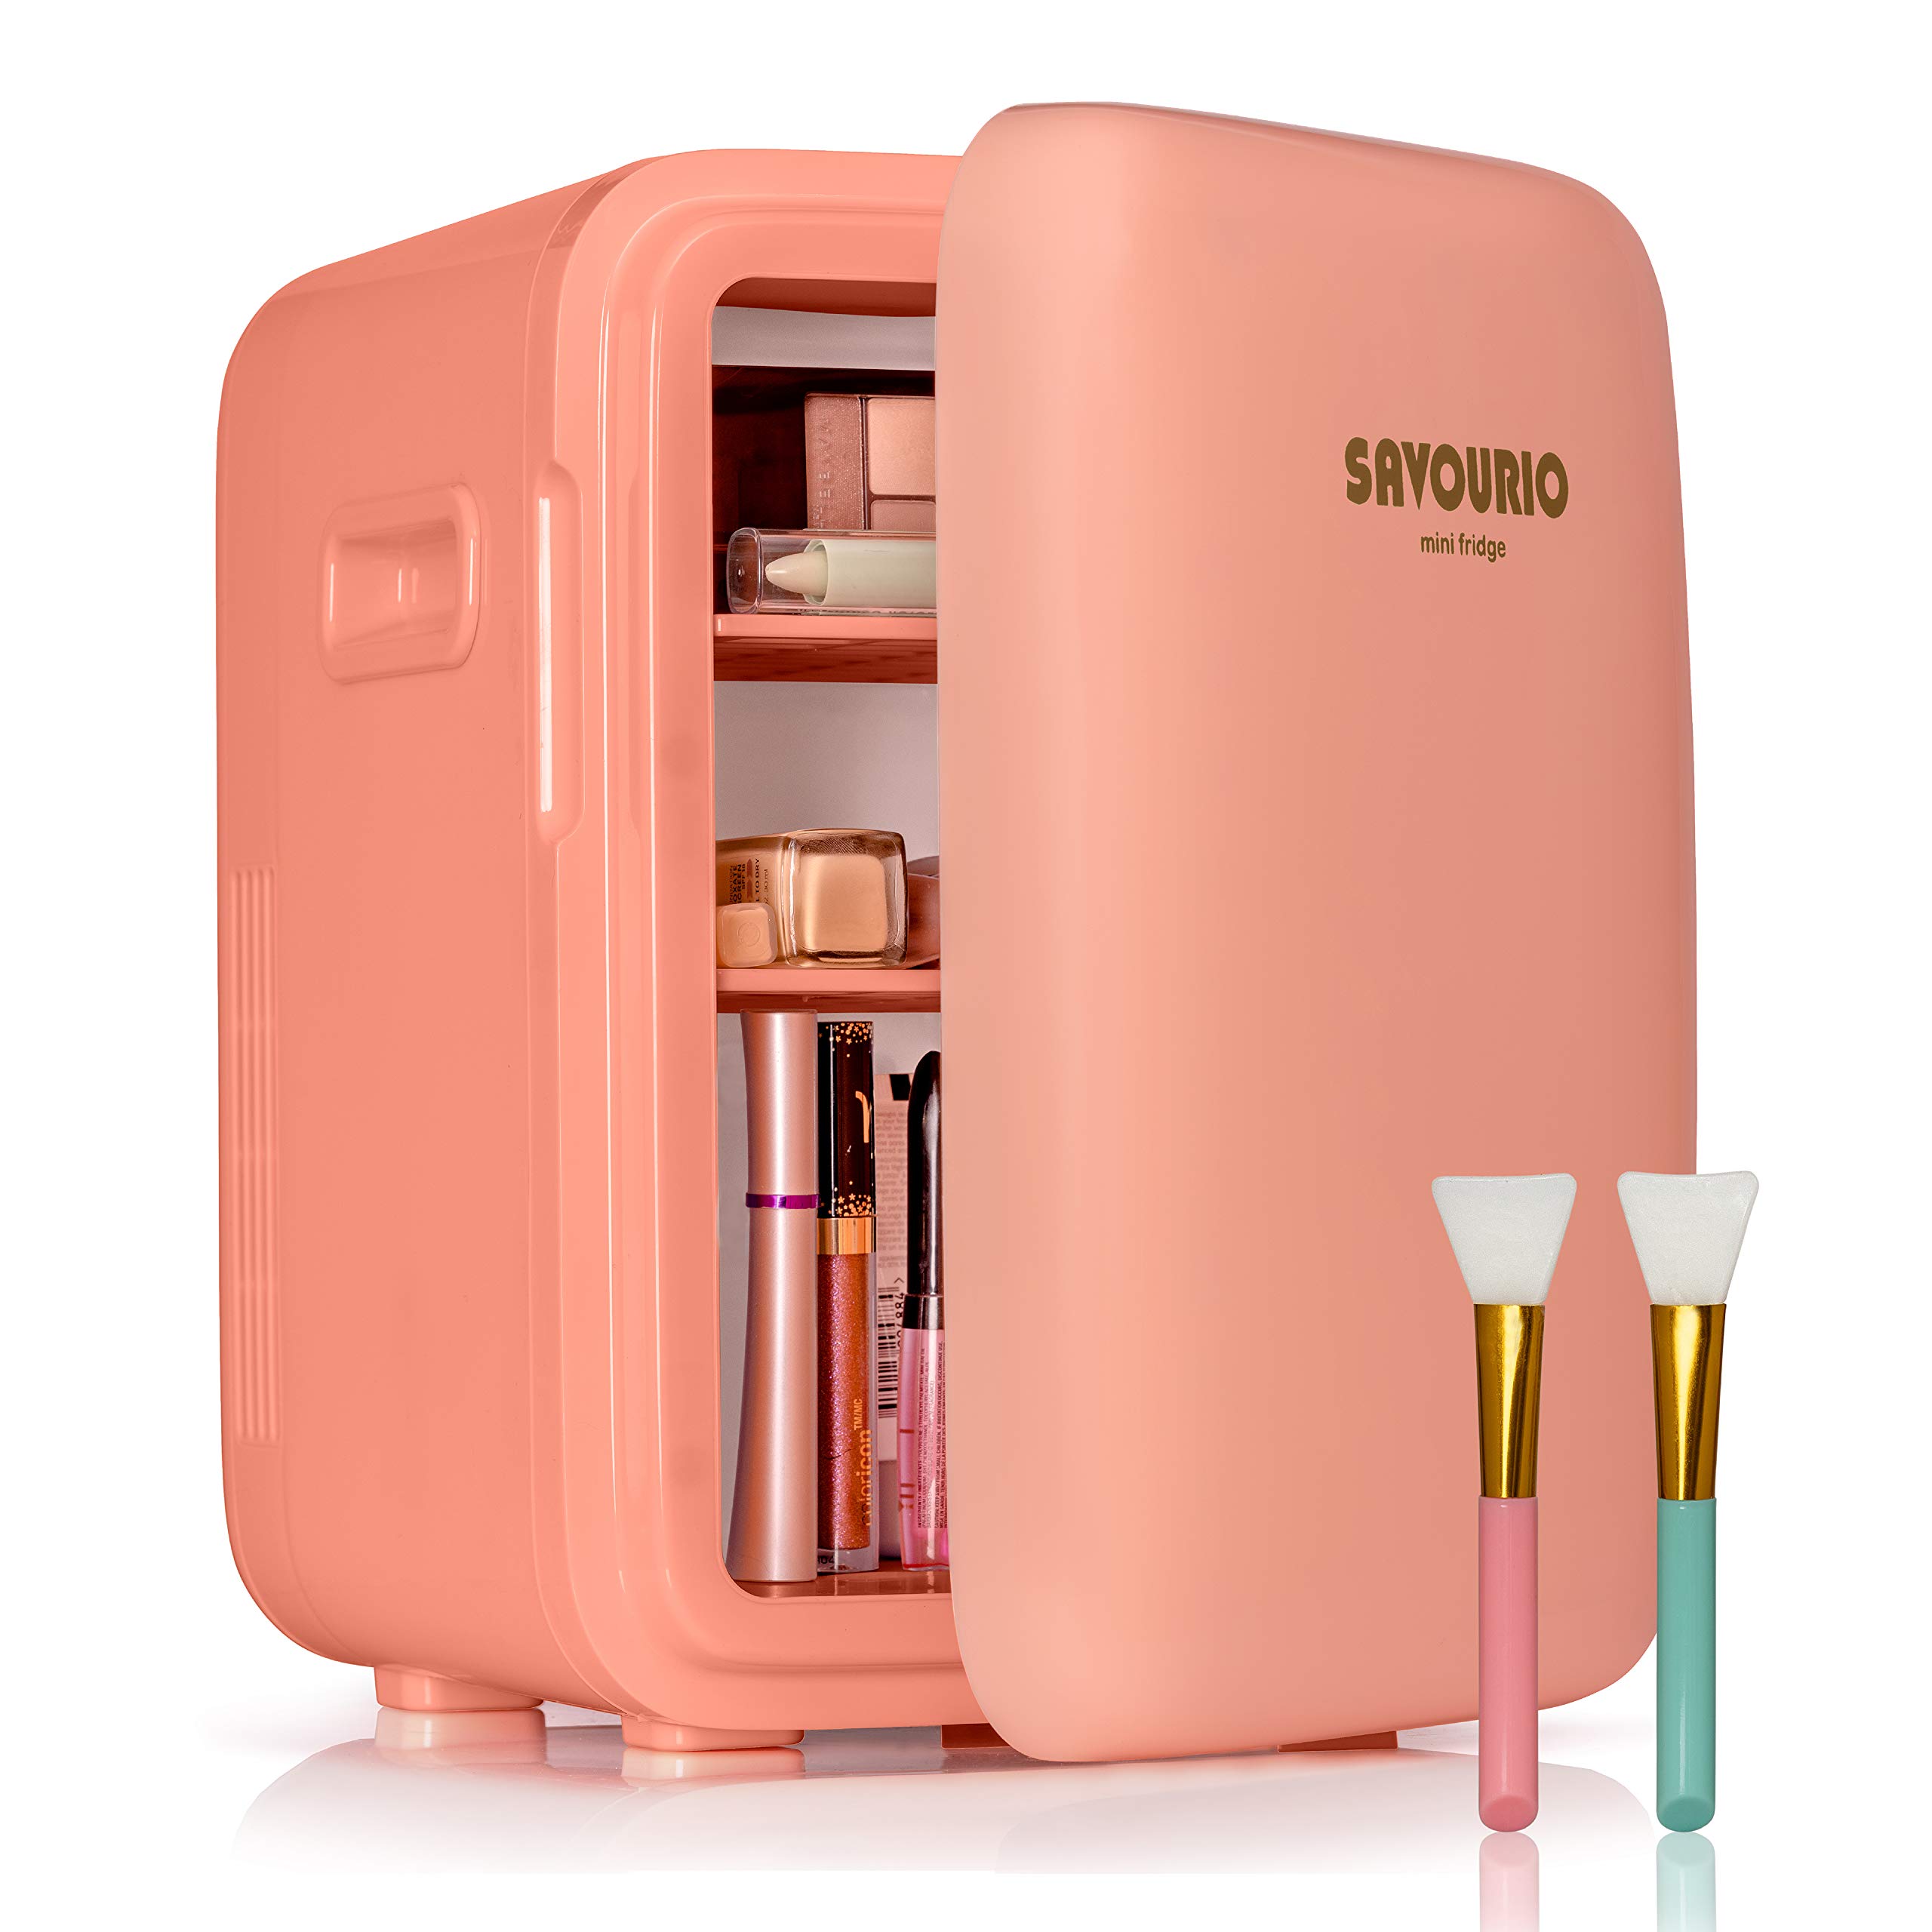 Practical Uses of a Mini Skin Fridge
 Addressing Common Concerns About Mini Skin Fridges
 Personal Testimonials and User Experiences
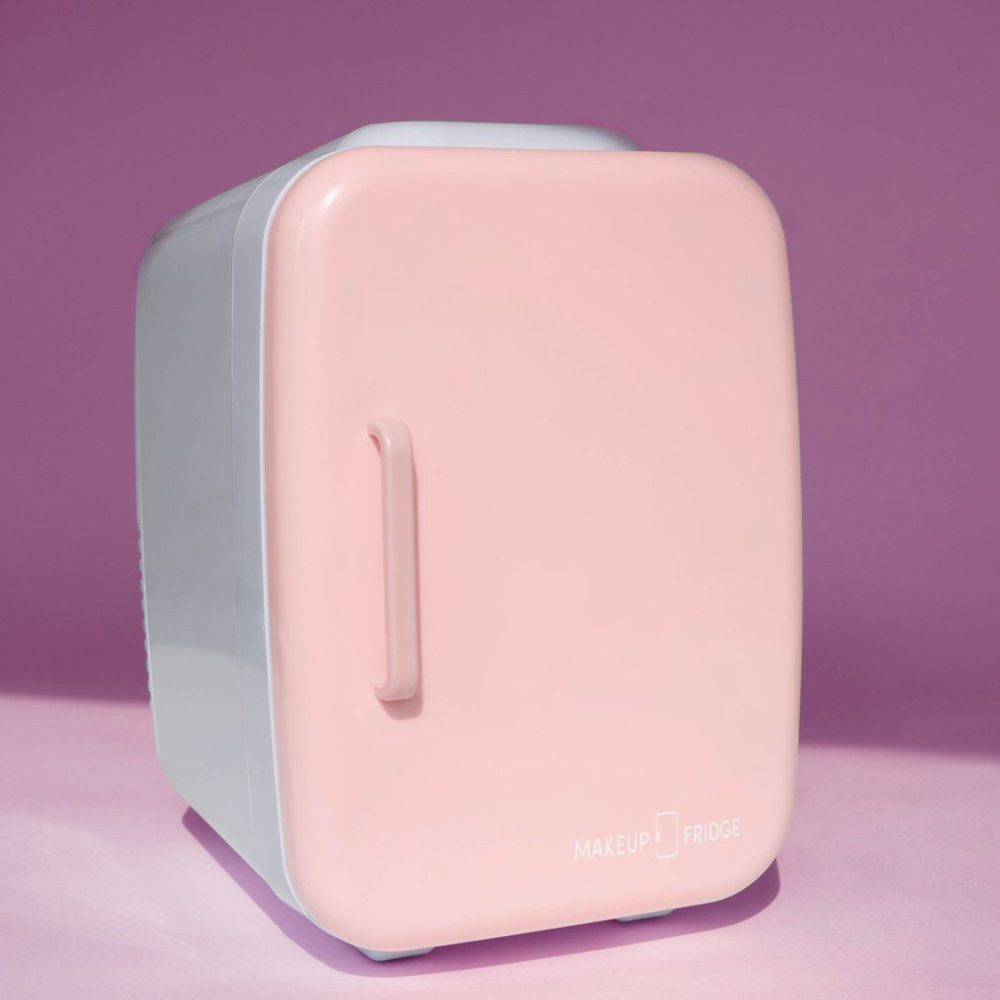 Conclusion
 The Importance of Choosing the Right Surface for Your Mini Fridge
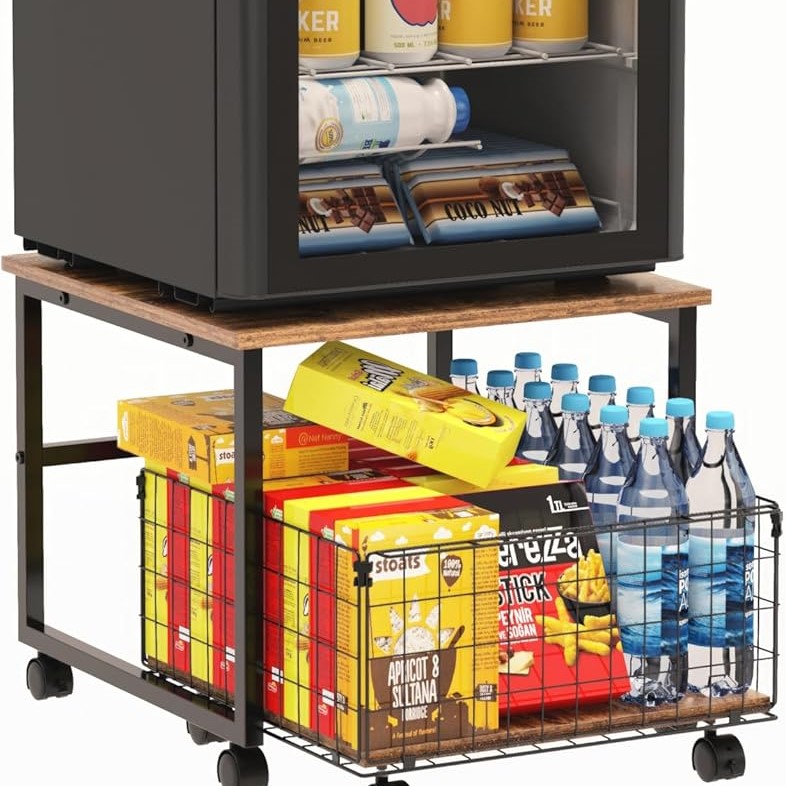 Customizing Your Fridge Table Setup
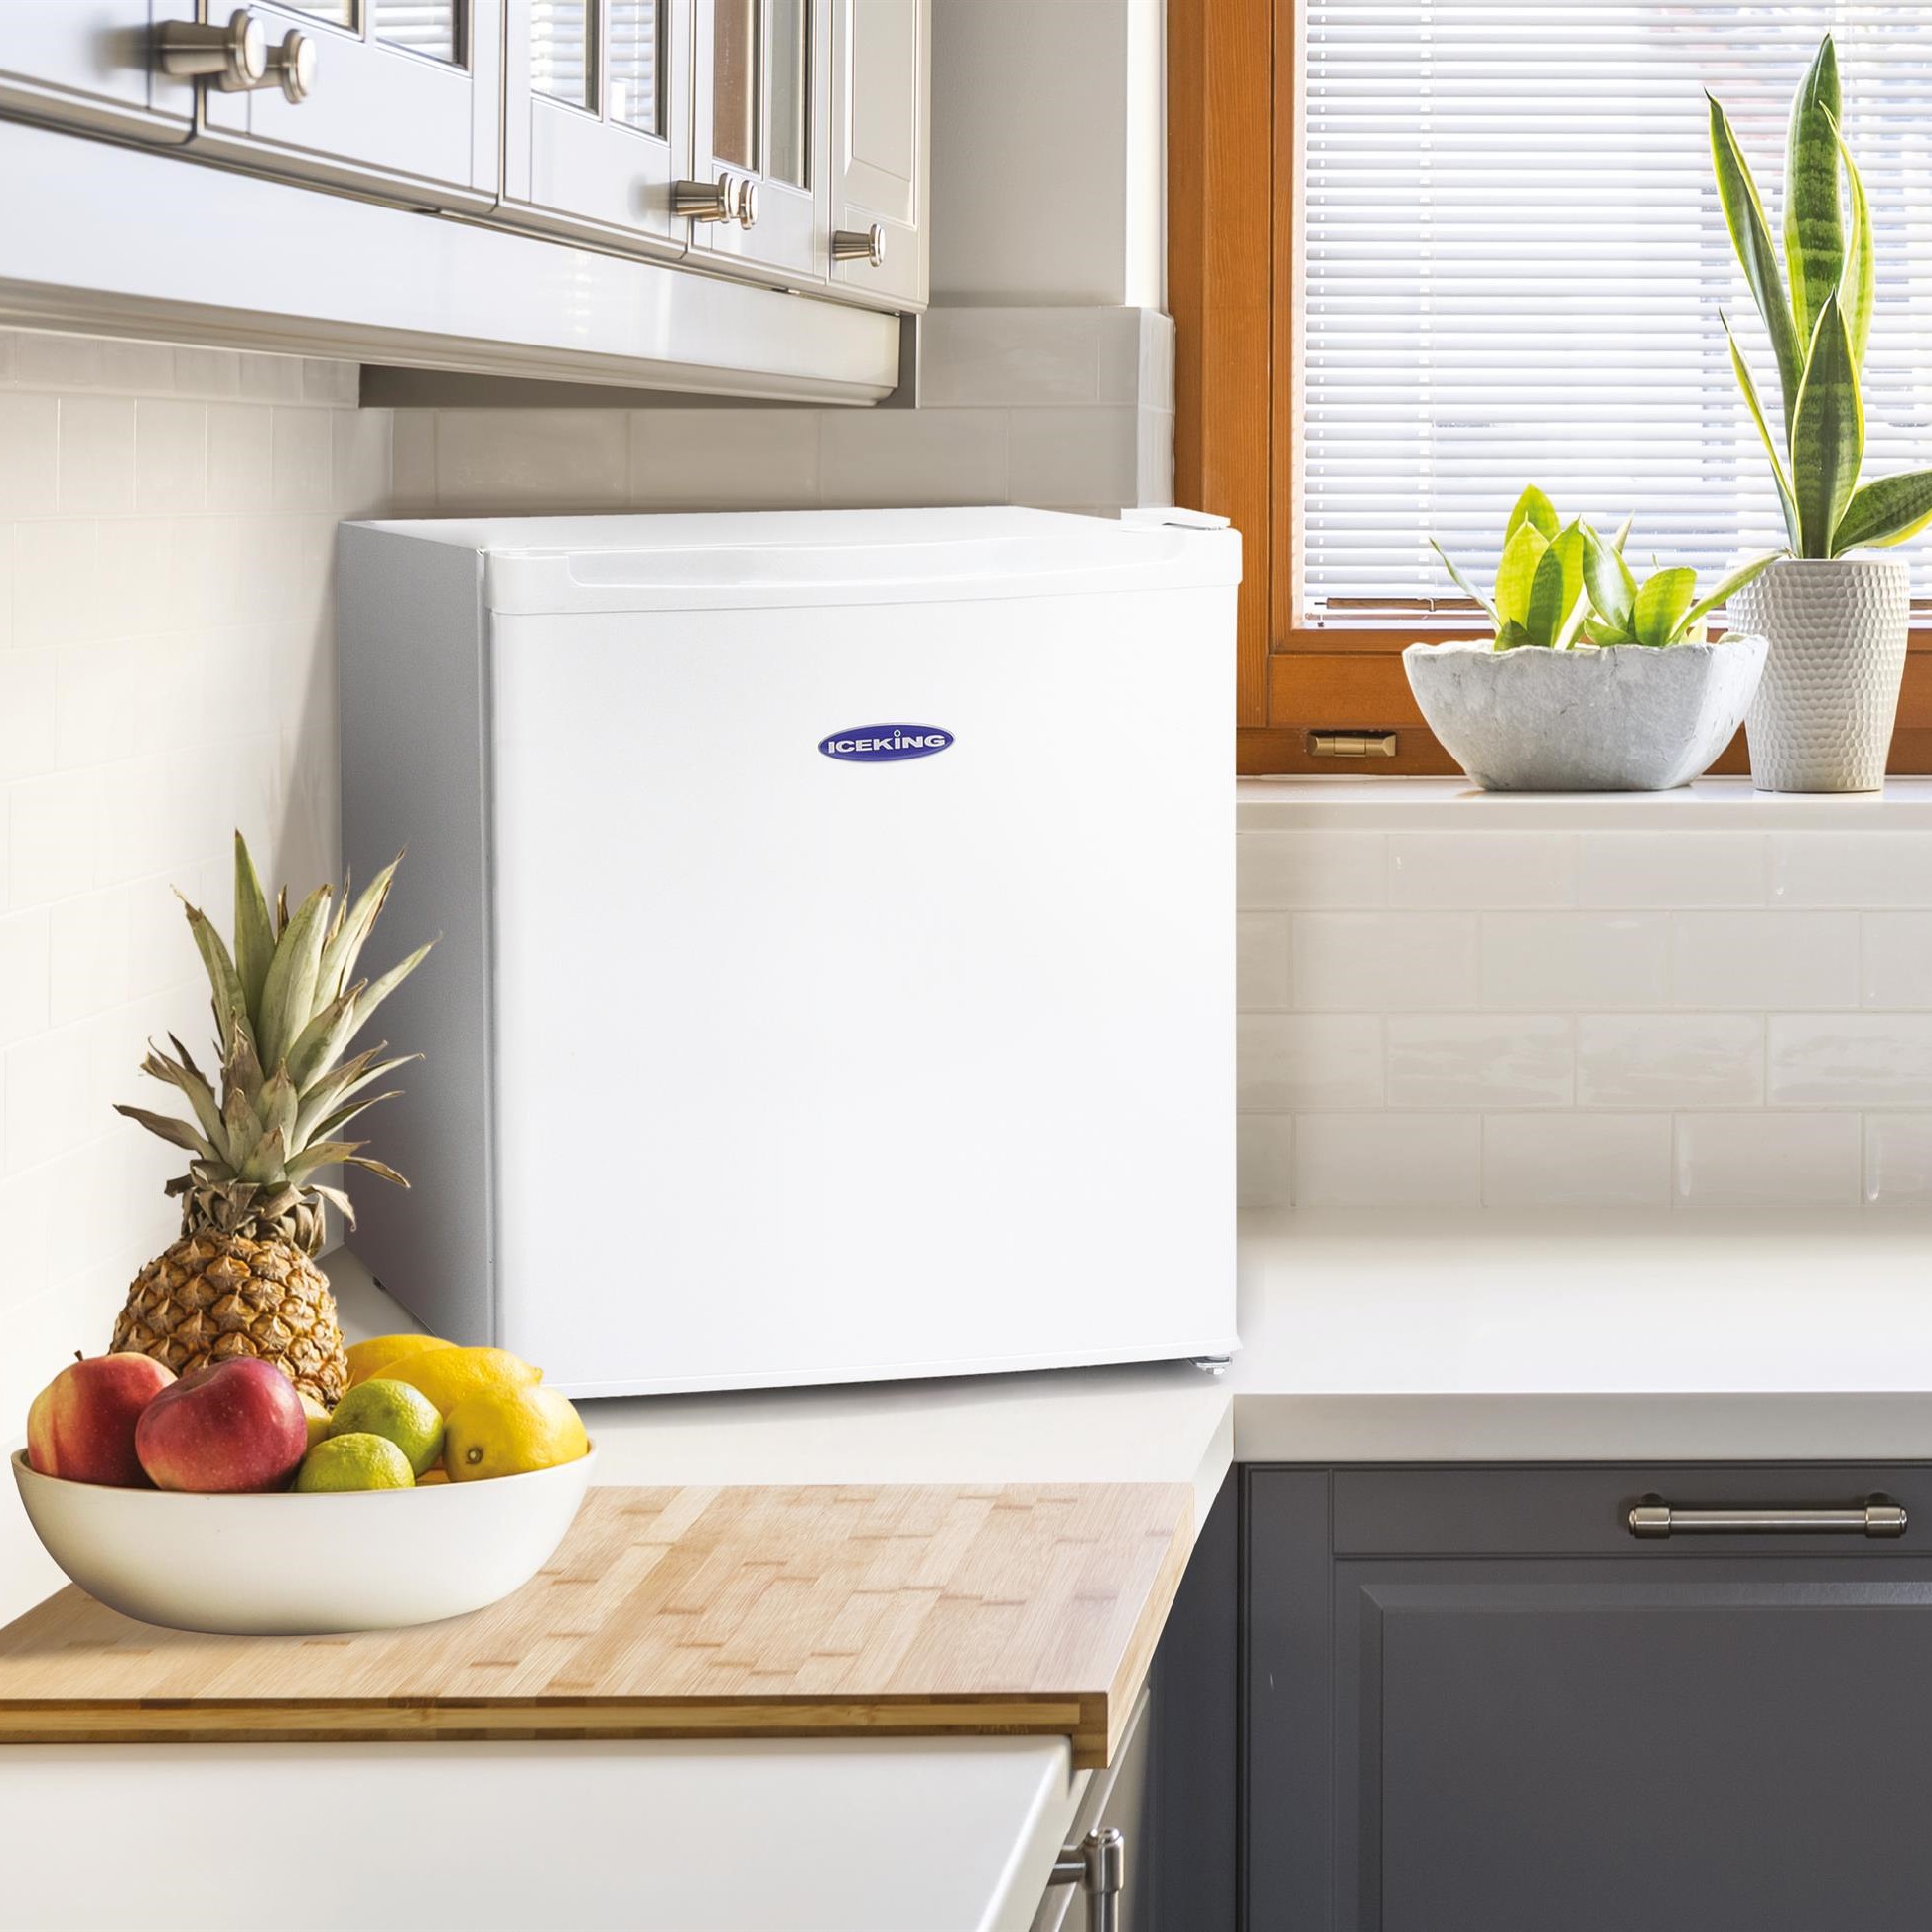 Creative Uses for Fridge Tables Beyond the Kitchen
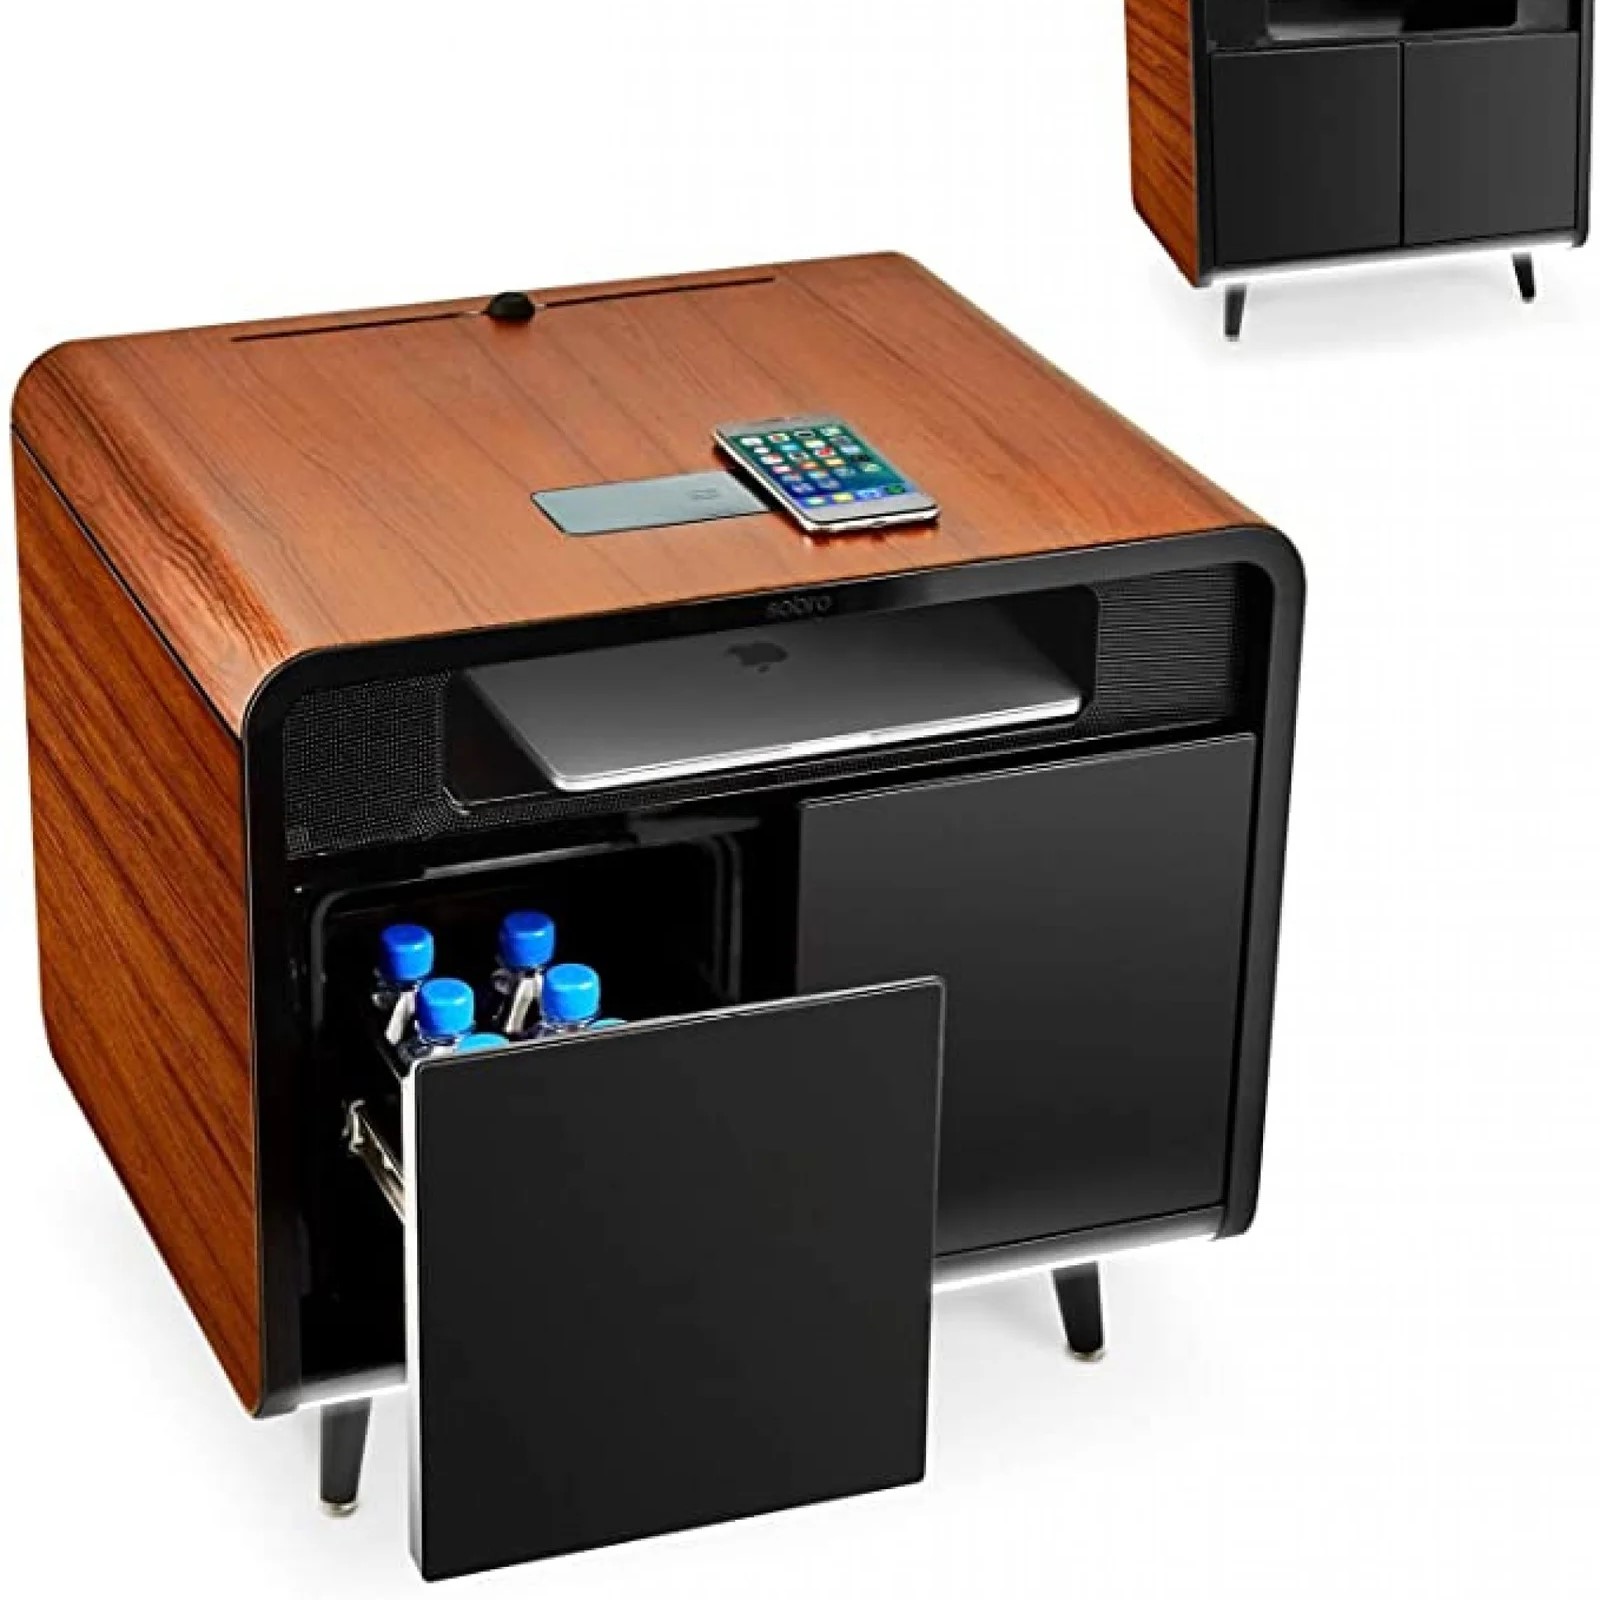 Integrating Technology with Fridge Tables
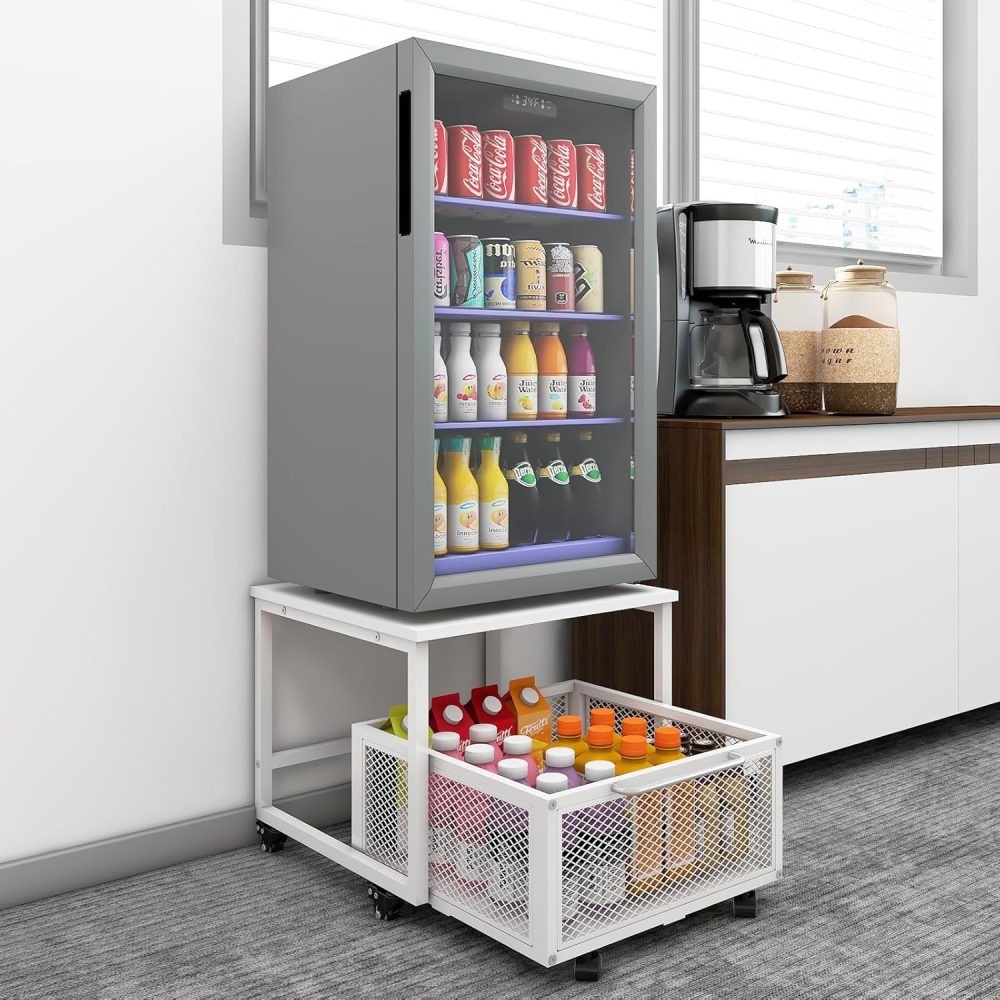 Frequently Asked Questions About Fridge Tables
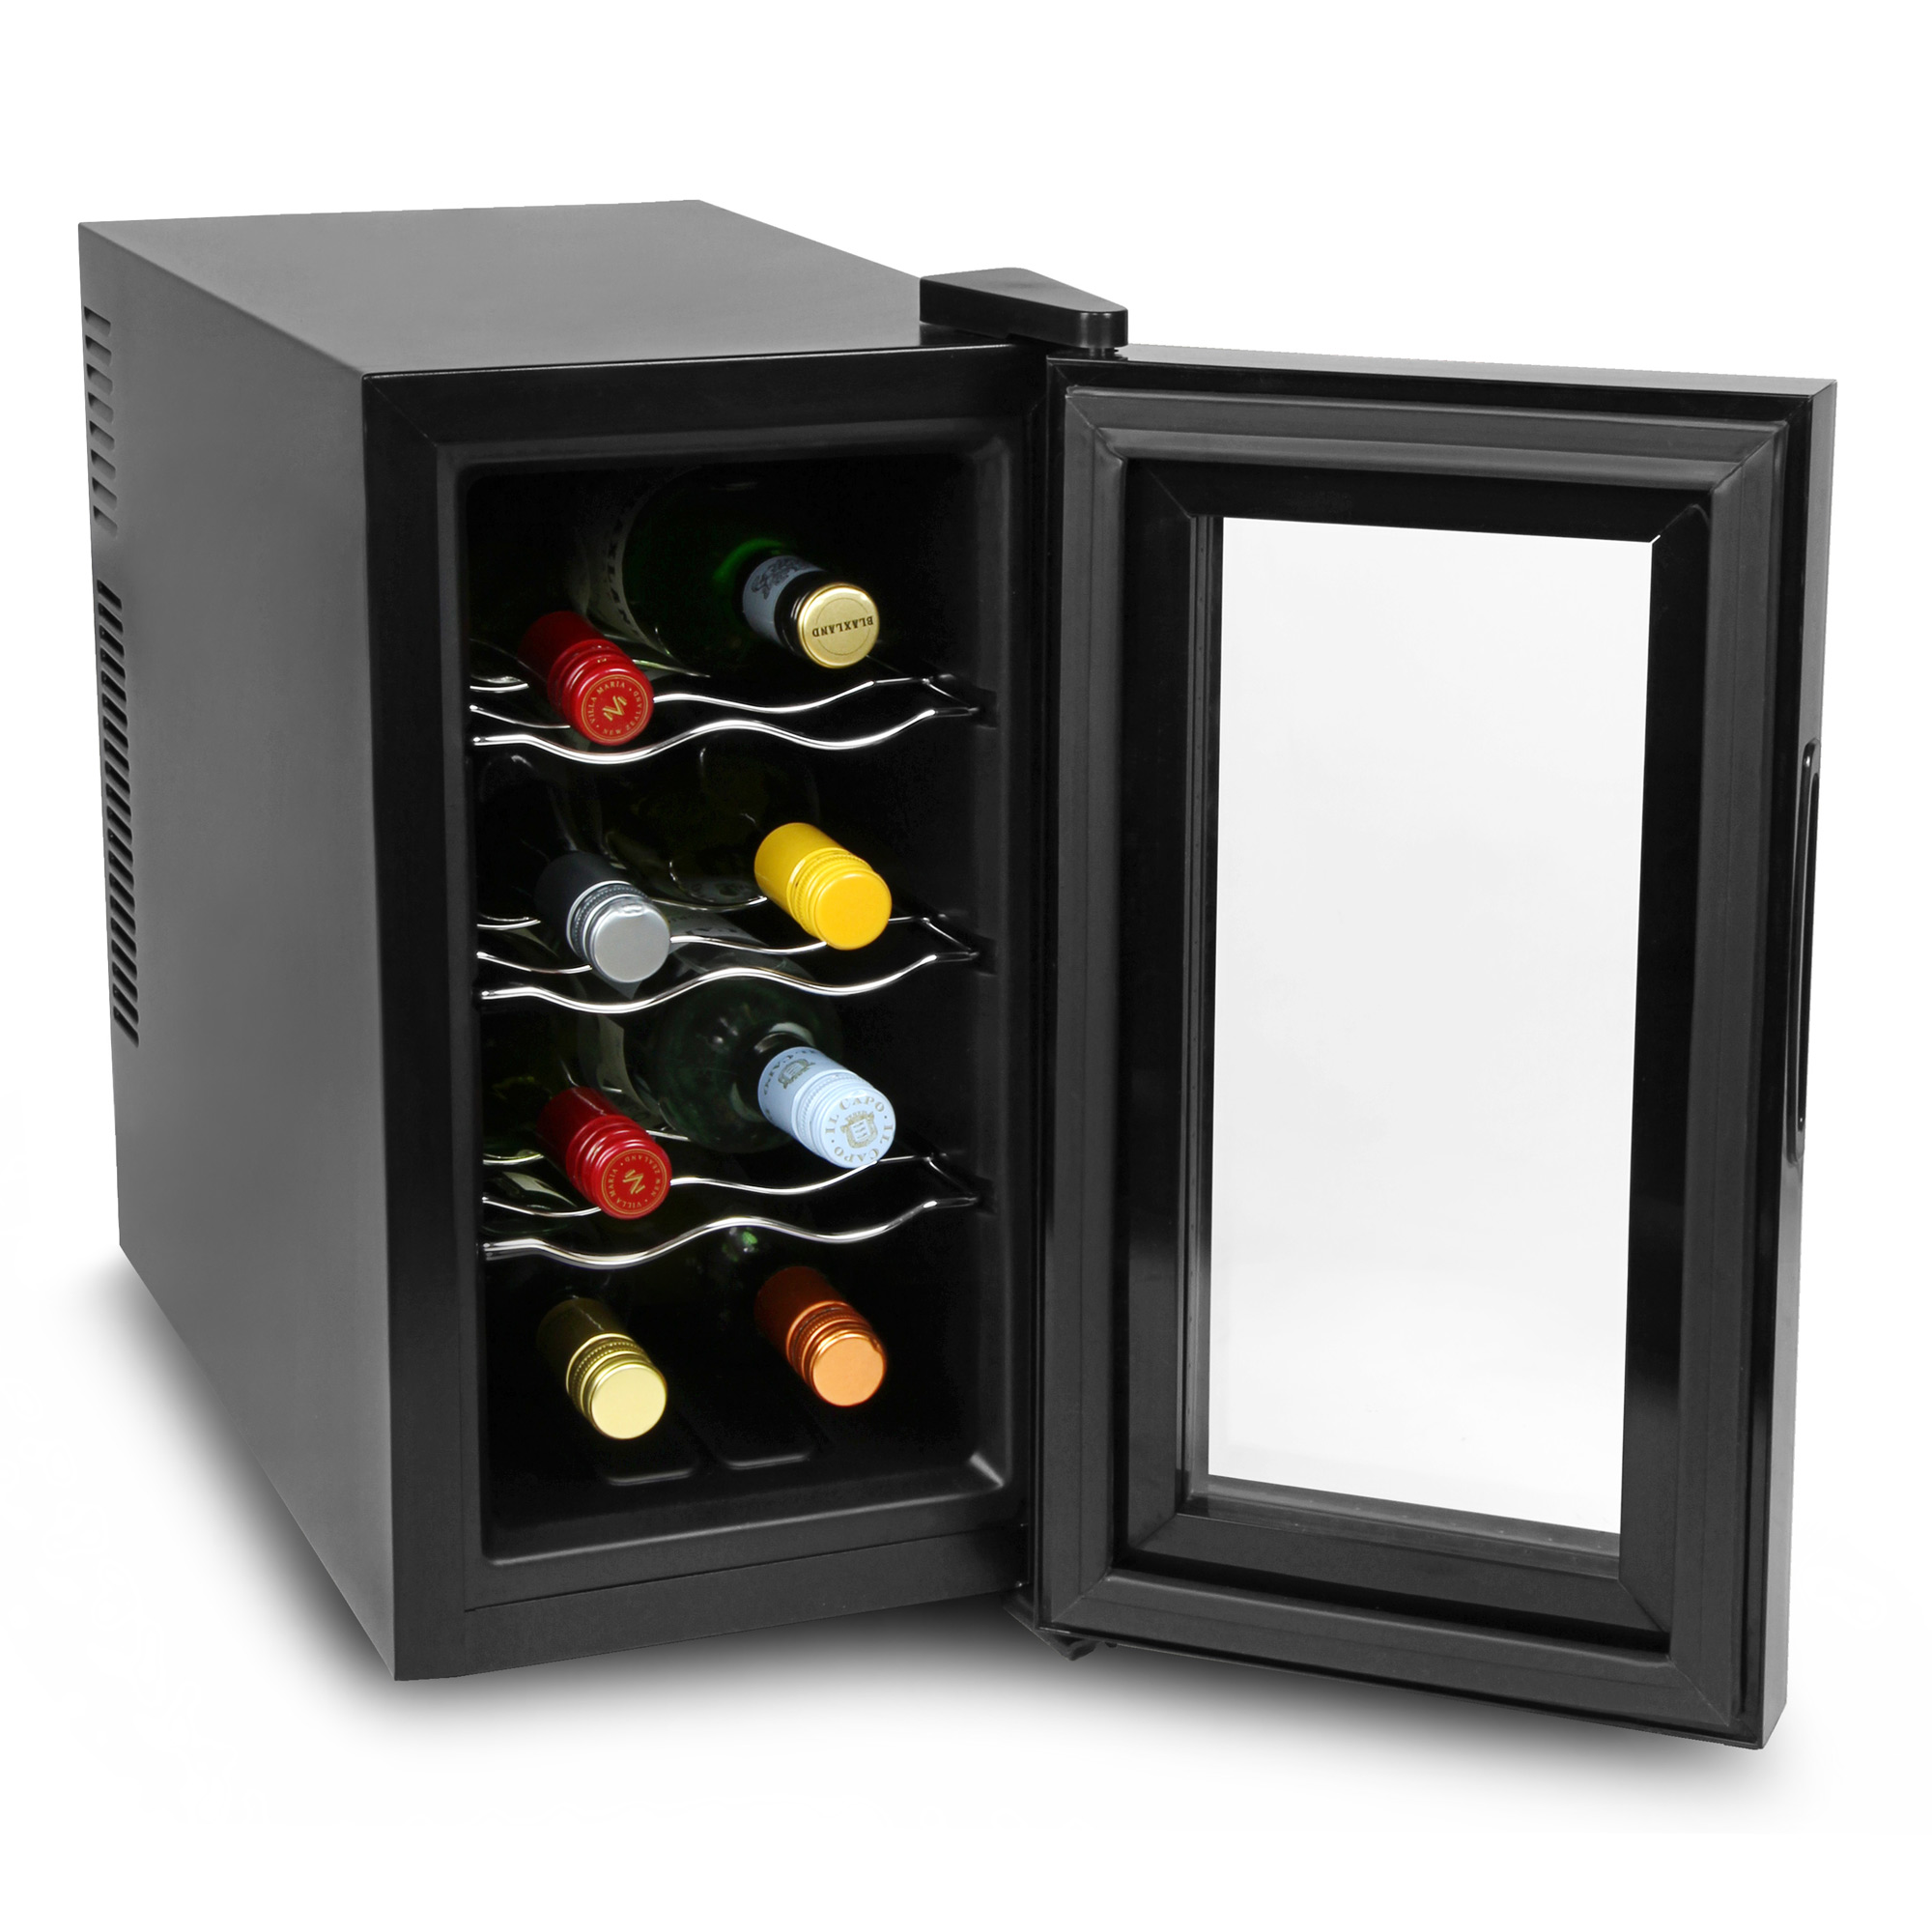 Benefits of a Mini Fridge for Wine
 Choosing the Right Mini Fridge for Wine
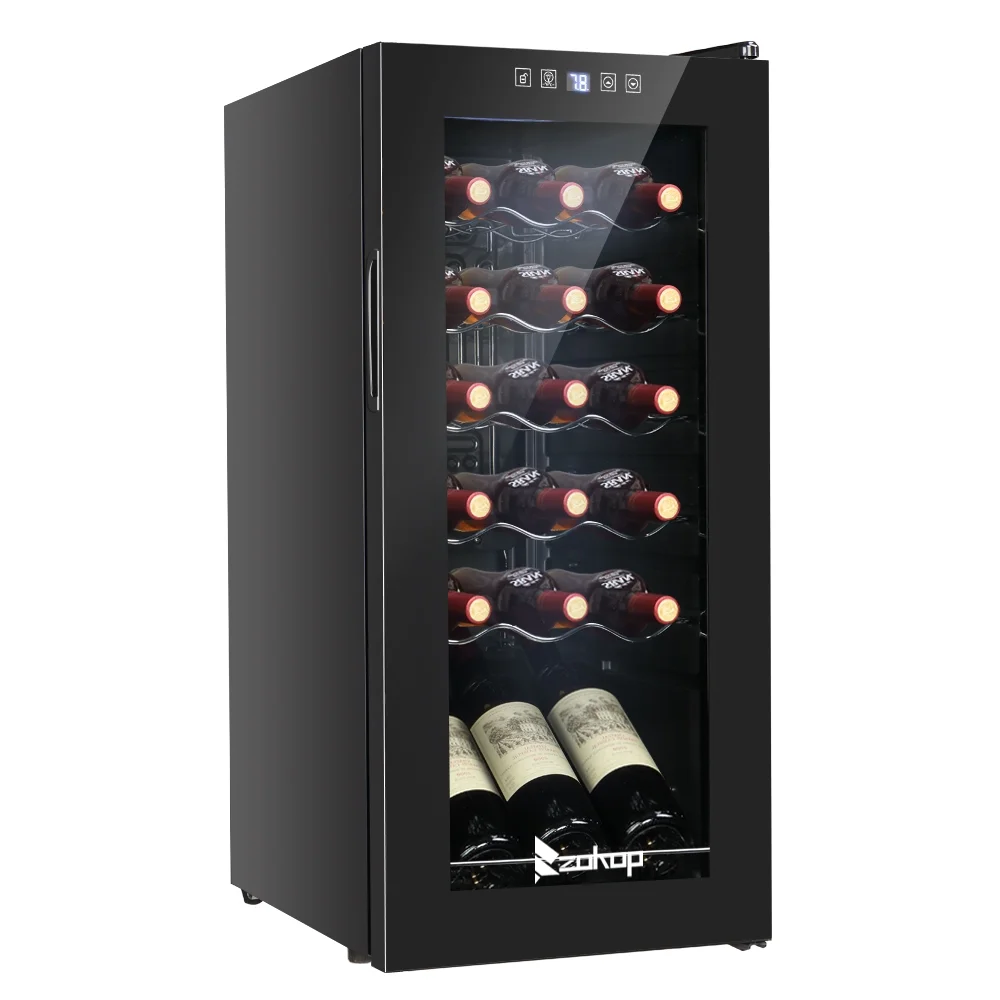 The Environmental Impact
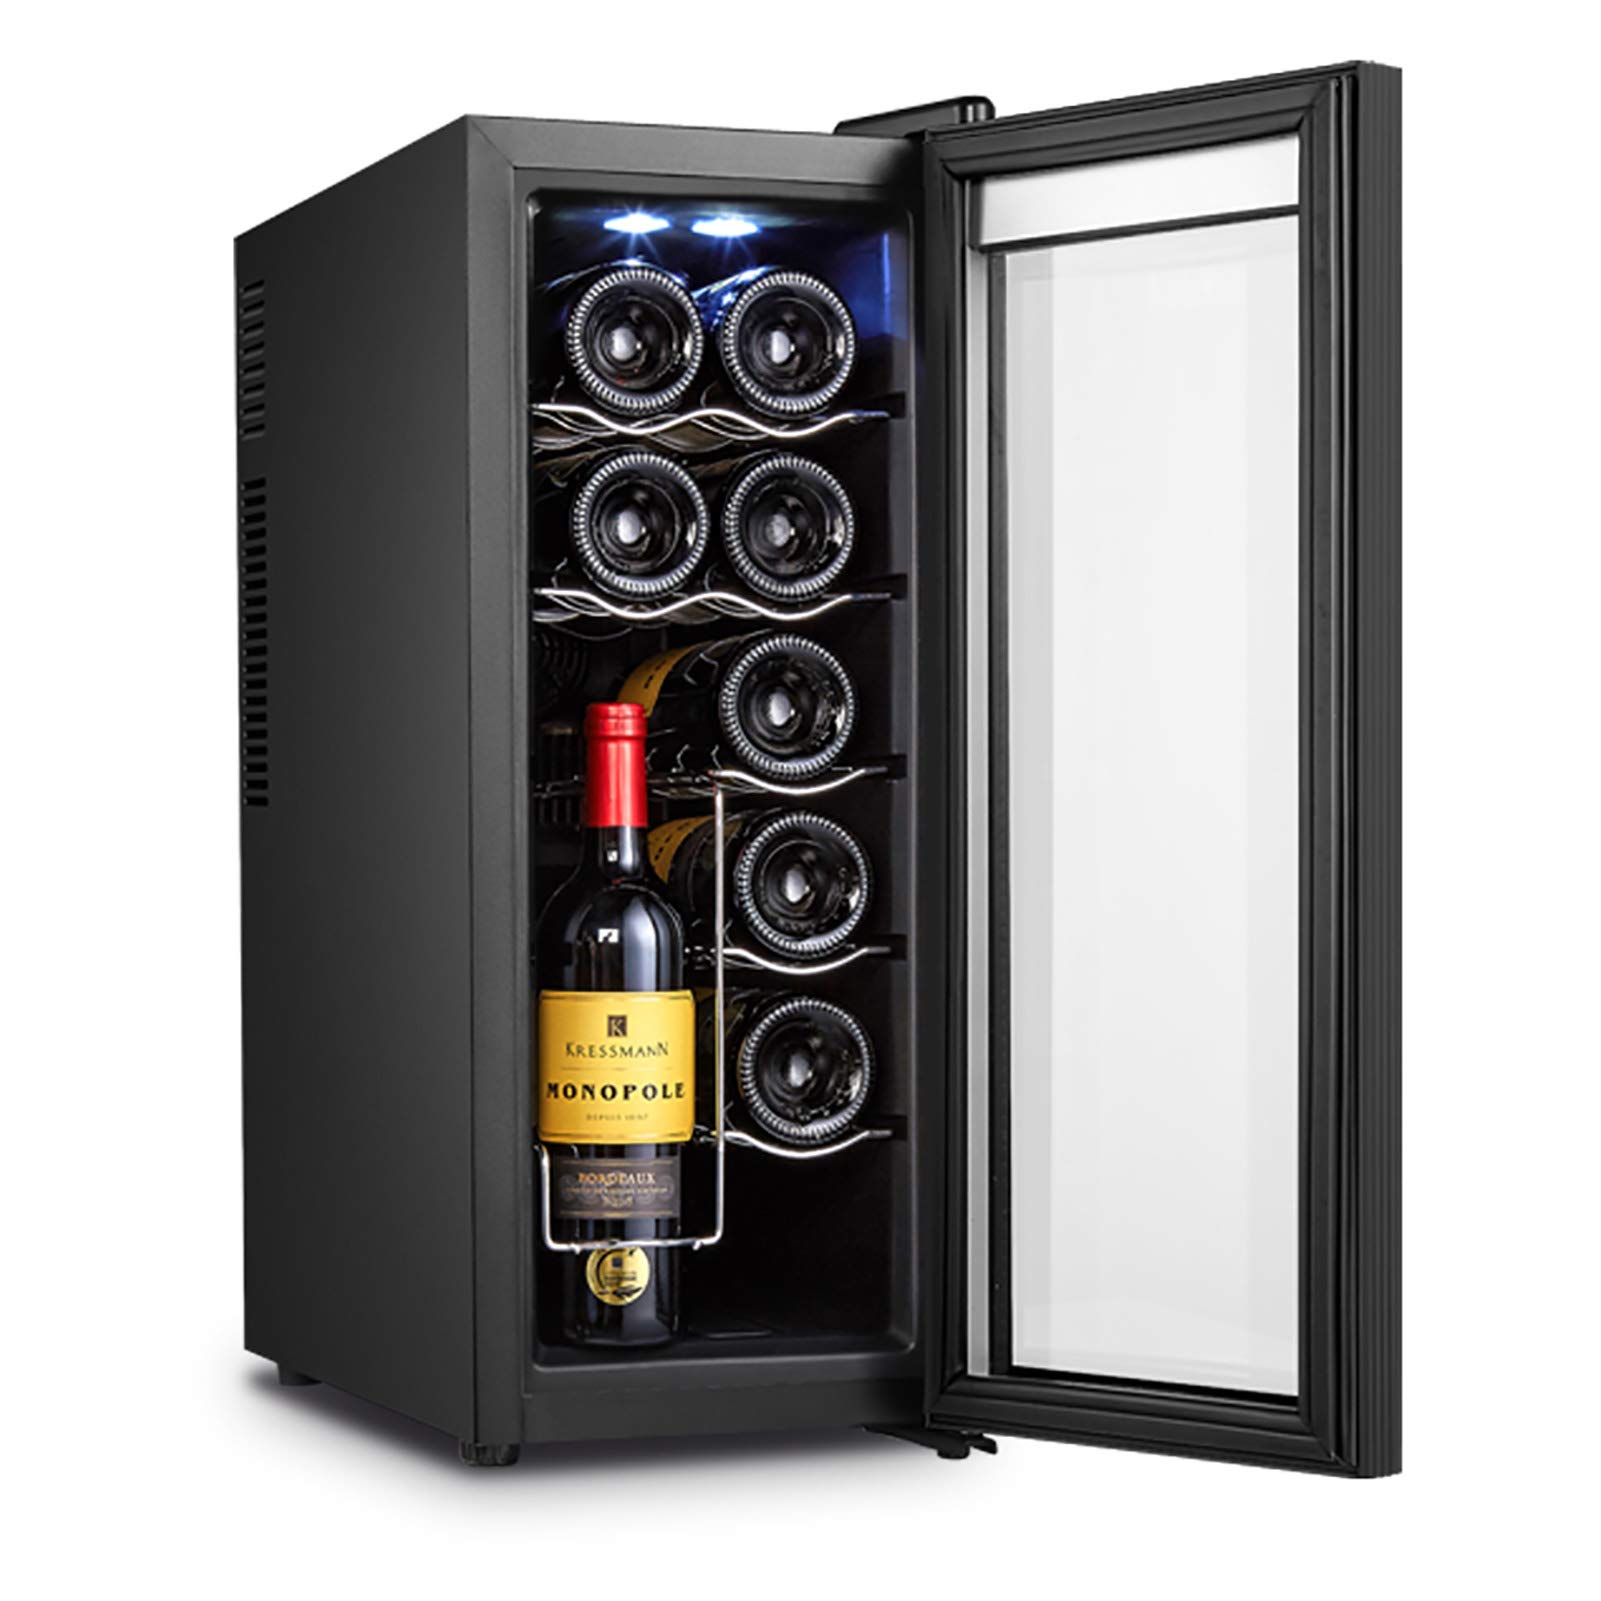 Potential Drawbacks
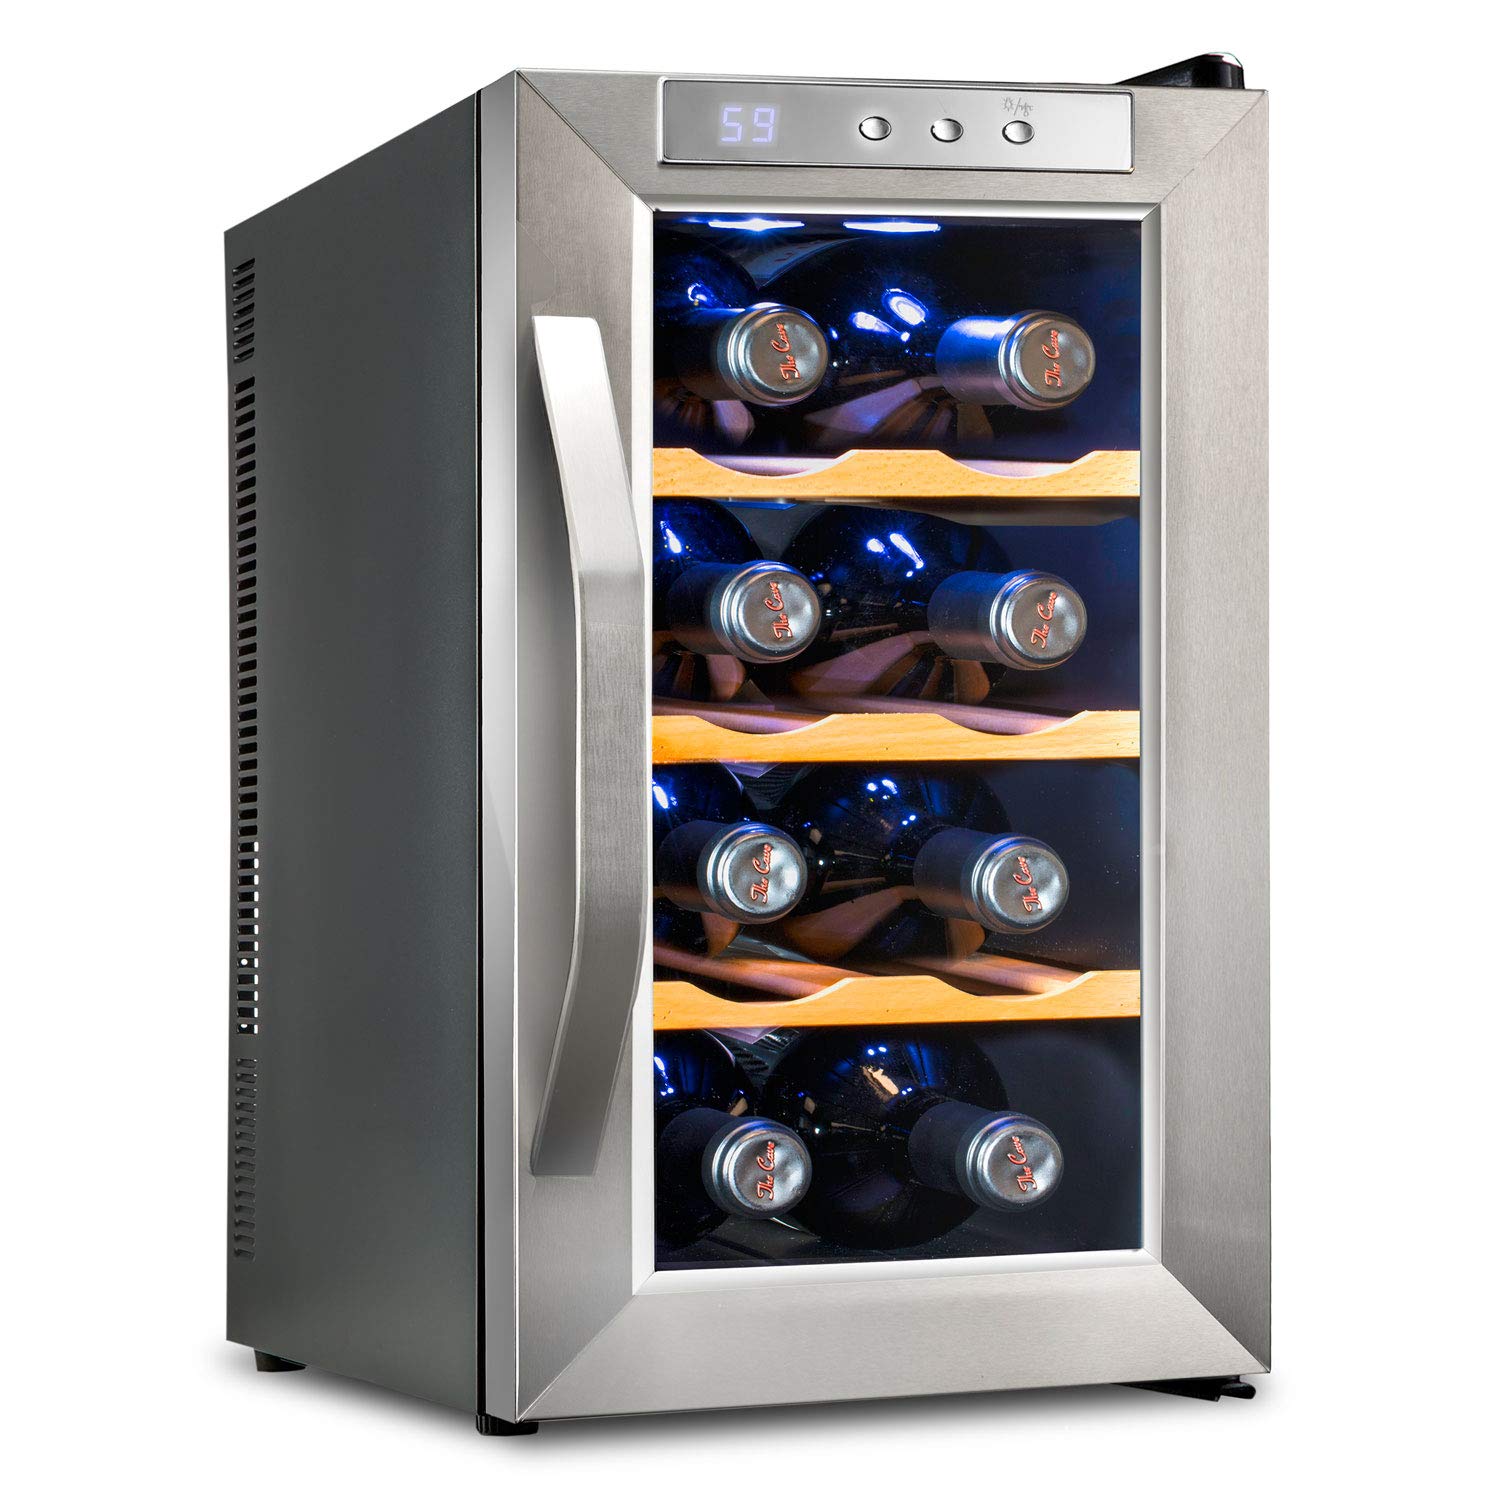 Conclusion
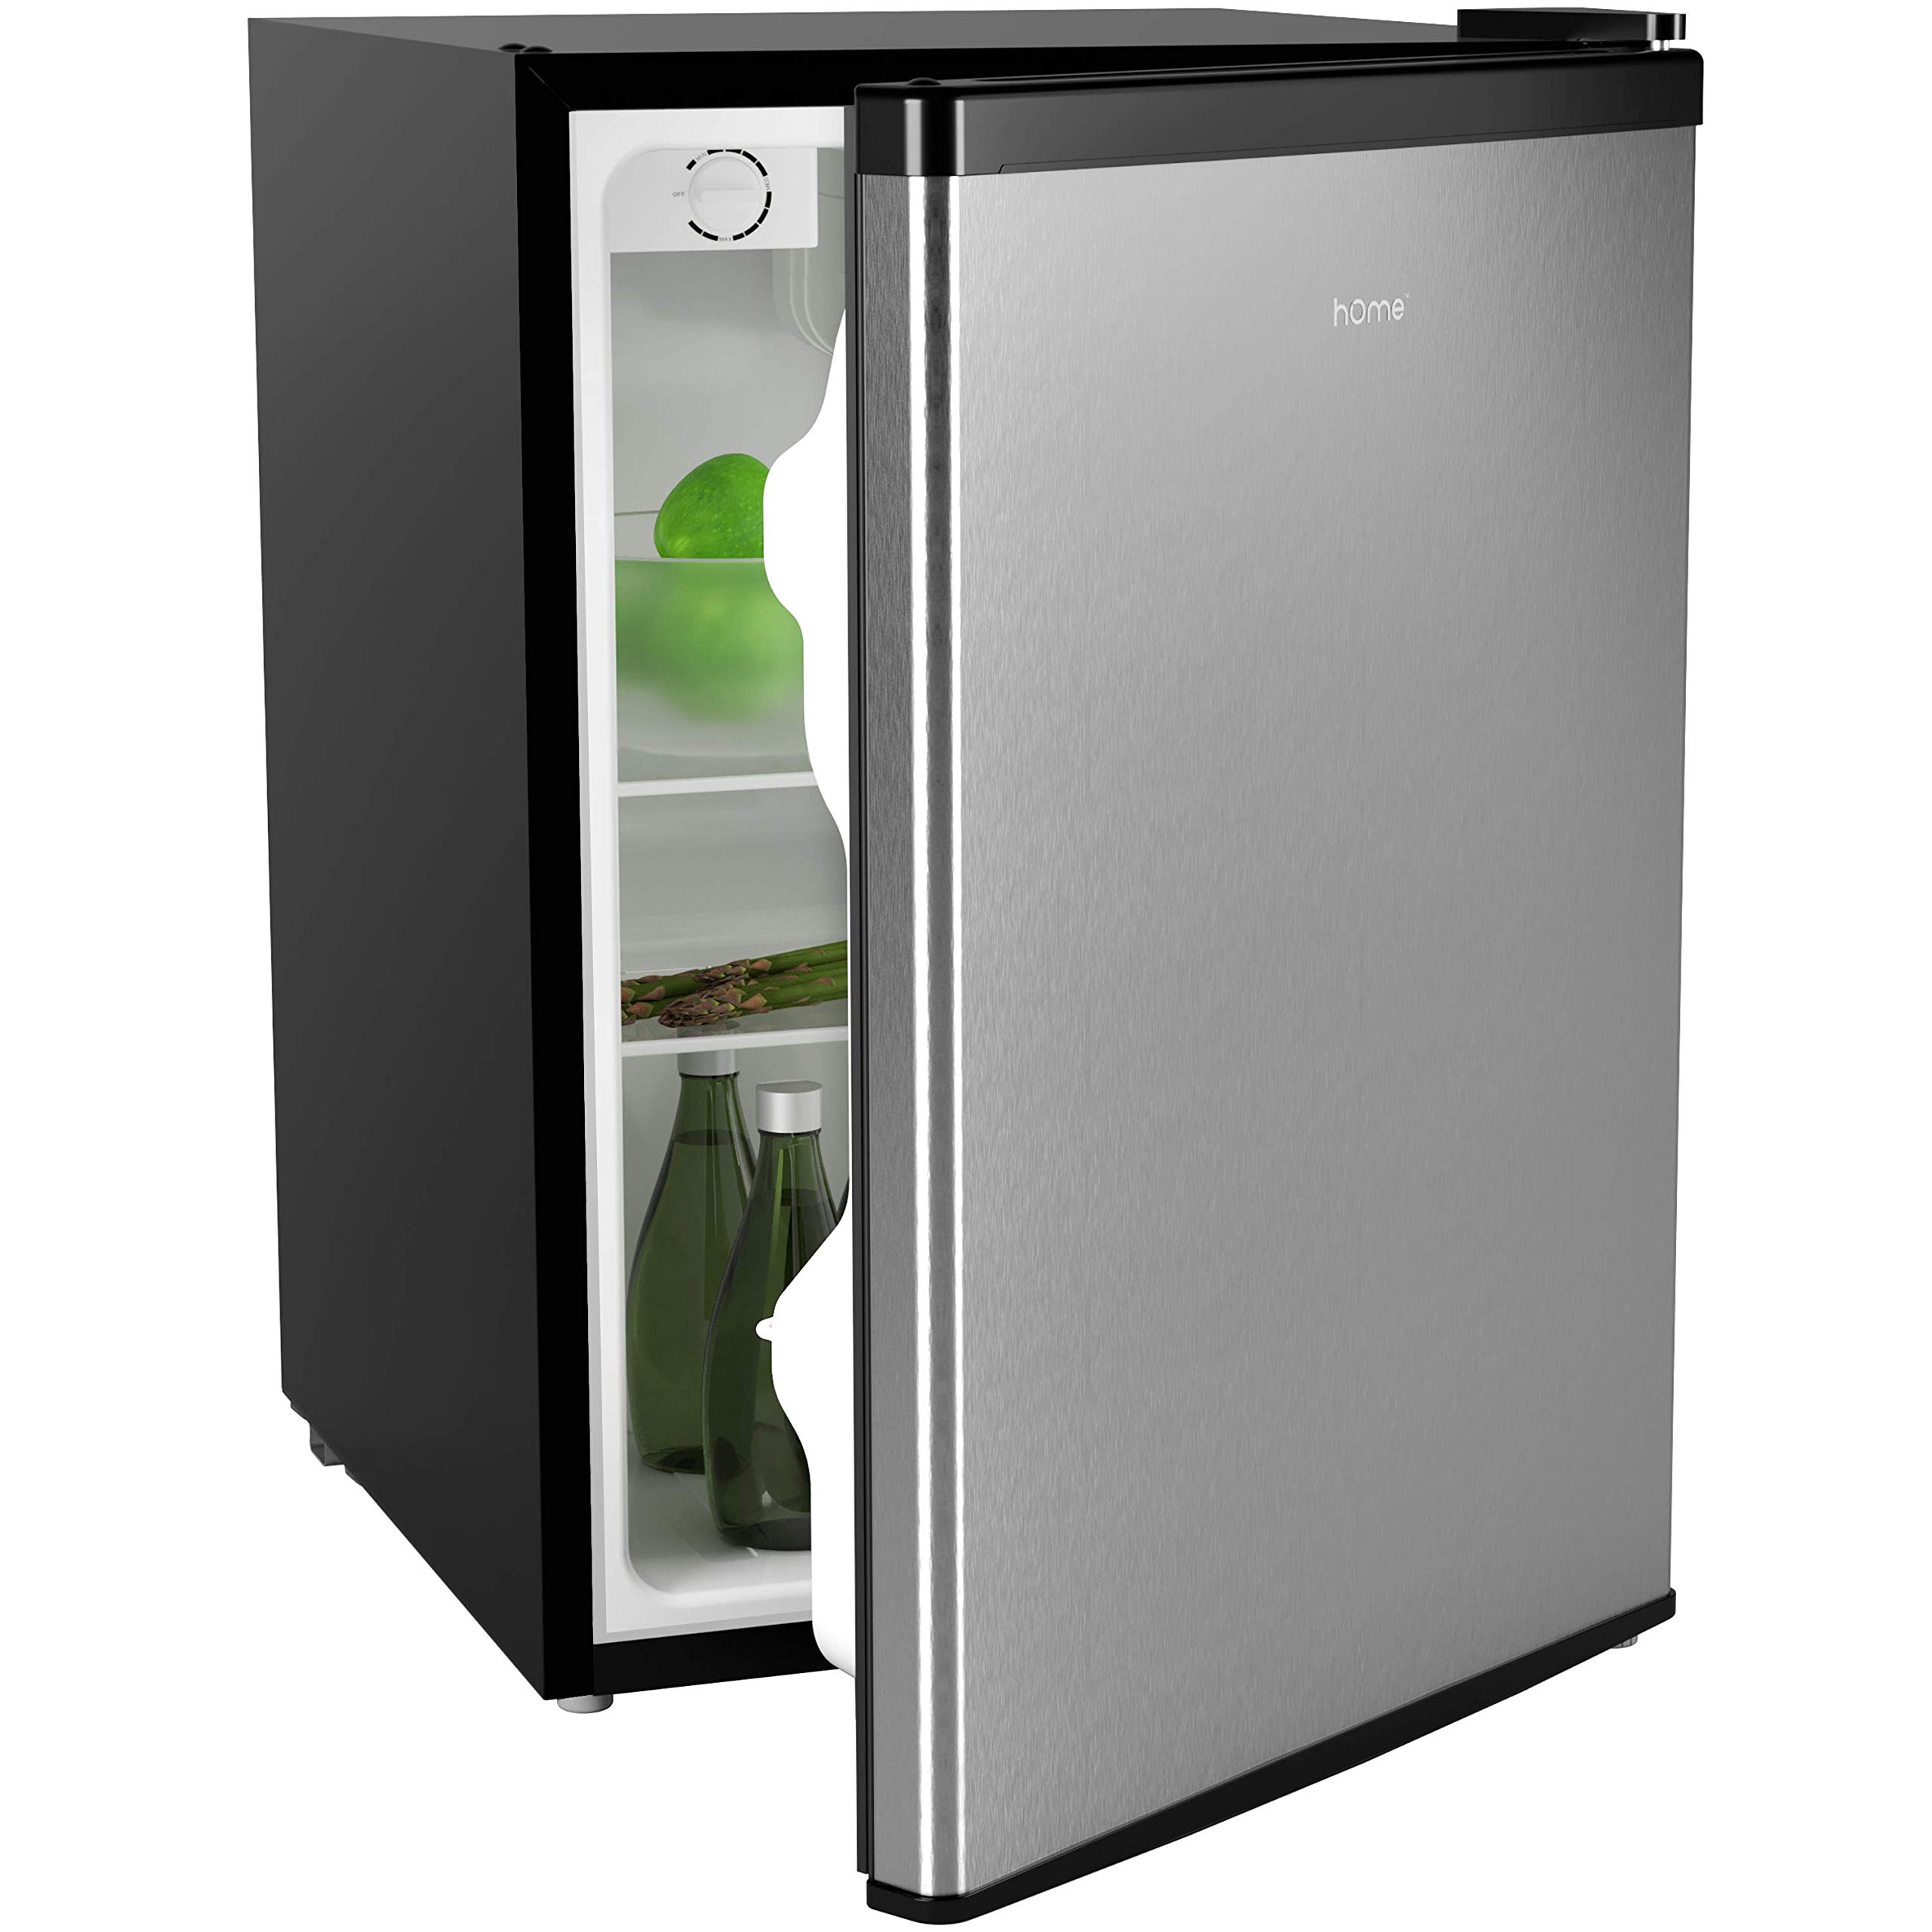 Top Picks for Mini Fridge with Freezer Under $100
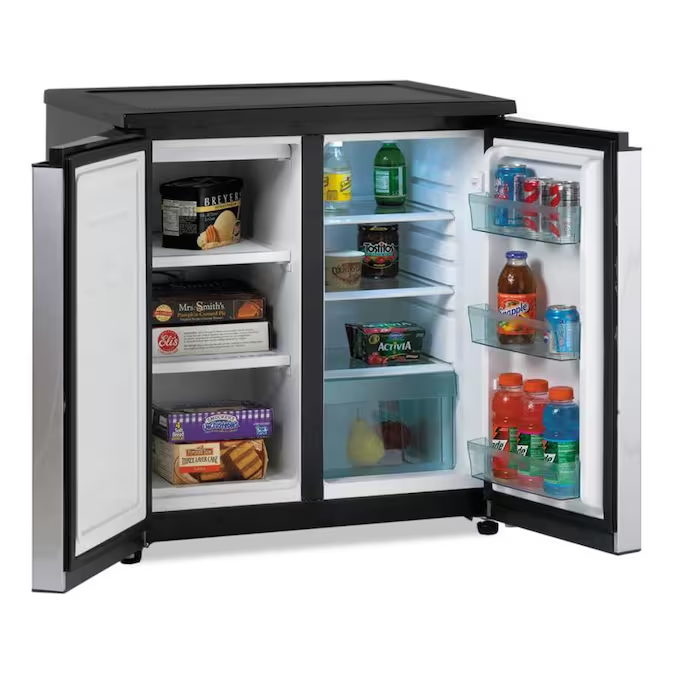 Common Uses for a Affordable Mini Fridge with Freezer
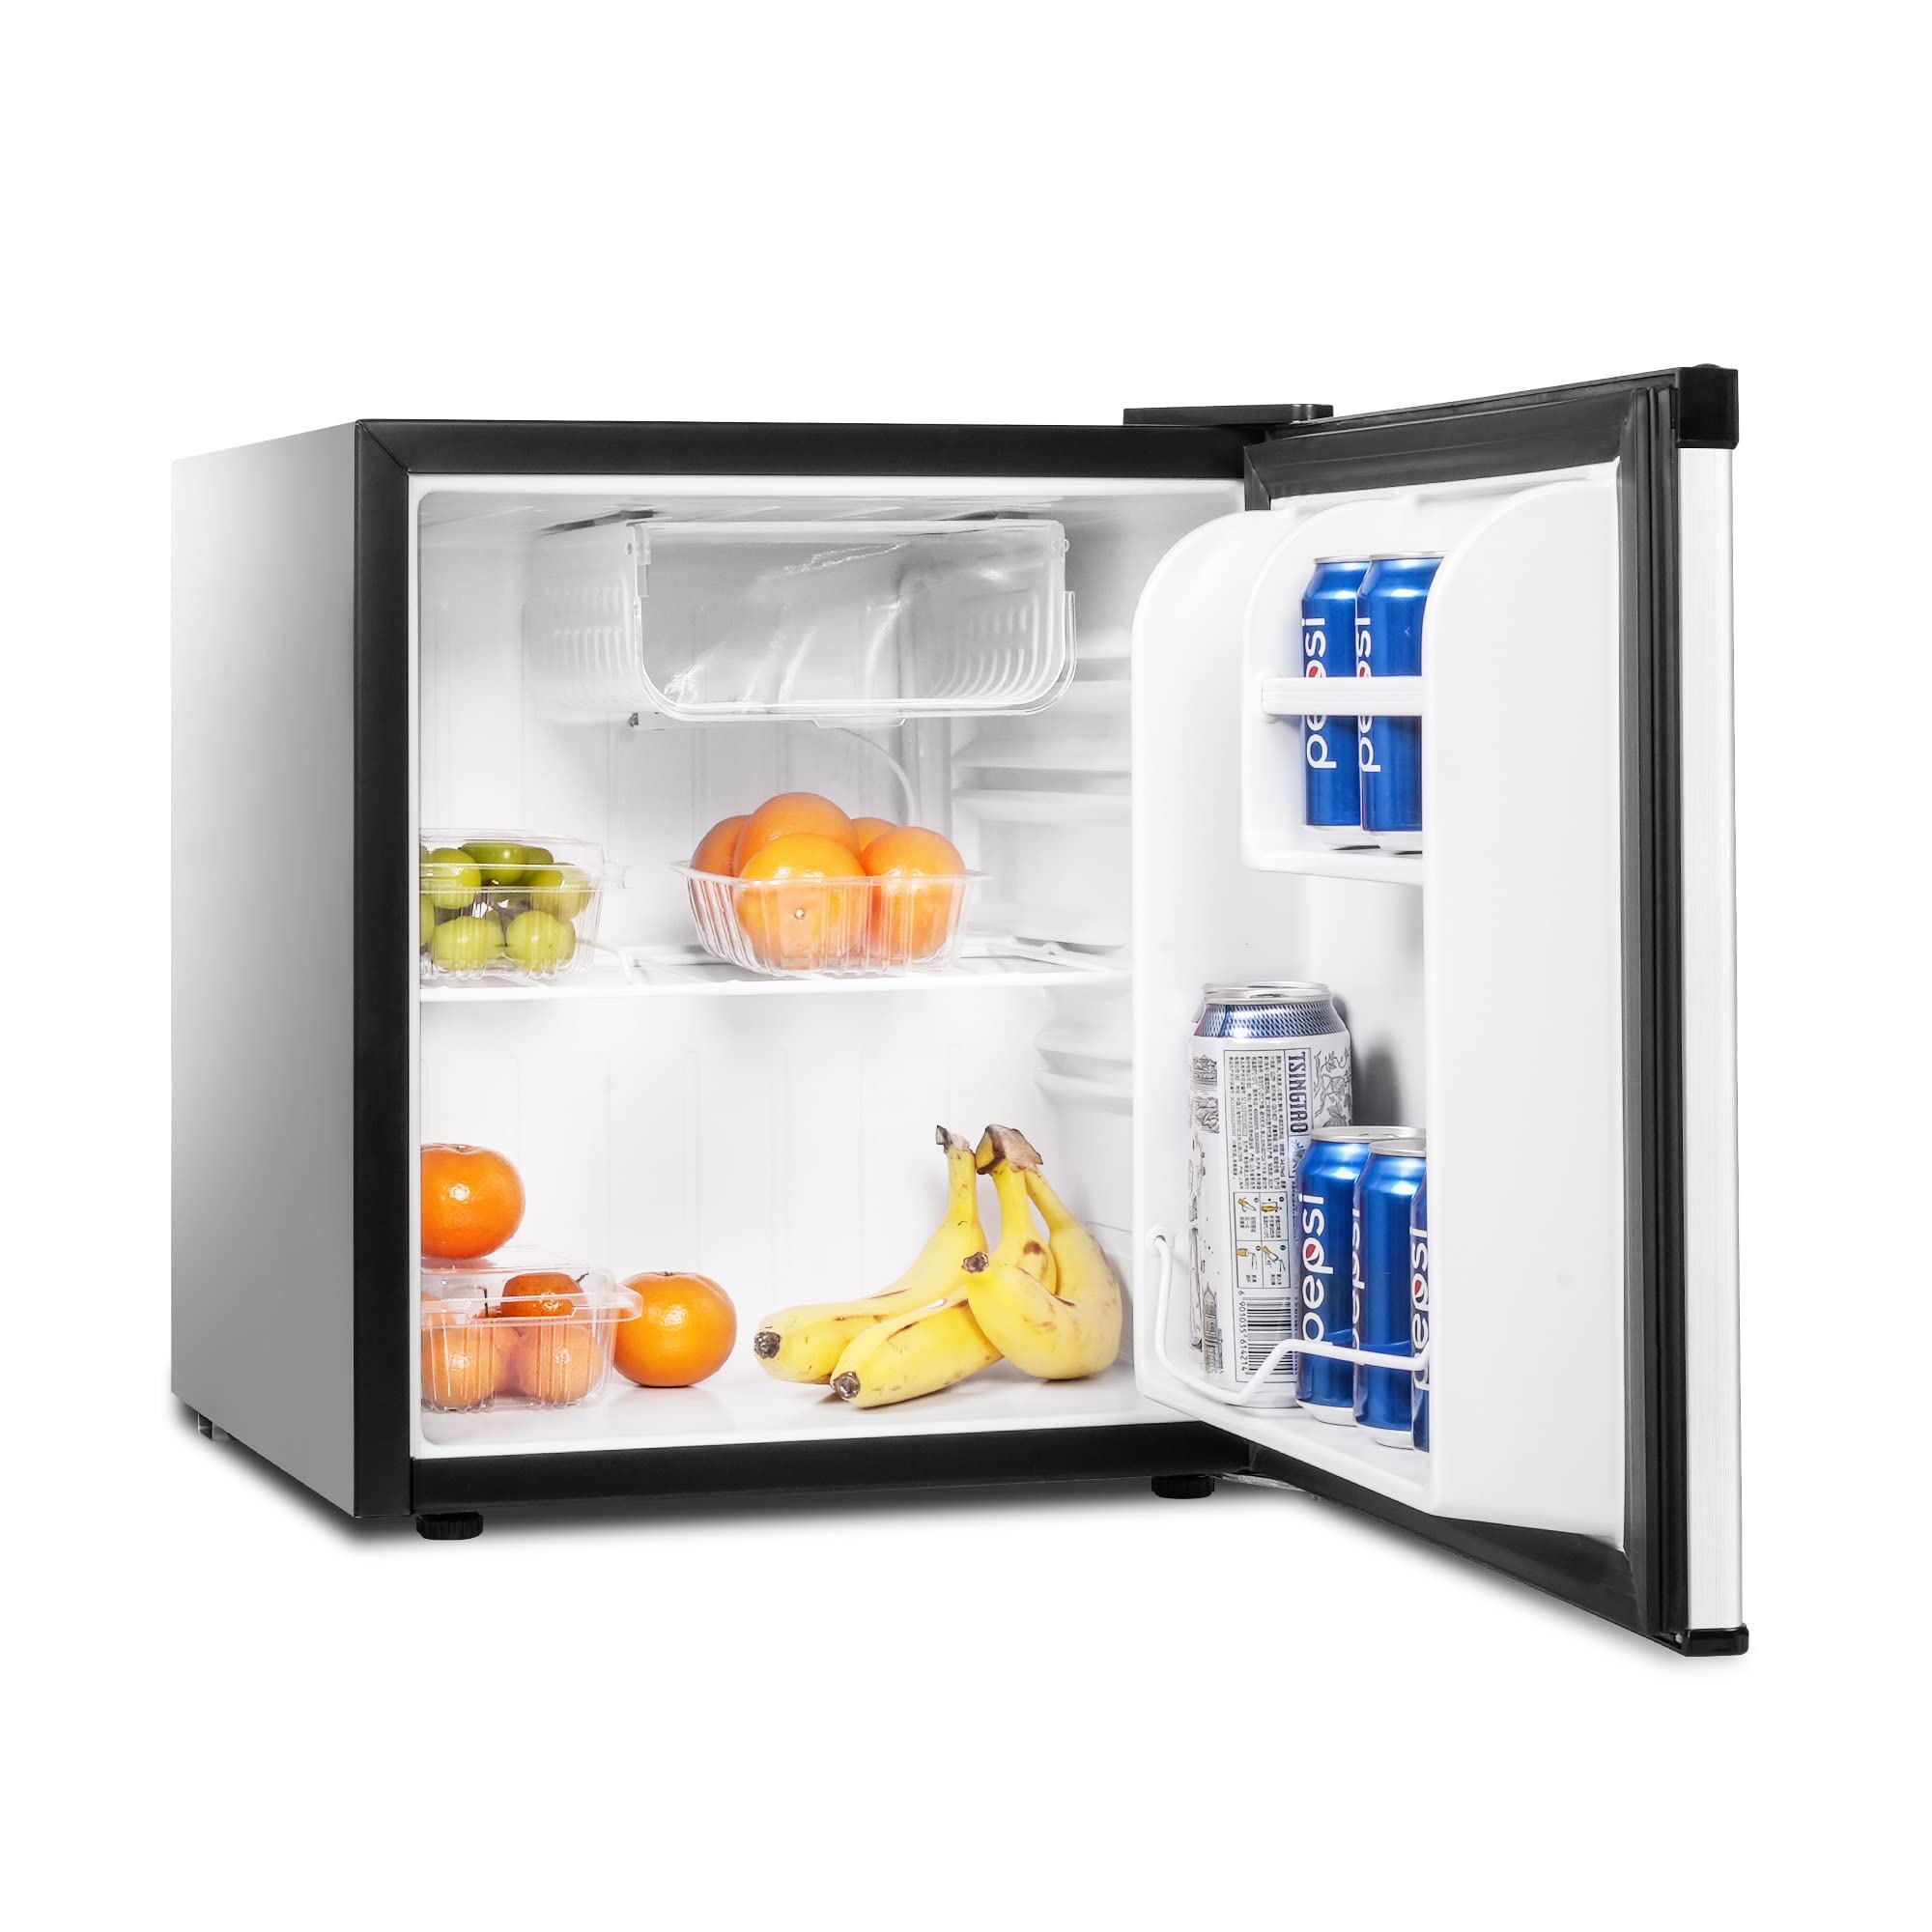 How to Maintain Your Mini Fridge for Longevity
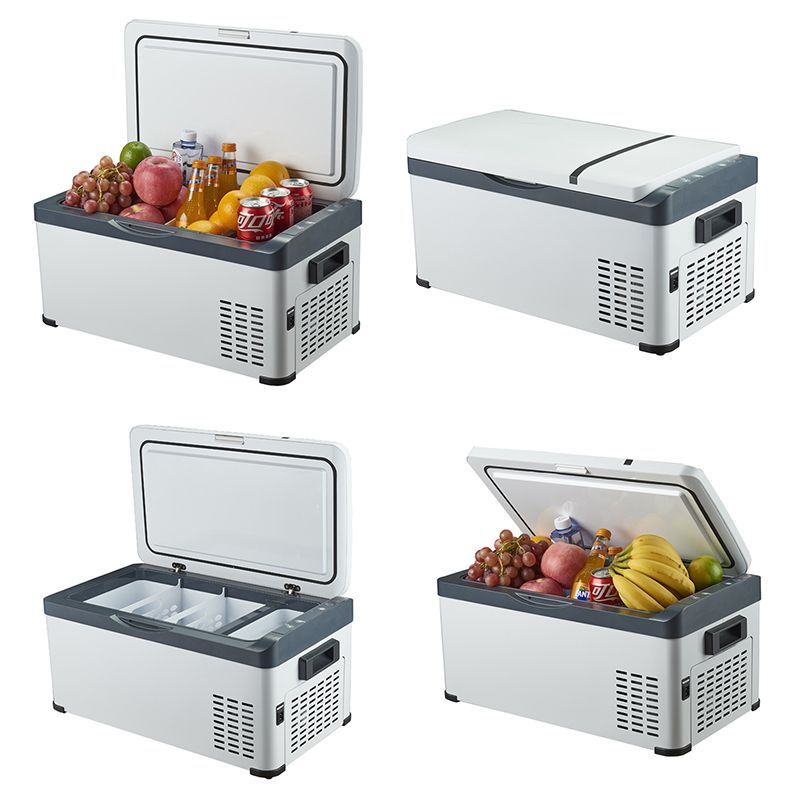 Where to Buy a Affordable Mini Fridge with Freezer
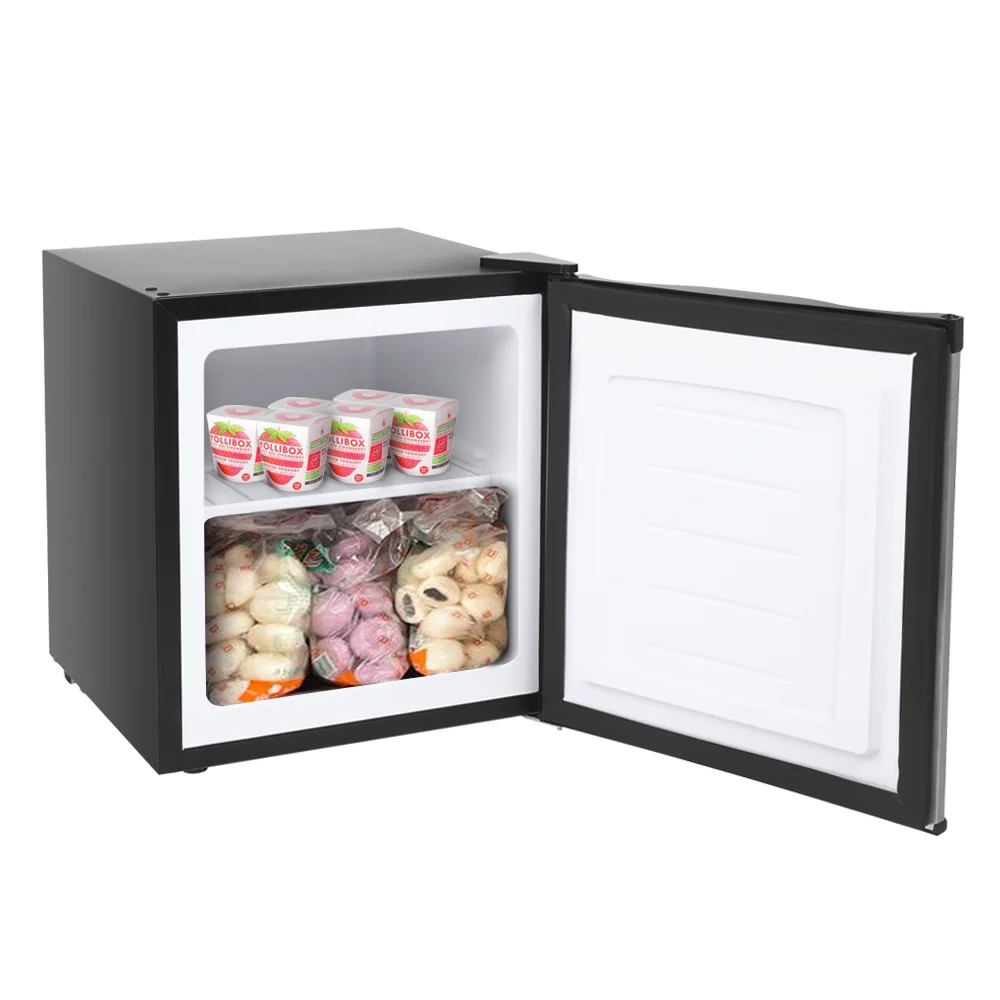 Conclusion
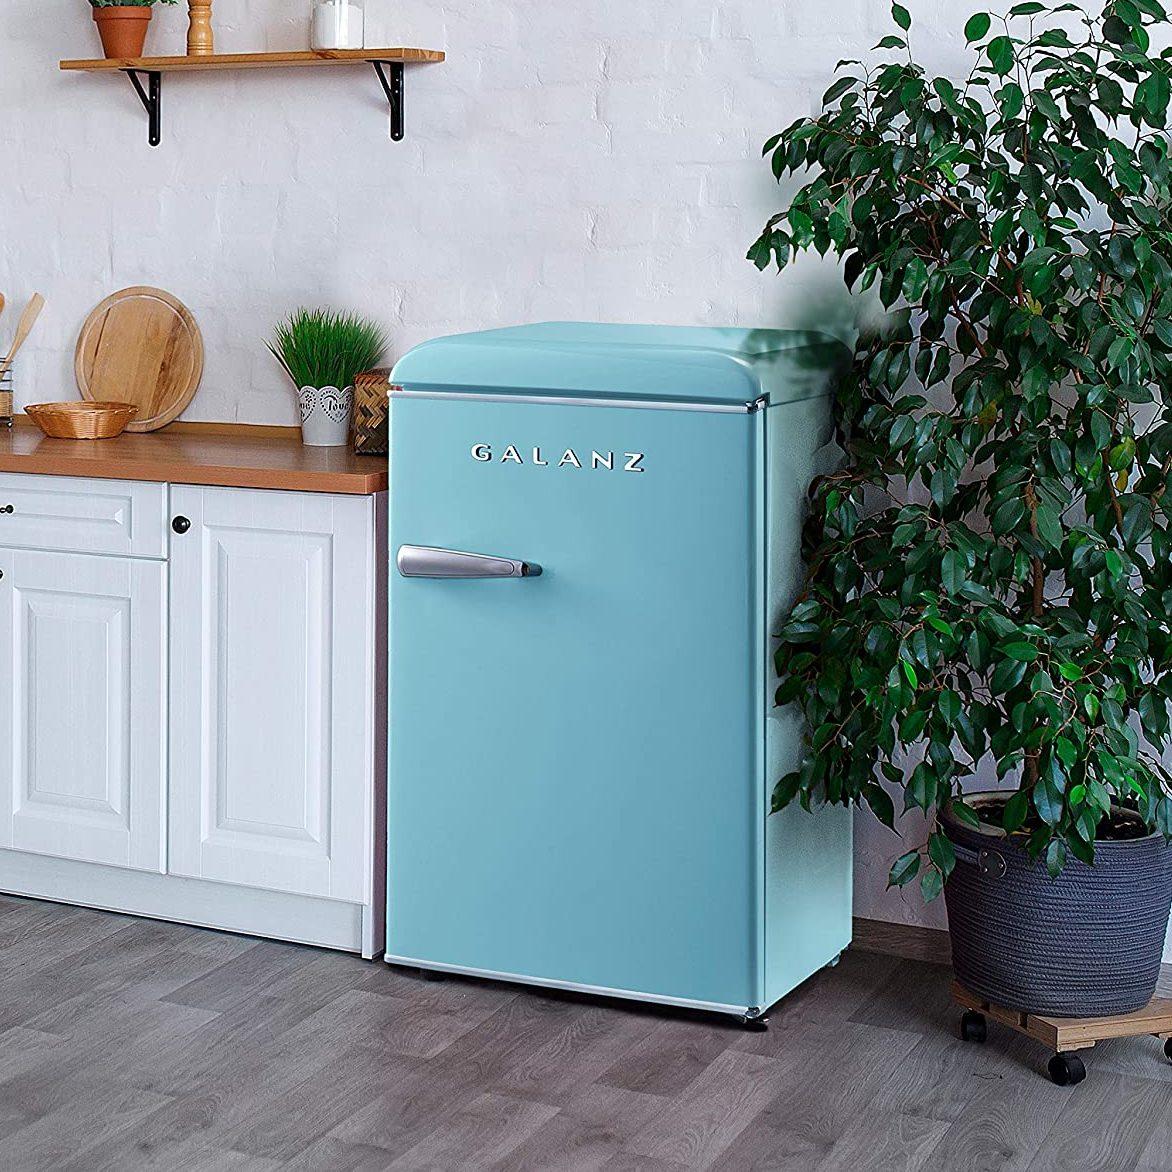 The Allure of Retro Mini Fridge
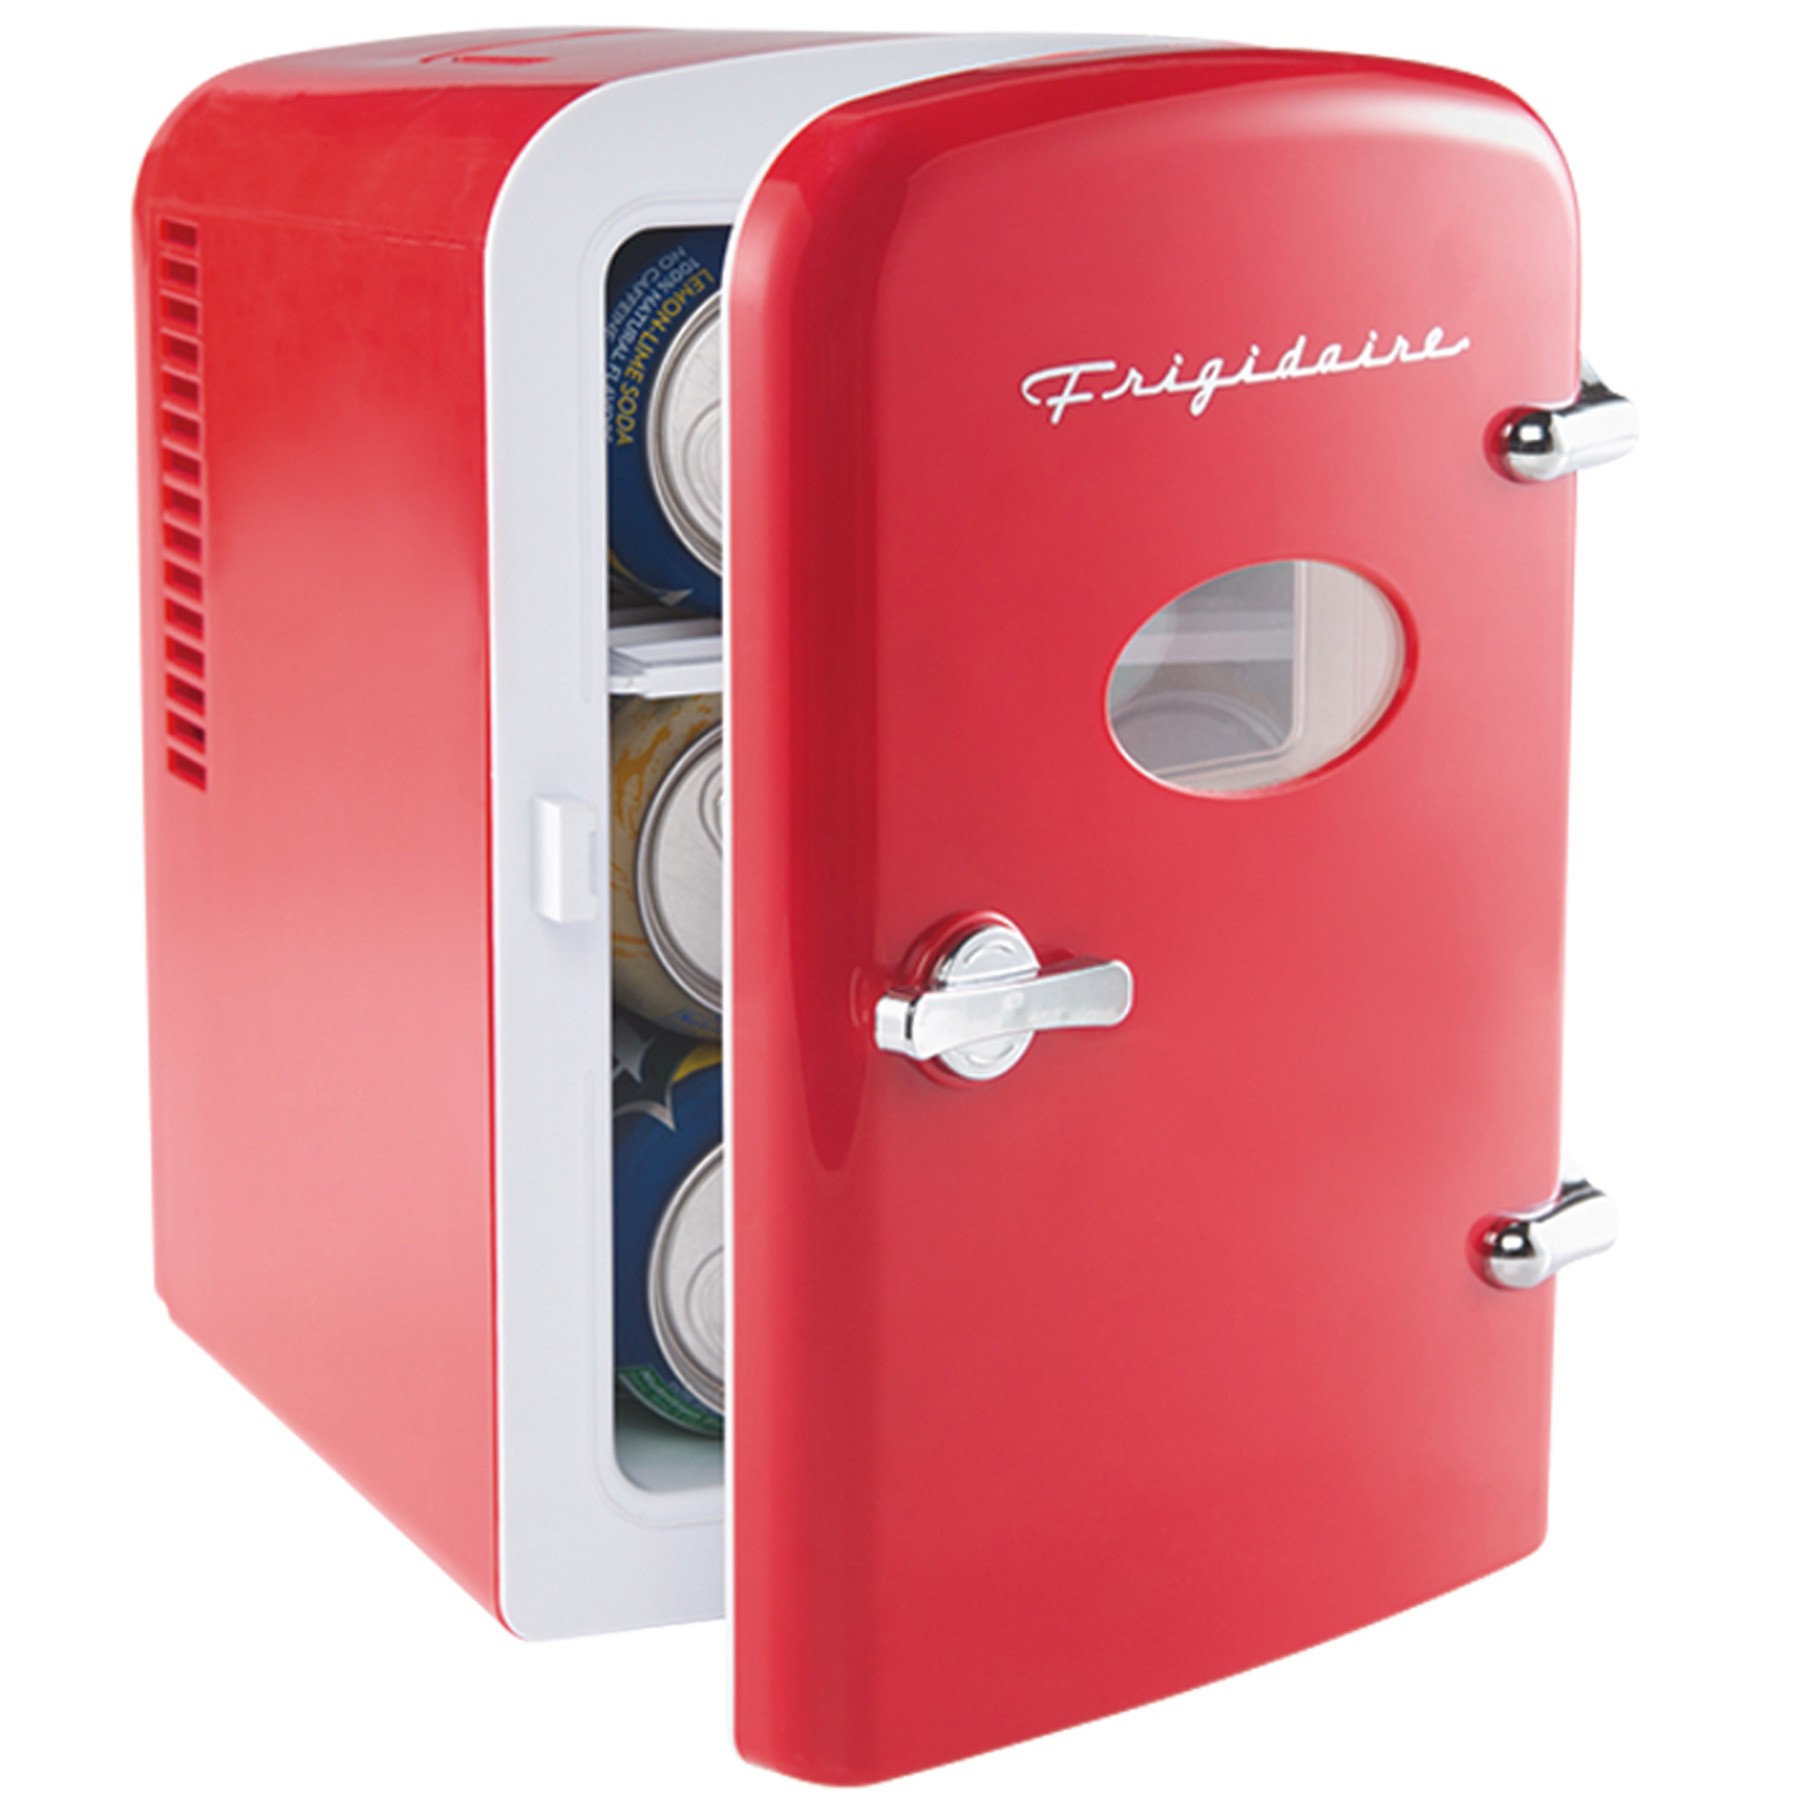 Factors Influencing the Temperature of Retro Mini Fridge
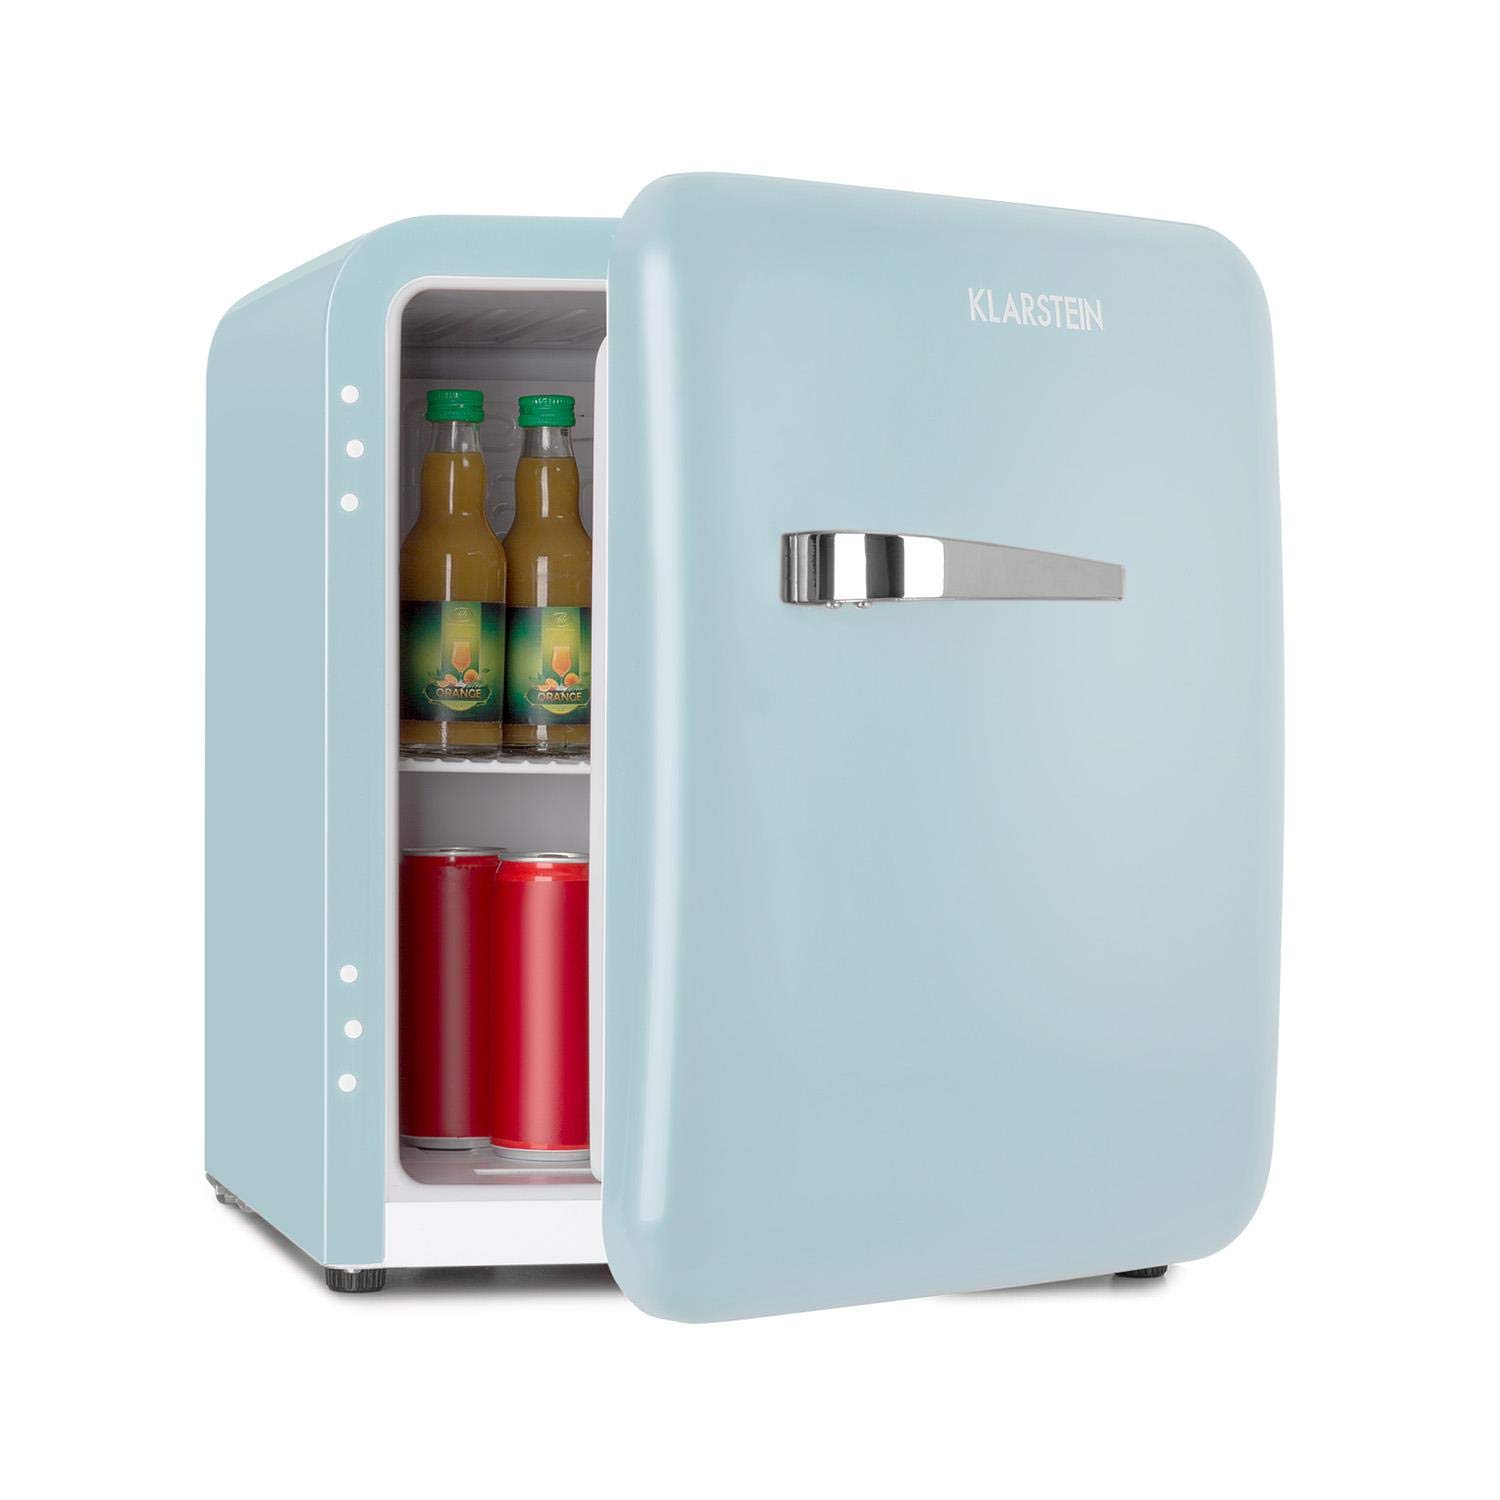 Integrating a Retro Mini Fridge into Your Space
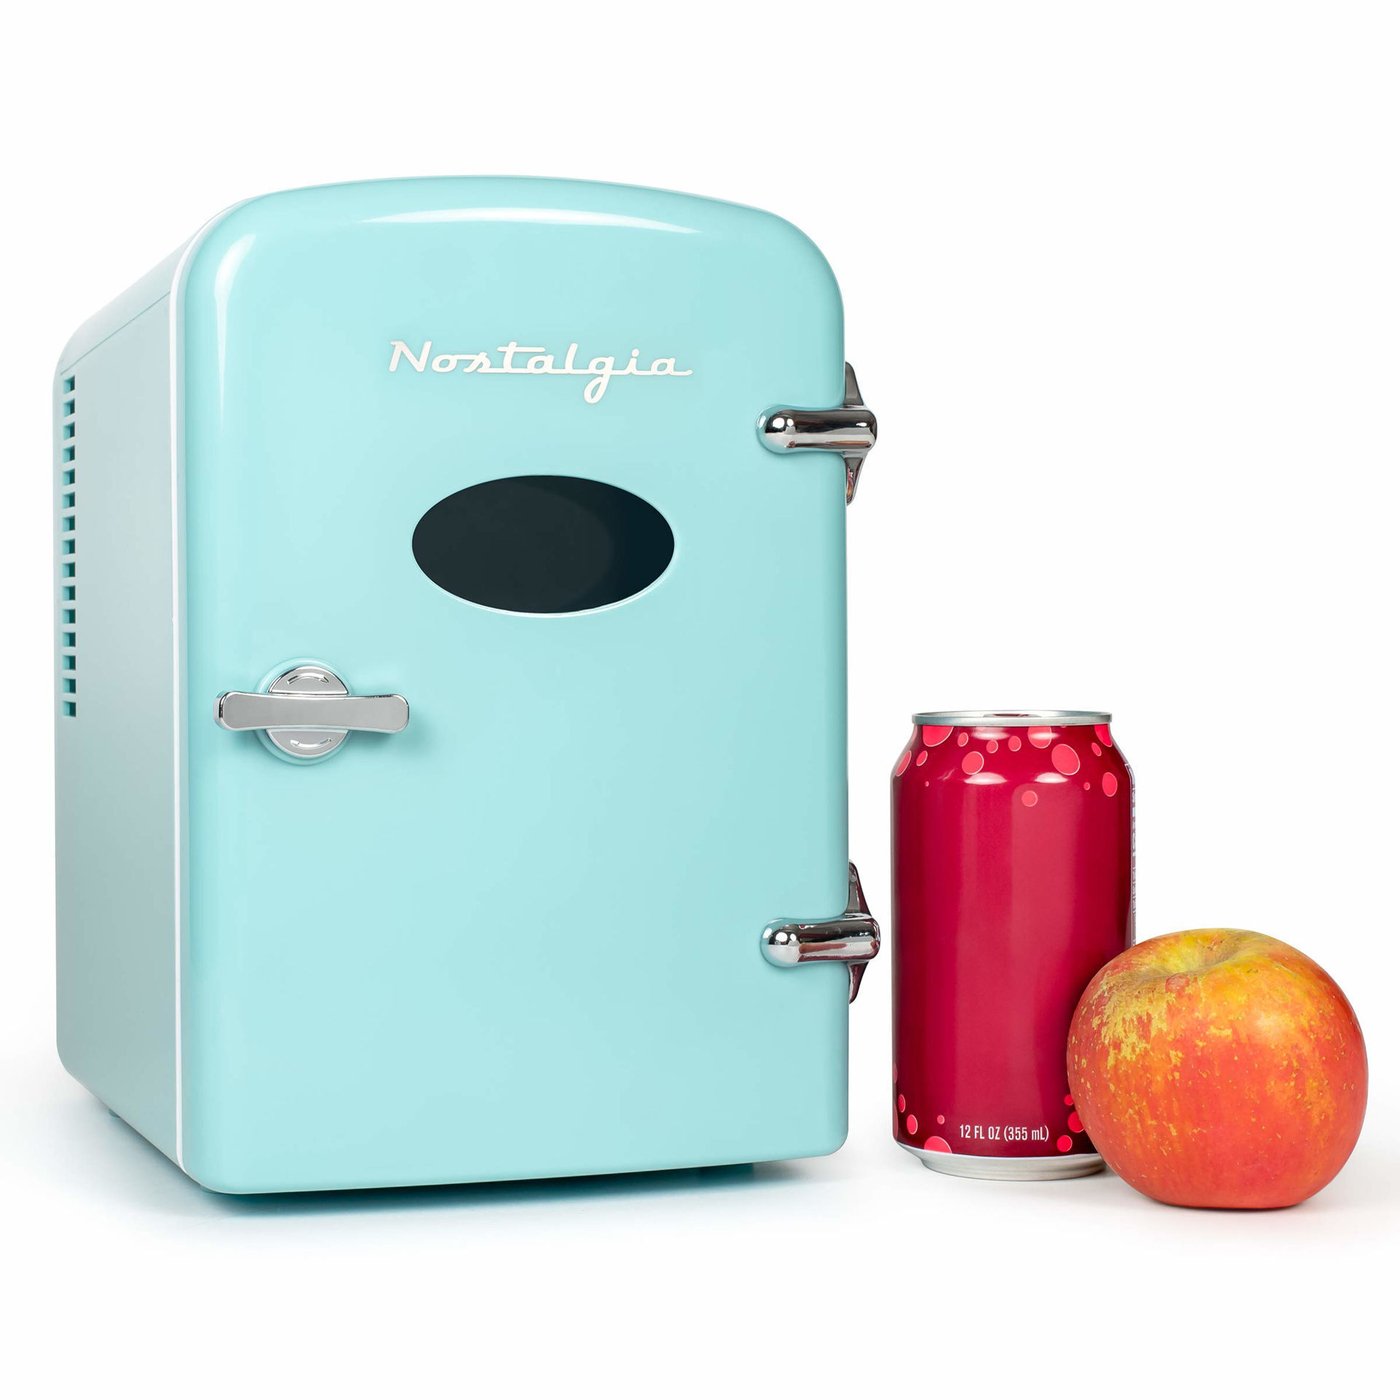 Enhancing Your Retro Mini Fridge Experience
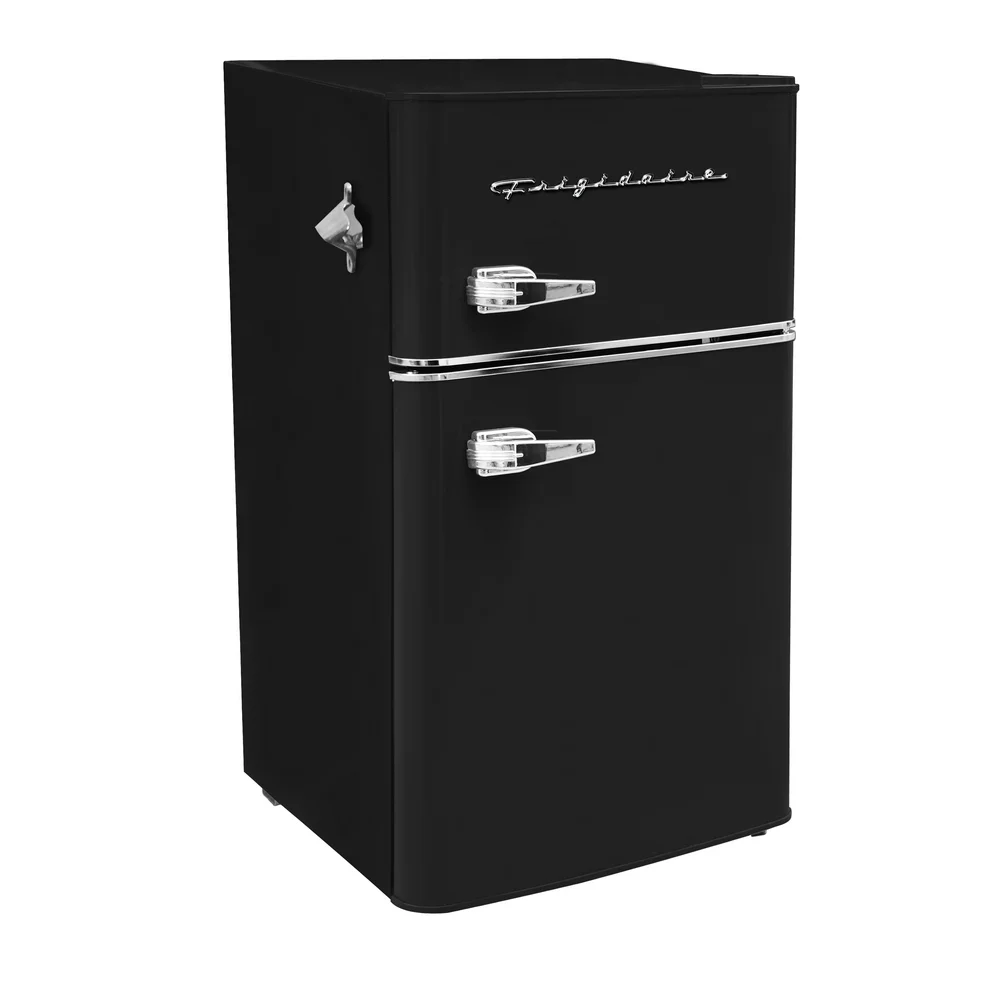 Final Thoughts
 Understanding Drink Fridges
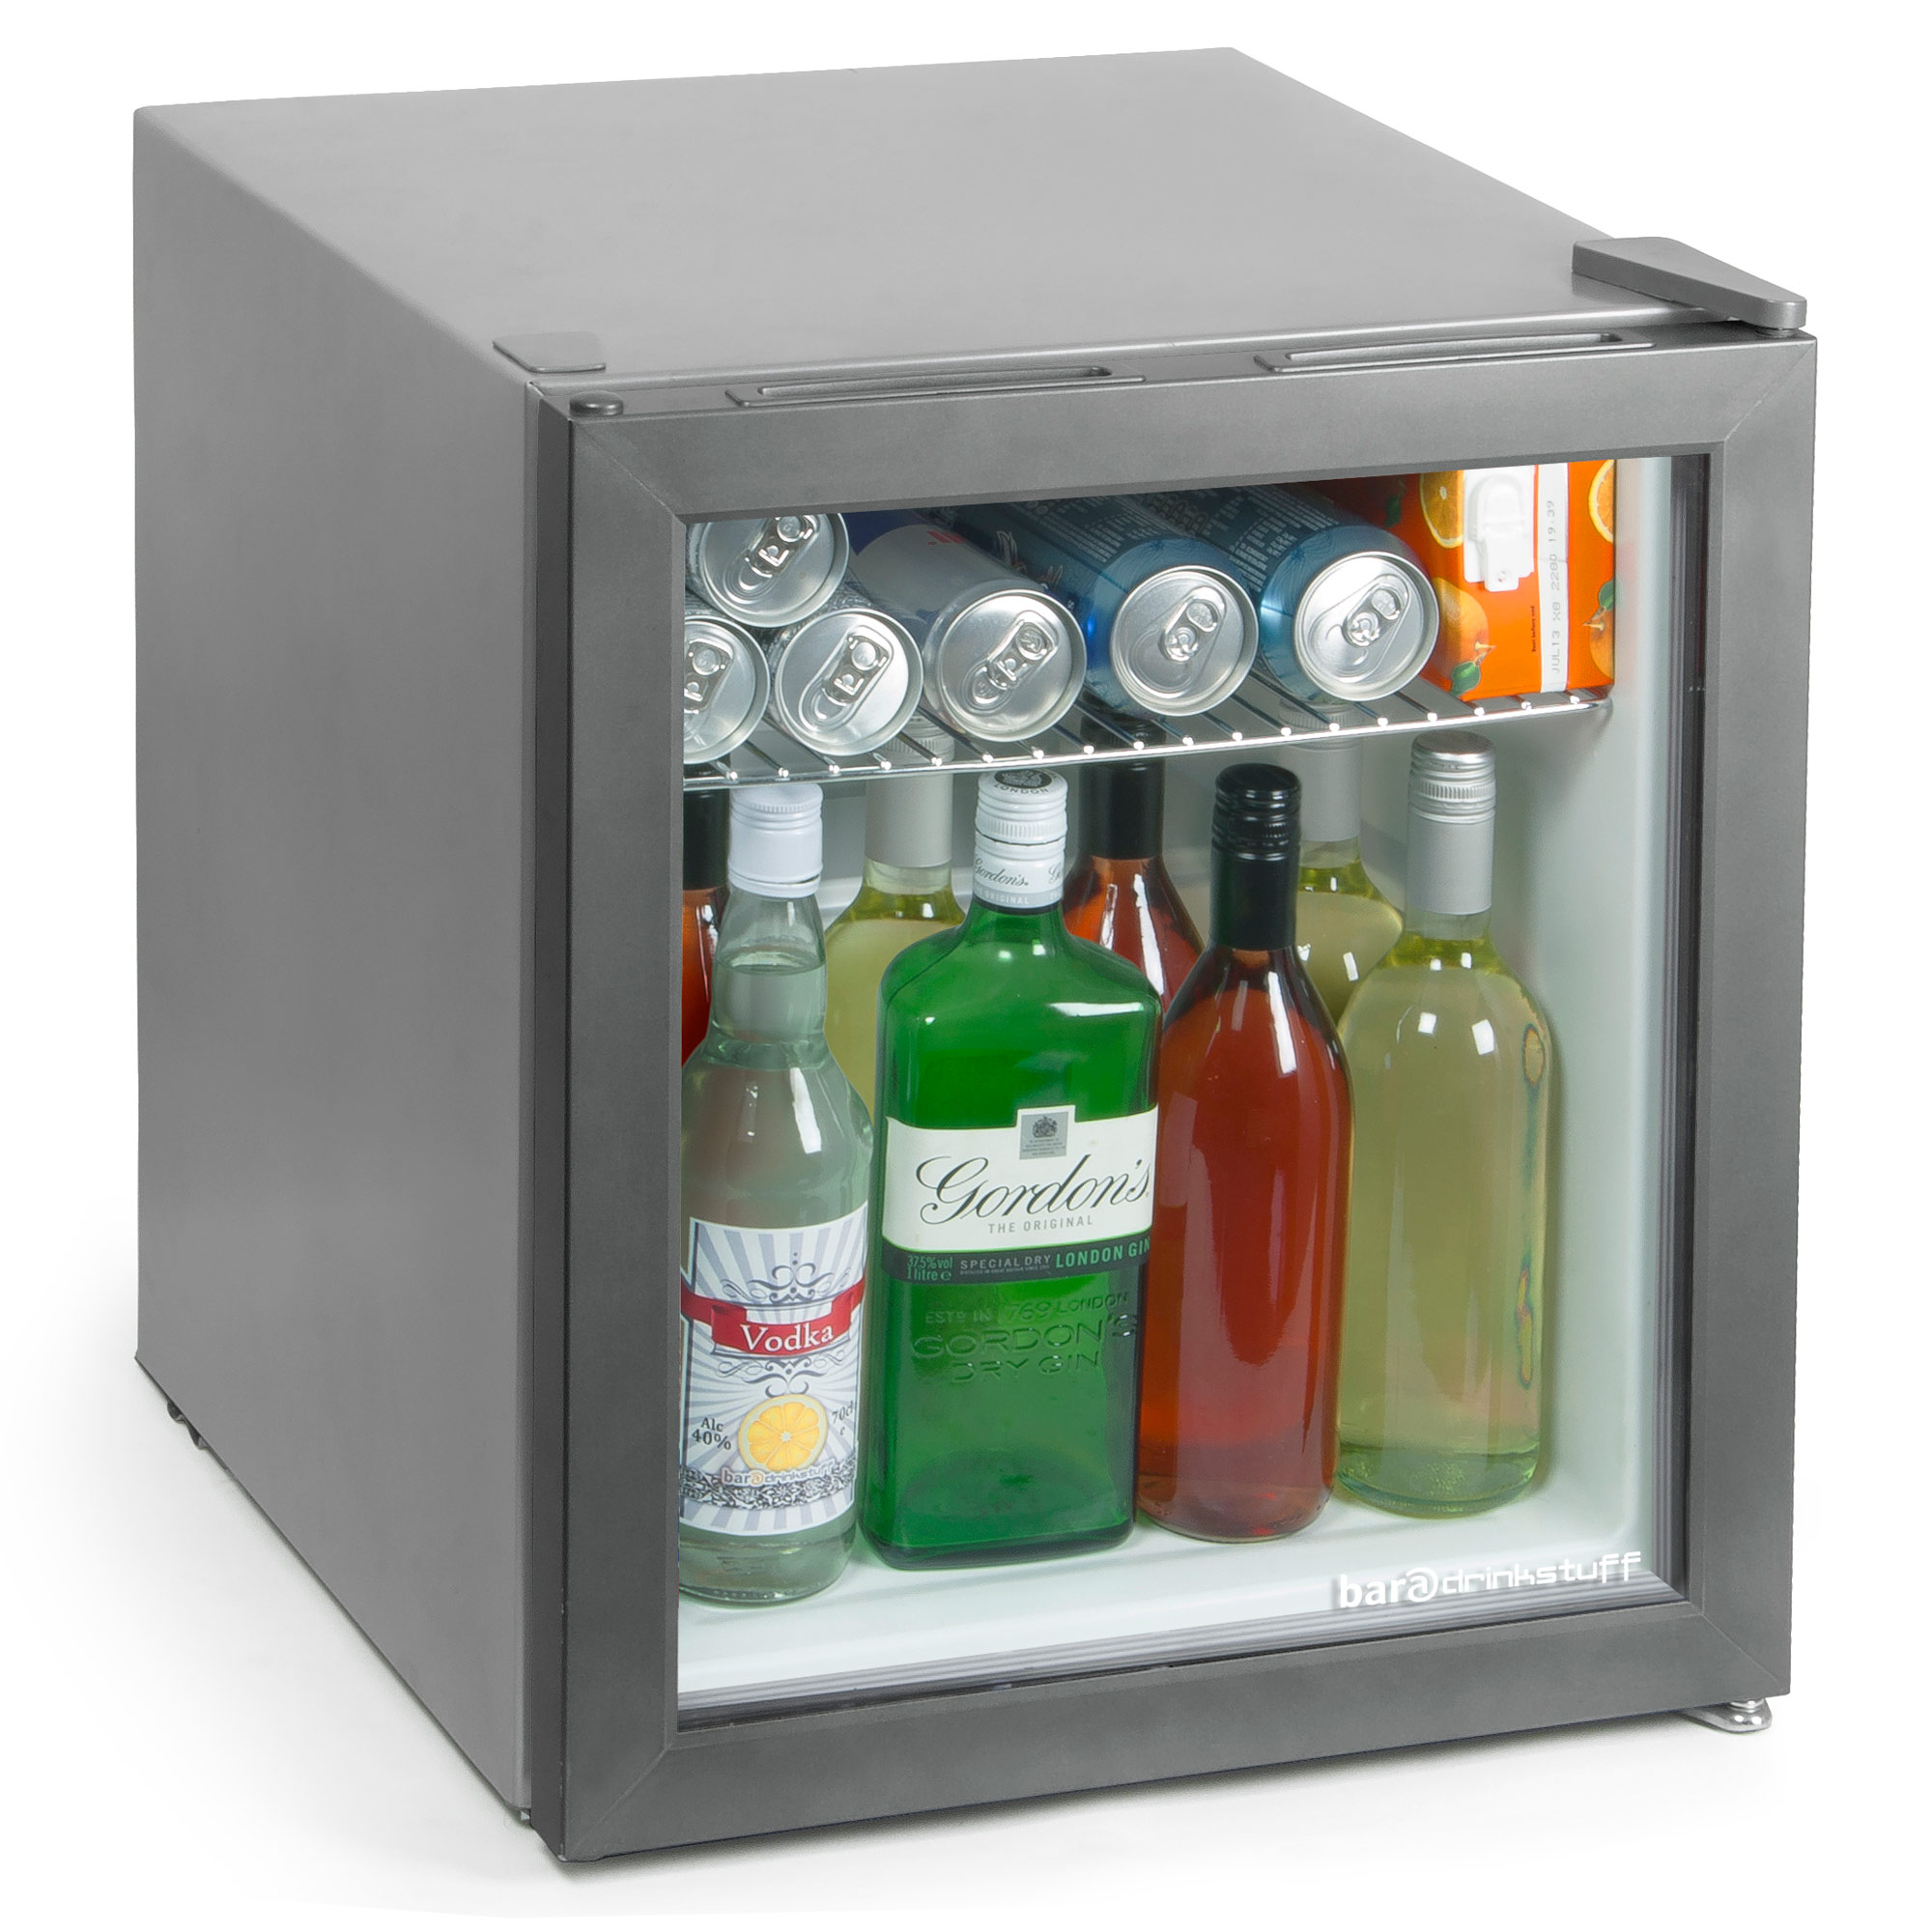 Do Drink Fridges Keep Drinks Cold?
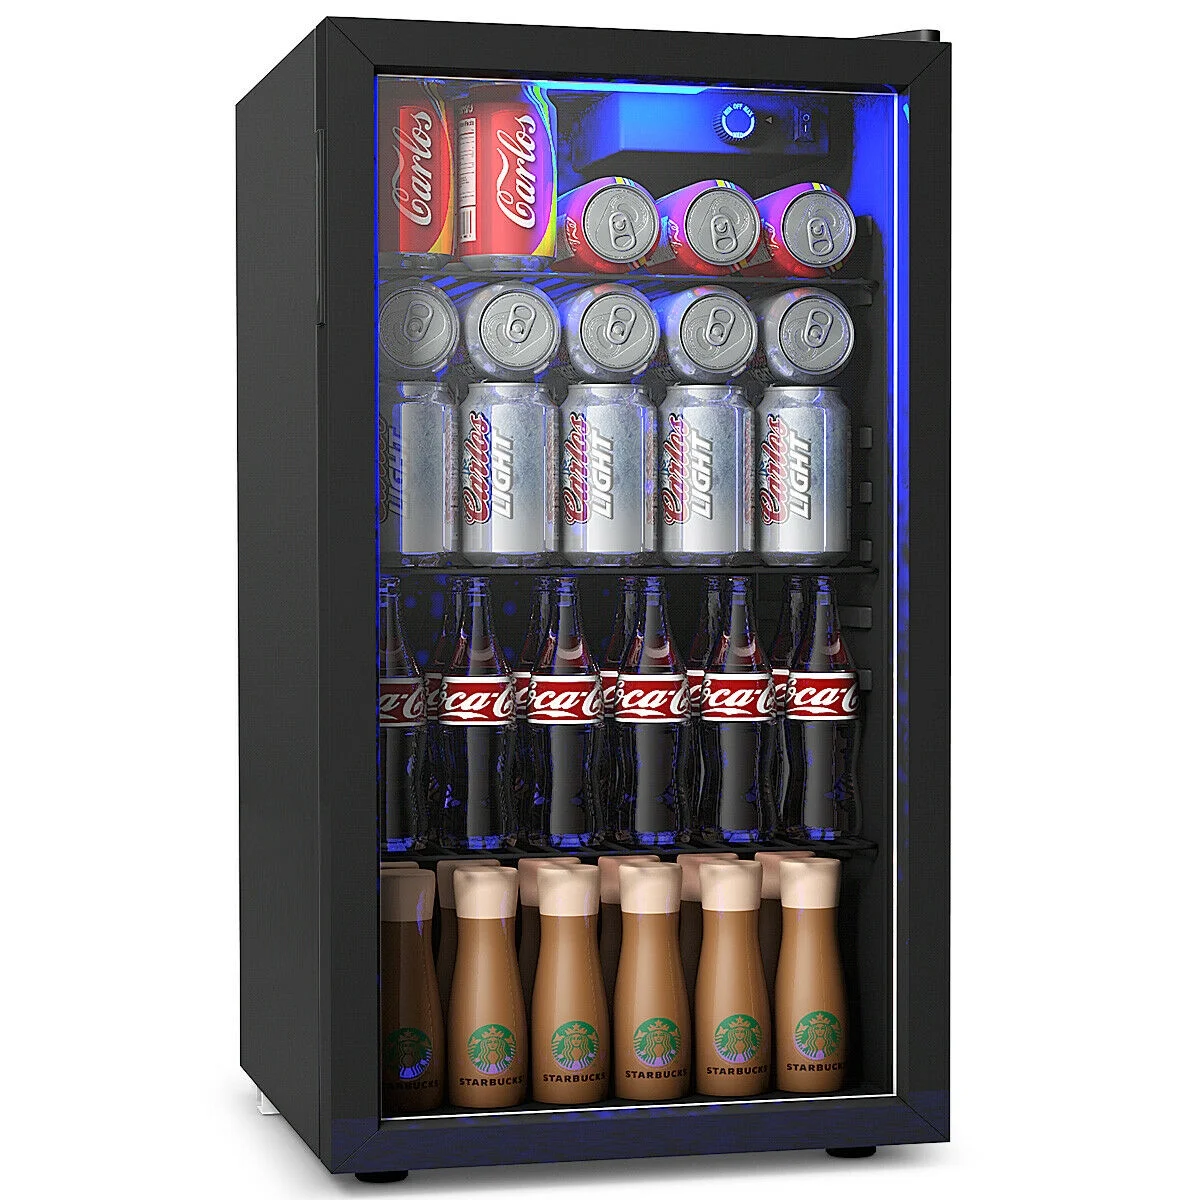 Practical Applications of Drink Fridges
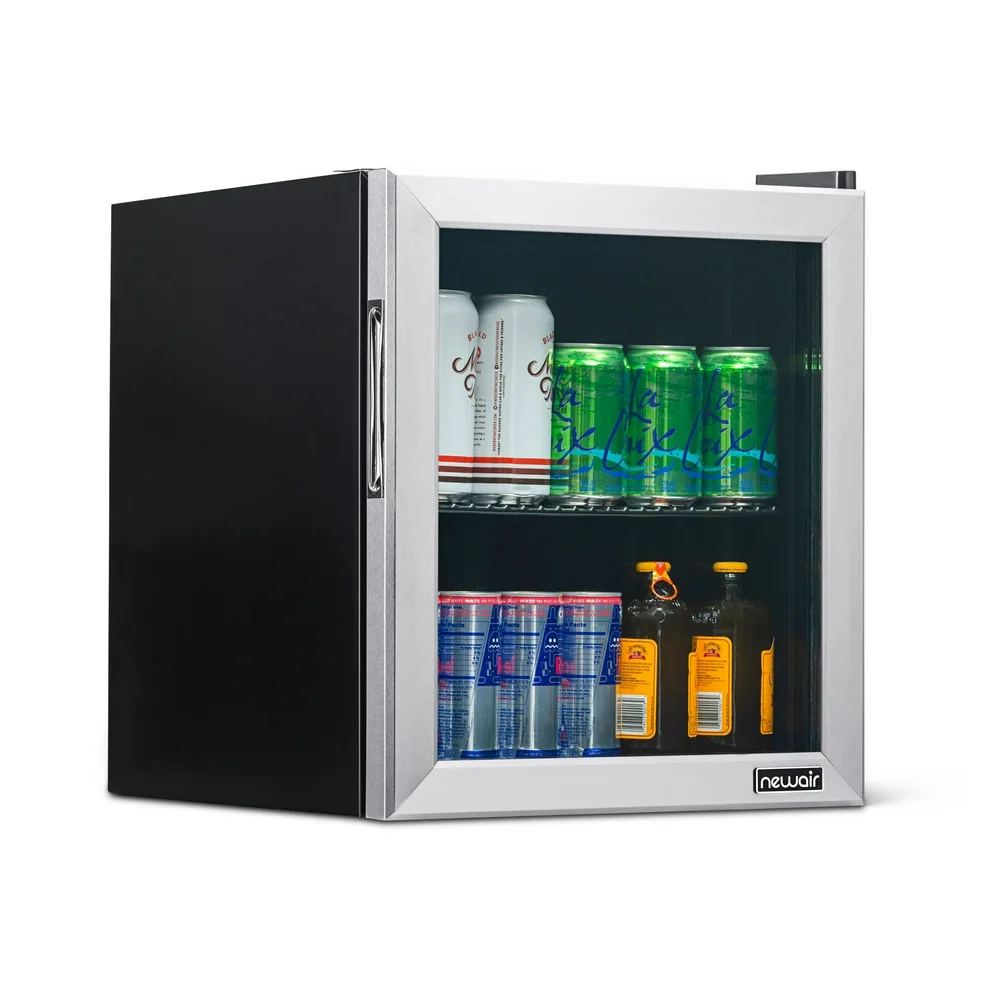 Potential Limitations of Drink Fridges
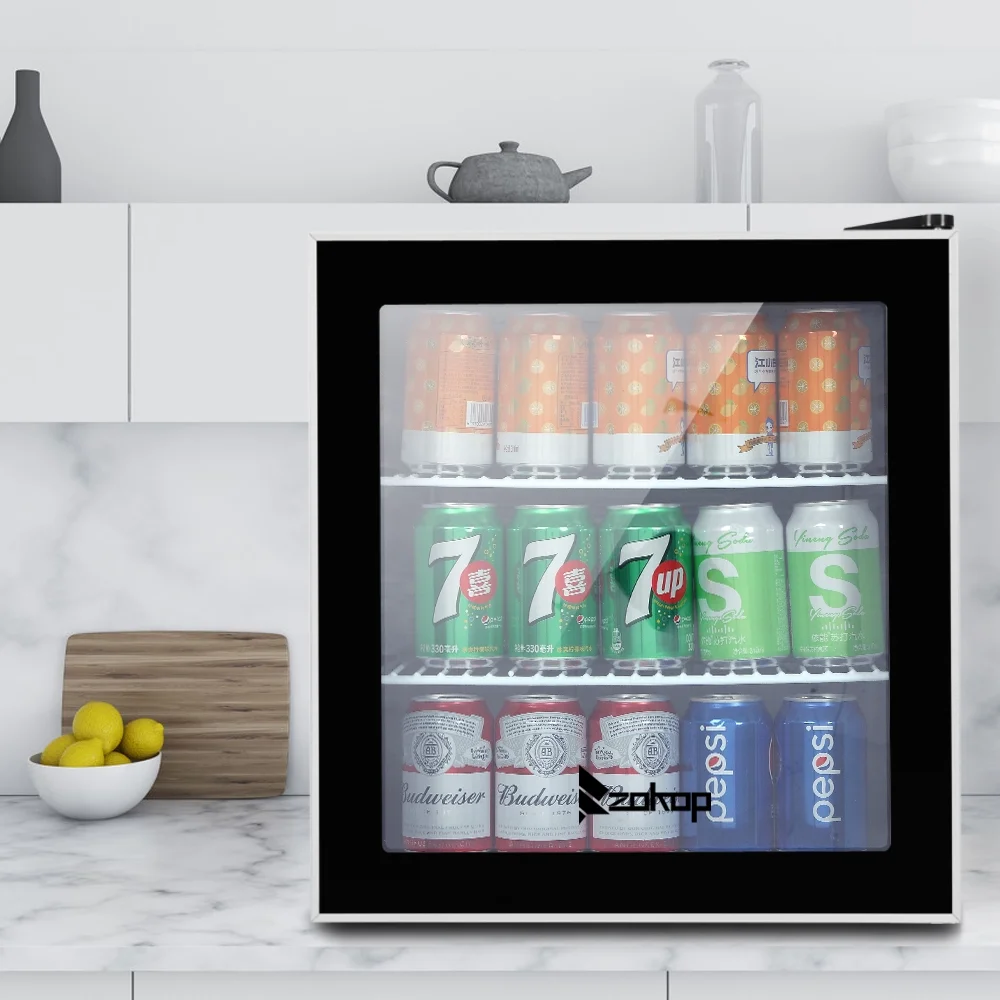 Conclusion