
Introduction:
Juicing has become more than just a trend; it has morphed into a lifestyle choice for many health-conscious individuals. Juicers come in various types and models, each promising to deliver the freshest and most nutritious juice possible. In this article, we will explore the best juicer on the market today, shedding light on specific features, user experiences, and standout attributes. Whether you’re a seasoned juicer or a newcomer eager to improve your health through fresh juices, understanding the nuances of various juicers will empower you to make an informed choice.

The Rise of At-Home Juicing: Benefits and Trends
Juicing at home has gained remarkable popularity recently. This method of making fresh juice offers numerous benefits. First and foremost, it provides a convenient way to consume essential nutrients. Fruits and vegetables are packed with vitamins and minerals. Using a personal juicer allows you to access these nutrients easily. Moreover, homemade juice ensures freshness and purity, devoid of additives found in store-bought varieties.
Another trend is the increasing awareness of health and wellness. People are now more proactive about their health. They prefer natural and organic food sources, and juicing fits perfectly into this lifestyle. Additionally, the variety in juicing appliances has grown. From slow juicers to centrifugal models, options cater to different juicing preferences and kitchen sizes.
The economic benefit cannot be overlooked either. While a good quality juicer might be an upfront investment, it saves money in the long run. Instead of spending on pricey juice bars, you can make various juices at home. This trend has encouraged more people to choose juicing as a regular part of their diet.
Furthermore, technological advancements have made juicers more efficient and user-friendly. Features like easy cleaning systems, wider chutes, and advanced extraction technologies are common. These enhancements improve the user experience, encouraging regular use.
In summary, the rise of at-home juicing is supported by its health, economic, and technological advantages. As more people recognize these benefits, the trend will likely continue to grow.
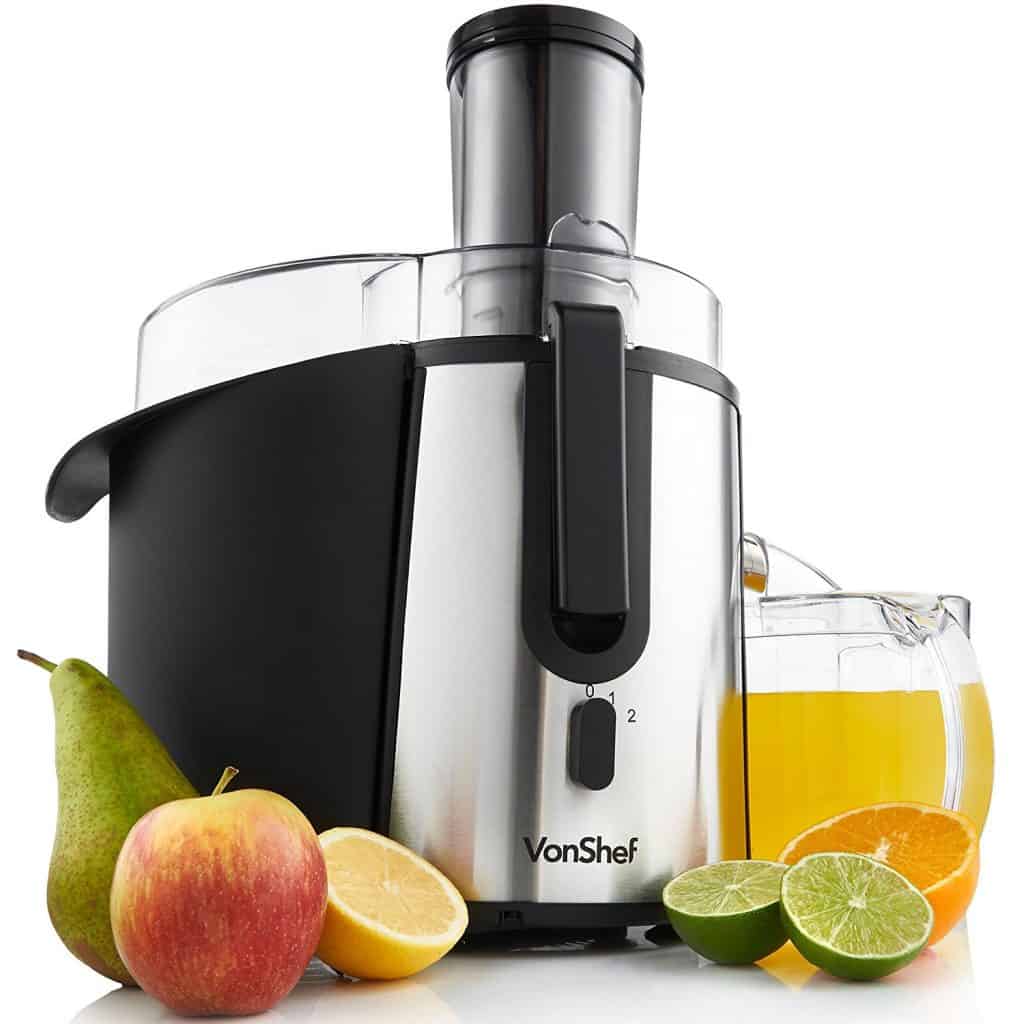
Top Personal Juicer of 2023: Nama J2 Cold Press Juicer
When searching for the best juicer on the market, the Nama J2 Cold Press Juicer stands out in 2023. This model offers remarkable performance, particularly noted in its juice quality and user-friendly features. Here’s a detailed exploration of why it’s highly regarded:
- Ease of Use: One of the most significant advantages is its self-feeding hopper design. You won’t need to push fruits and vegetables through a narrow chute. Just load the hopper, and the juicer does the rest. This design reduces prep time and makes the juicing process almost hands-free.
- Juice Quality: The Nama J2 excels at producing smooth, vibrant juice. It handles a variety of produce, from leafy greens to citrus fruits, without trouble. Users enjoy foam-free juice with consistent flavor and texture.
- Easy Cleanup: Another perk is its easy cleanup. Despite not having dishwasher-safe parts, its components are designed for quick disassembly and cleaning. Users can keep it in pristine condition with minimal effort.
- Design and Build: The juicer features a sleek design that fits well in modern kitchens. Constructed with BPA-free and food-safe materials, it’s both durable and safe. Its compact form also means it doesn’t consume too much counter space.
All these features justify the Nama J2’s price point, considering it also comes with a 15-year warranty. Investing in this juicer means long-term savings over frequent purchases from juice bars. It’s not just an appliance but a step towards a healthier lifestyle, especially for those making juicing a regular part of their diet.
Runner-Up for Compact Spaces: Nama J3 Cold Press Juicer
The Nama J3 Cold Press Juicer deserves attention, especially for those with limited kitchen space. Here’s why it stands out as an excellent compact choice:
- Compact Design: The Nama J3 is noticeably smaller than many other juicers, making it ideal for smaller kitchens or limited counter space.
- Quality and Efficiency: Despite its compact size, the Nama J3 does not compromise on the quality of juice. It efficiently extracts juice leaving behind dry pulp, which indicates effective juicing.
- Ease of Use: This model features a straightforward assembly and operation. It’s designed to be user-friendly, from setup to the actual juicing process.
- Budget-Friendly: Compared to other high-end juicers like the Nama J2, the J3 is more affordable. It offers premium juicing capabilities at a lower price point, making it accessible for more users.
- Warranty and Durability: It comes with a 15-year warranty, which speaks volumes about its durability and the manufacturer’s confidence in the product.
Considering these aspects, the Nama J3 Cold Press Juicer is not only an excellent choice for those with smaller spaces but also for anyone seeking a cost-effective way to enjoy high-quality, home-made juice. This juicer proves that you don’t need to sacrifice quality for size or price.
Best Budget-Friendly Juicer: Shine Multi-Batch Compact Cold Press Juicer
When it comes to budget-friendly juicers, the Shine Multi-Batch Compact Cold Press Juicer is a standout choice. Its compact design and user-friendly features make it particularly appealing, especially for those new to juicing or with limited kitchen space.
- Affordability: This model is significantly less expensive compared to top-tier juicers. Priced at just $150, it offers excellent value for those looking to enjoy home-made juice without a large investment.
- Compact Size: The Shine juicer has a small footprint, making it easy to fit even in tight counter spaces. It is ideal for small apartments or minimalistic kitchens.
- Quality of Juice: While not as luxurious as some pricier counterparts, the Shine juicer still delivers good quality juice. It extracts a commendable amount of liquid, leaving behind reasonably dry pulp.
- Ease of Use: The juicer is straightforward, with minimal parts that are easy to assemble. Users appreciate the continuous feed feature allowing for easier juicing processes.
- Cleaning: The Shine juicer parts are mostly dishwasher-safe, simplifying the cleanup process—a notable advantage over some higher-end models that require hand washing.
Despite its advantages, users should note that while the Shine juicer performs well, the output isn’t quite as refined as more expensive juicers. The materials used are also less high-end. However, for those prioritizing budget and space over premium features, this juicer undoubtedly ticks many boxes and offers a very practical solution for regular juicing activities.
Considering its features and price, the Shine Multi-Batch Compact Cold Press Juicer is recommended for those entering the juicing world or with specific budget constraints. It leans on its affordability and decent functionality to appeal to a broad user base looking for accessible home juicing solutions.
 Comparing Slow Juicers and Centrifugal Juicers: Which Is Right for You?
When choosing the best juicer on the market, understanding the types is key. Slow juicers, also known as masticating juicers, work by slowly crushing fruits and vegetables to extract juice. In contrast, centrifugal juicers use high-speed spinning blades to tear through produce.
Slow Juicers: Pros and Cons
- Pros:
- Better at juicing leafy greens and soft fruits.
- Yield more juice, which means more nutrients.
- Operate quietly, making less noise.
- Juice lasts longer due to less oxidation.
- Cons:
- Typically cost more than centrifugal options.
- Can be slower in delivering juice.
- May have smaller feeding chutes, requiring more prep.
Centrifugal Juicers: Pros and Cons
- Pros:
- Work fast, good for busy lifestyles.
- Usually have larger feeding chutes.
- Often less expensive, providing a budget-friendly choice.
- Cons:
- Louder operation due to high-speed motors.
- Less effective with leafy greens.
- Juice separates faster, needing quick consumption.
Your choice between slow and centrifugal juicers will depend on your needs. If you prefer a quieter machine and intend to juice mainly leafy greens or want to store juice longer, a slow juicer may be the right pick. However, if you want quick results and a more affordable price, a centrifugal juicer might suit you best.
Considering the pros and cons of each type can help you decide which juicer aligns with your juicing habits and lifestyle preferences.
How We Test and Evaluate Juicers for Quality and Performance
Choosing the best juicer on the market requires thorough testing and evaluation. Here’s how we do it:
- Testing Process: We start by selecting juicers with different features and price points. Each juicer then undergoes the same rigorous testing. We use a variety of fruits and vegetables to ensure they can handle different textures and hardness.
- Juice Quality: The quality of the juice is paramount. We look for juice that is smooth, without foam, and with vibrant true-to-produce flavors. We also consider the amount of juice extracted and the dryness of the pulp, which indicates efficient extraction.
- User Experience: An essential part of our evaluation is user experience. We assess how easy the juicer is to assemble, operate, and clean. Juicers that are user-friendly and have intuitive designs score higher.
- Noise Level: We note how much noise each juicer makes during operation. Since some may prefer quieter appliances, especially in the morning, noise level is an important factor.
- Build Quality: Durability matters. We check the construction material and stability of each juicer. A well-built juicer that feels sturdy has a better chance of lasting longer.
- Additional Features: We look out for extra features such as reverse functions, multiple speed settings, and included accessories. Such features can enhance the juicing experience and provide more value.
- Price Point: Cost is a consideration for many. We balance the features and performance of a juicer against its price to determine if it offers good value for money.
By following this method, we ensure a fair comparison of juicers. We give you the insights needed to pick the best personal juicer for your needs.
Essential Features to Look for in a High-Quality Personal Juicer
When picking the best juicer on the market, certain features are crucial for top performance and convenience. These features enhance the juicing experience, ensuring you get the most out of your appliance. Here are some key elements to consider:
- Wide Feeding Chute: A larger chute minimizes pre-juicing prep. You can insert bigger fruit and vegetable pieces, saving time.
- Multiple Speed Settings: Different speeds let you effectively juice hard and soft ingredients. This flexibility ensures optimal juice extraction.
- Quiet Operation: A quieter juicer is less disruptive, especially in the morning. It allows juicing without noise concerns.
- Ease of Cleaning: Look for juicers with dishwasher-safe parts or easy-to-clean designs. It makes maintenance straightforward and quick.
- Durability of Materials: High-quality materials, like stainless steel, ensure your juicer lasts longer and remains hygienic.
- Efficient Pulp Ejection: A juicer that effectively separates pulp facilitates continuous juicing and yields a dryer pulp. This means more juice extraction.
- Nutrient Retention: The best juicers preserve nutrients and enzymes in the juice. This usually means slower or colder juicing mechanisms.
- Size and Design: Depending on your counter space, choose a design and size that fits nicely. An attractive juicer can also complement your kitchen aesthetics.
- Warranty and Support: A longer warranty period signals manufacturer confidence and gives you peace of mind.
Before making your purchase, ensure the juicer you select includes these essential features. It will optimize your juicing experience and enhance juice quality, making it a worthwhile investment.
 Conclusion: Best Juicer on the Market
Choosing the right juicer is a valuable health investment. It can transform how you consume essential nutrients, elevating your daily wellness routine. When selecting the best juicer on the market, consider your specific needs and preferences. Do you prioritize quick juicing, or are nutrient-rich outputs more important? Think about the space in your kitchen too, whether you need a compact model or can accommodate something larger.
Additionally, consider the type of juicer that fits your lifestyle. A slow masticating juicer suits those who prefer nutrient-dense, oxidization-resistant juices and have a bit more time to spare. On the other hand, a centrifugal juicer is ideal for fast-paced lifestyles, offering quick juice solutions albeit with a bit more noise.
Quality should never be compromised for price. While budget-friendly options like the Shine Multi-Batch Compact Cold Press Juicer provide a good entry point, investing in a higher-end model like the Nama J2 or J3 could enhance your juicing experience with superior build quality and juice extraction efficiency. Moreover, features like wide chutes, noise levels, easy cleaning, and durable materials are important to consider.
Ultimately, the best juicer for you is one that meets your personal juicing needs while ensuring ease of use and maintenance. It’s not just about making juice; it’s about fostering a healthy habit comfortably integrated into your lifestyle. Make sure it’s a choice that you’ll be satisfied with, as this is a step towards better health. Good quality juicers turn a daily chore into a pleasurable, health-promoting ritual.
 Conclusion: A Portable Juicer for Christmas – A Gift of Health, Convenience, and Joy
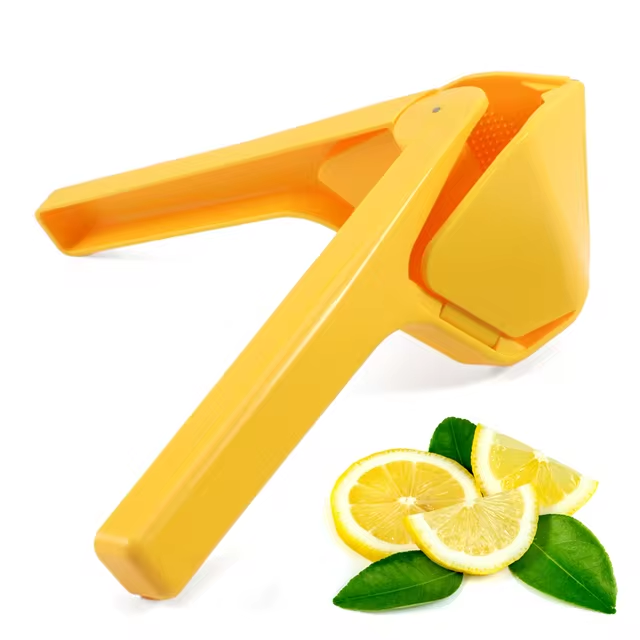
 How Lime Juicers Enhance Kitchen Functionality
 Selecting the Right Lime Juicer for Your Kitchen
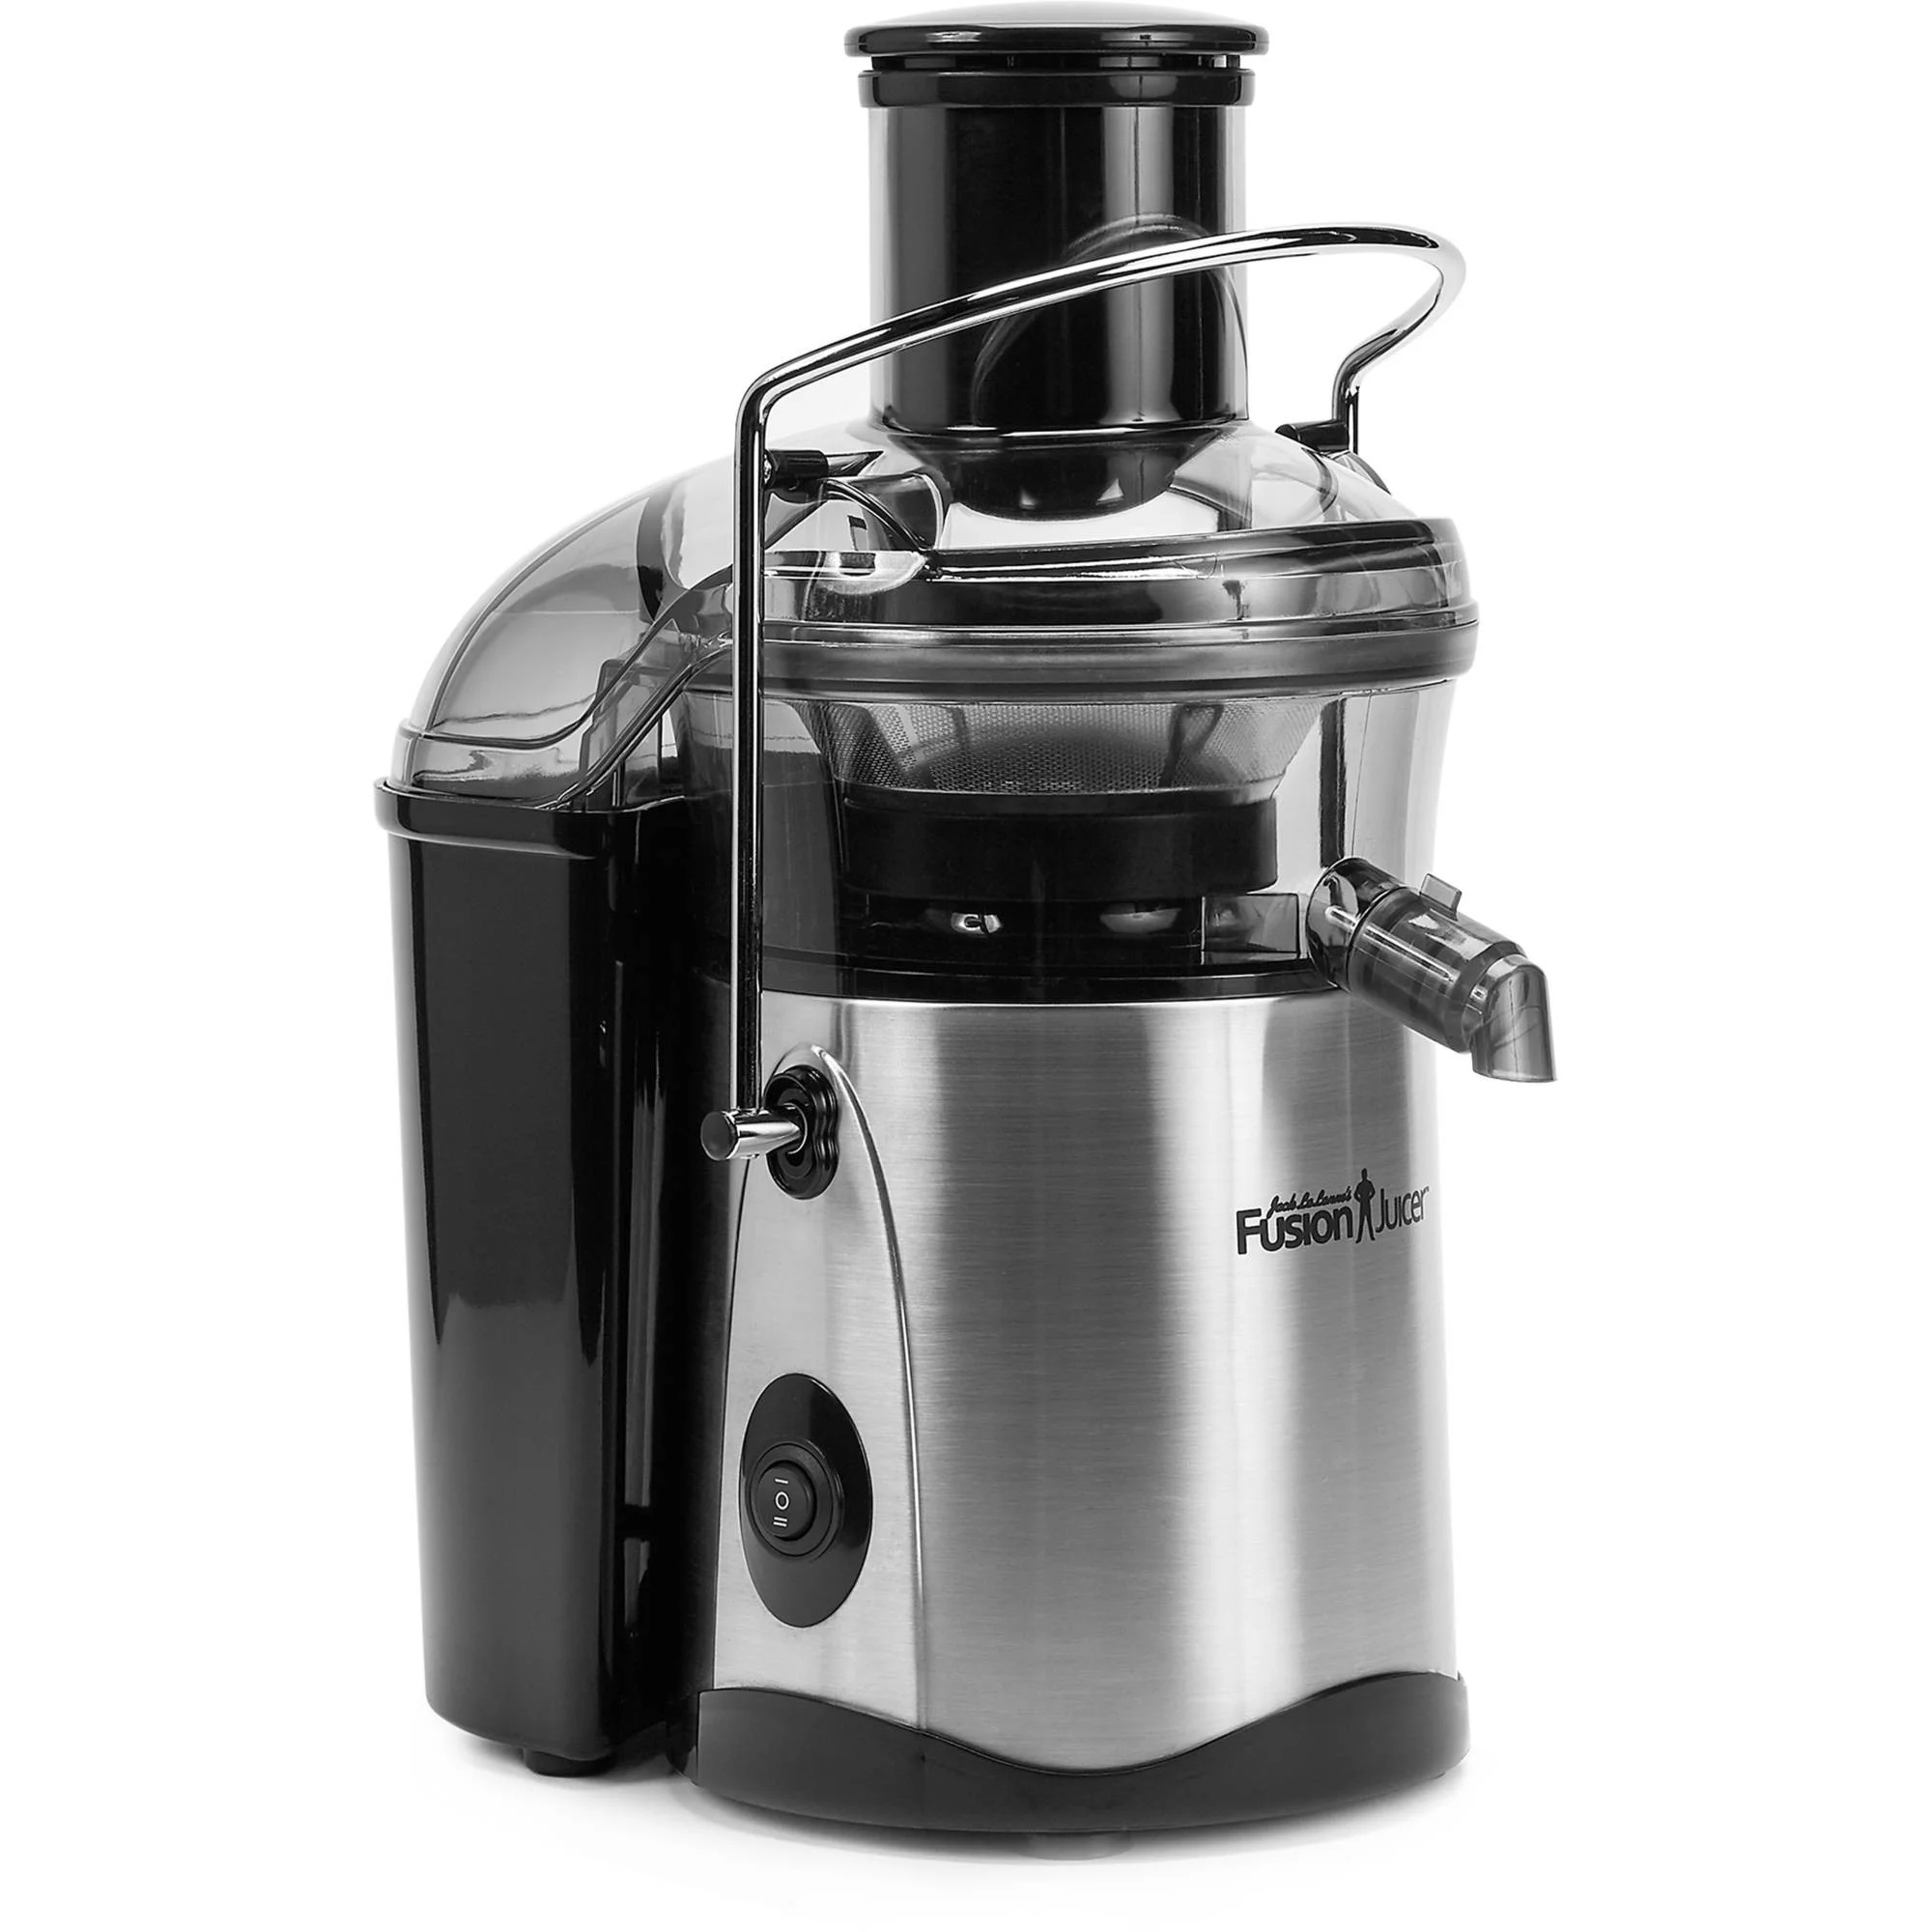 Comparing Jack LaLanne Juicers to Other Brands
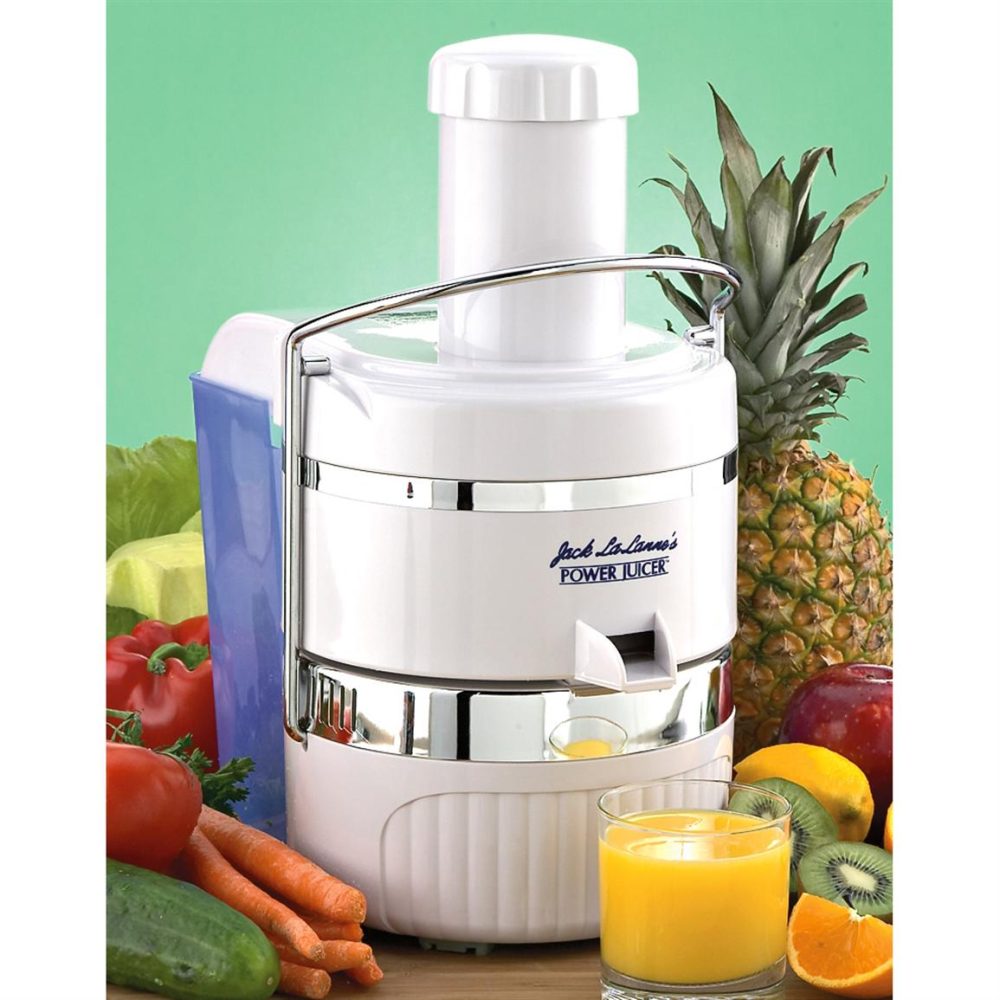 User Experiences and Success Stories
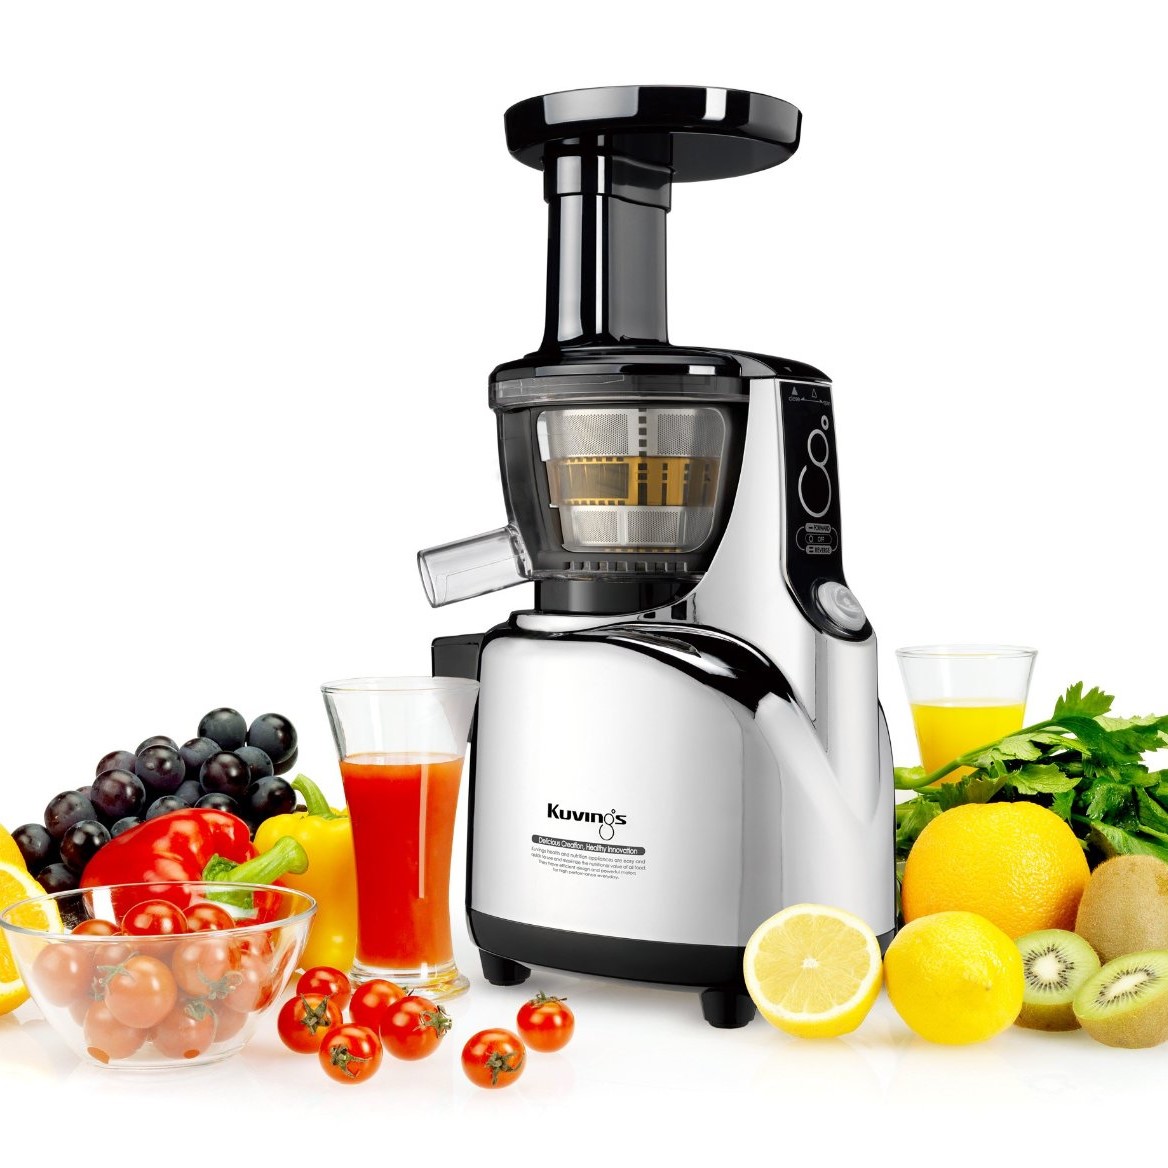
 Comparing Masticating and Centrifugal Juicers: What’s Best for You?
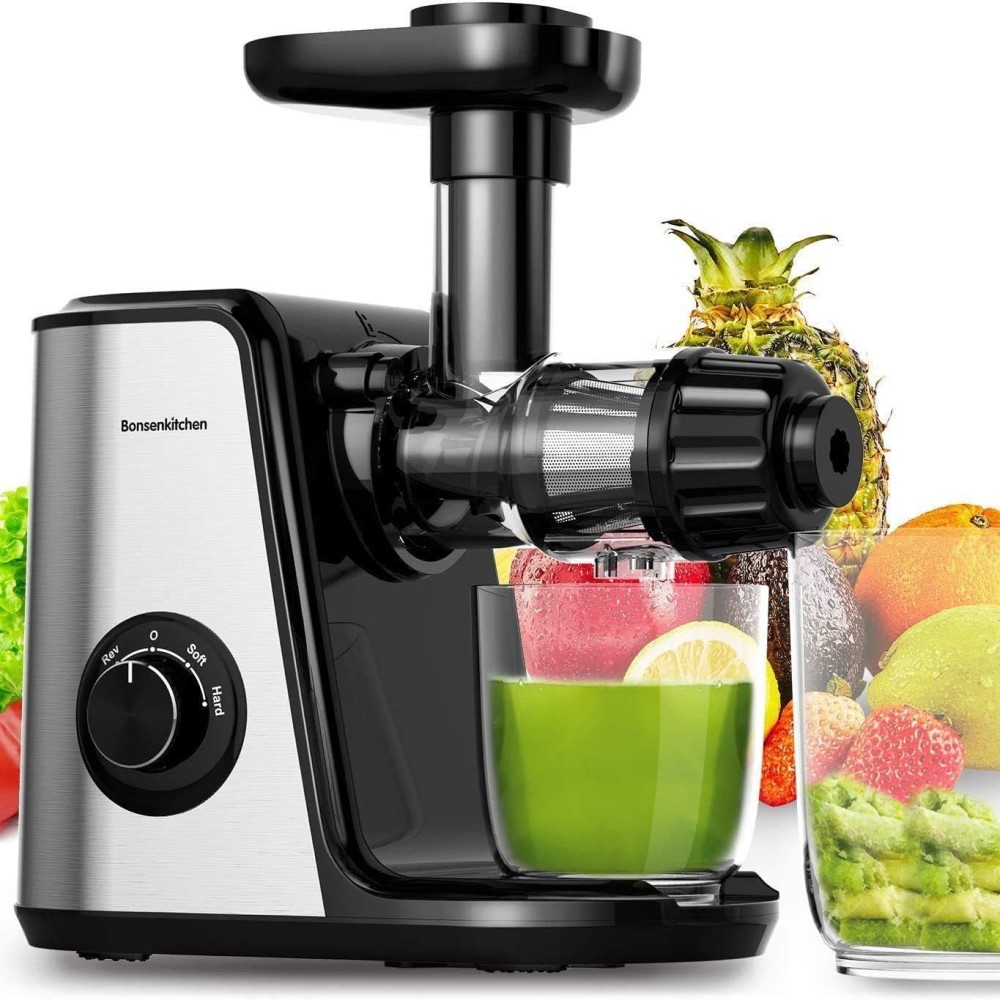 Wrapping Up: Best Juicer Machine for You
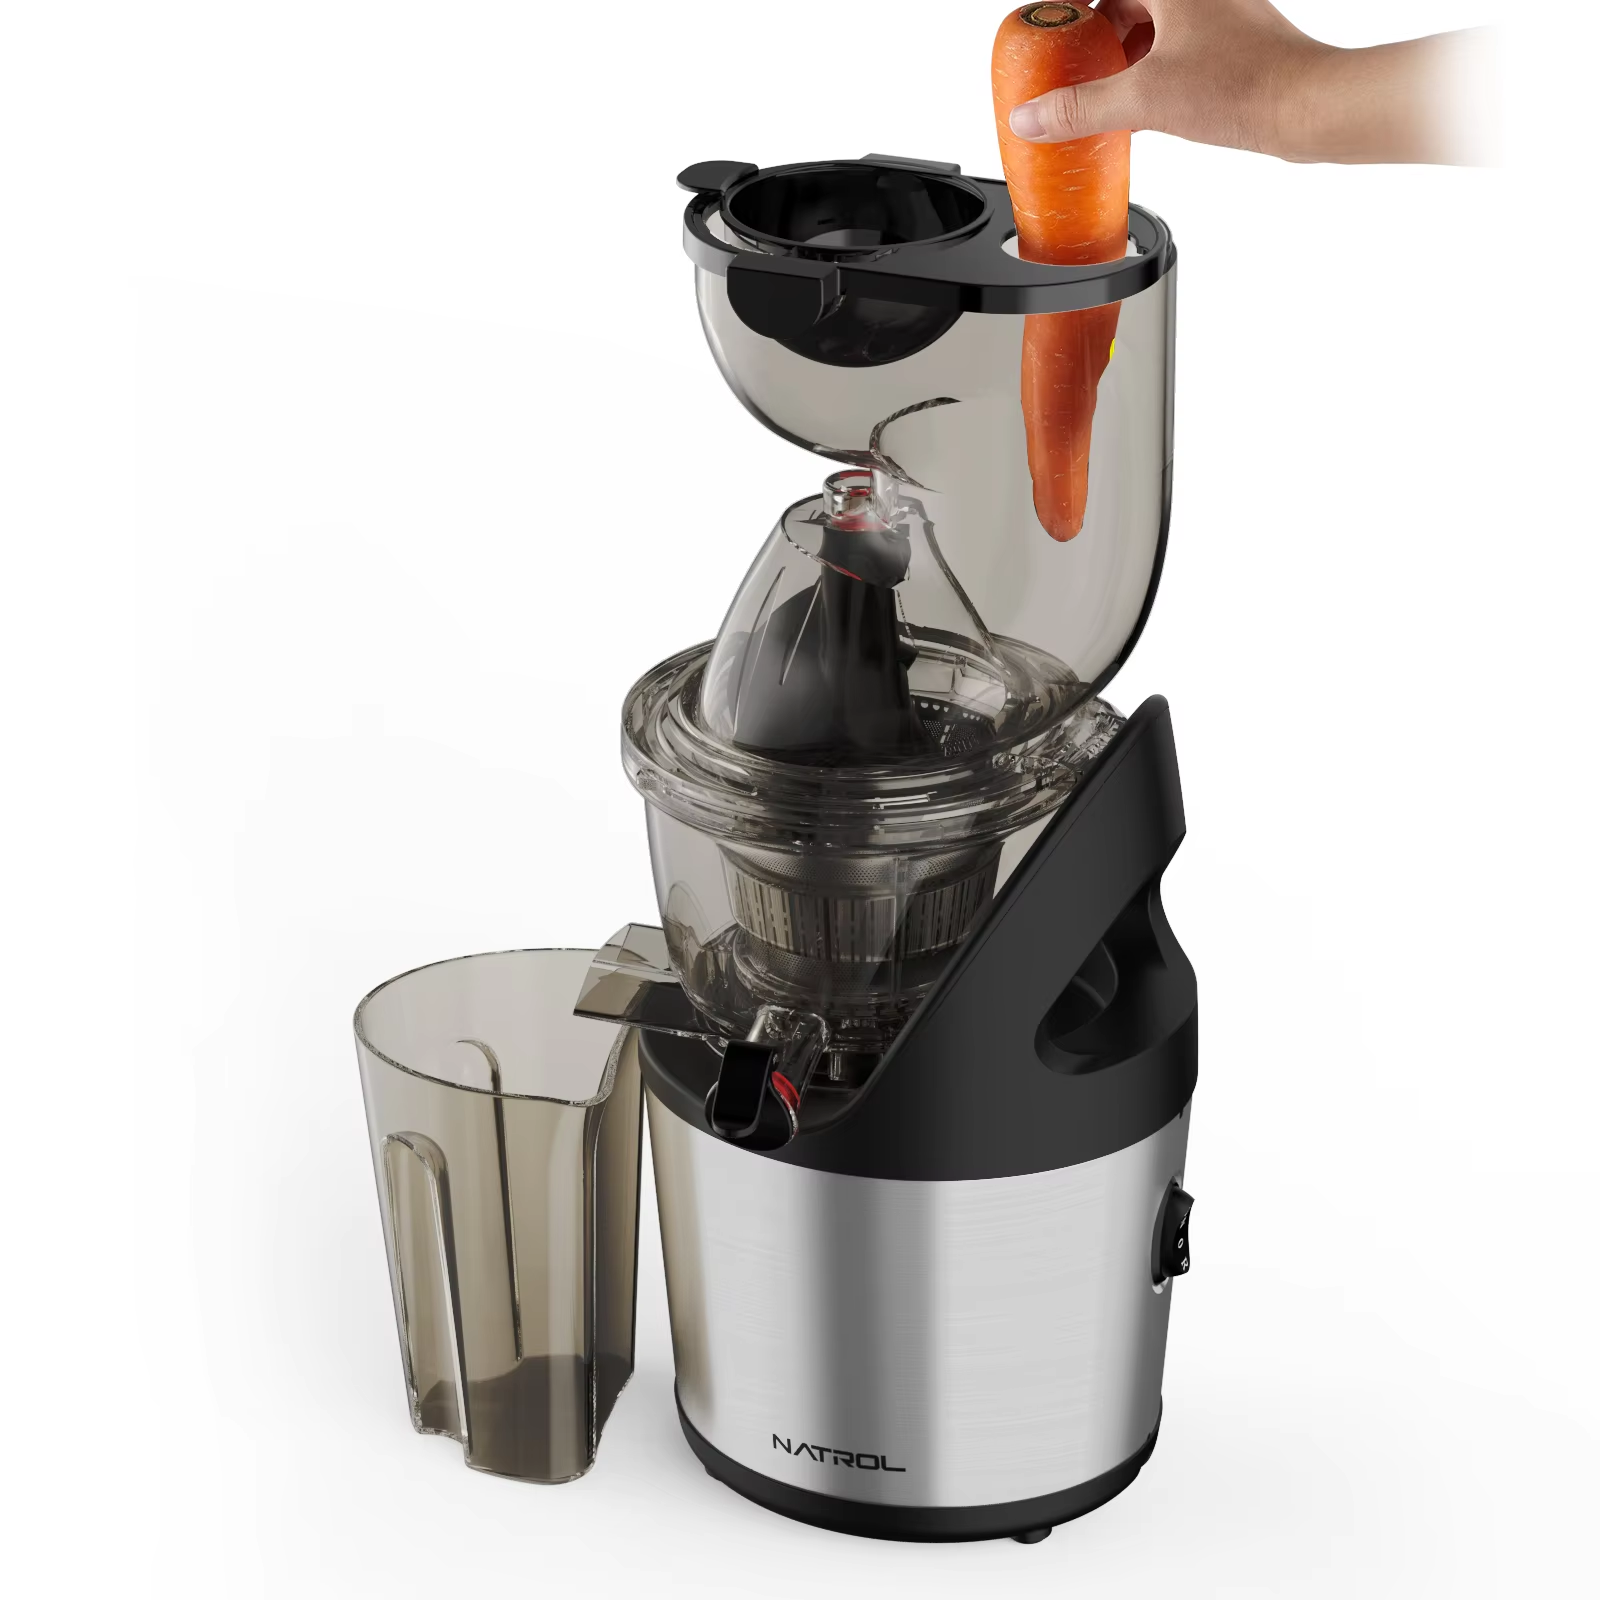
 Kuvings Whole Slow Juicer Elite C7000: Versatility Meets Technology
 Concluding Thoughts: Choosing the Right Juicer for You
 Conclusion
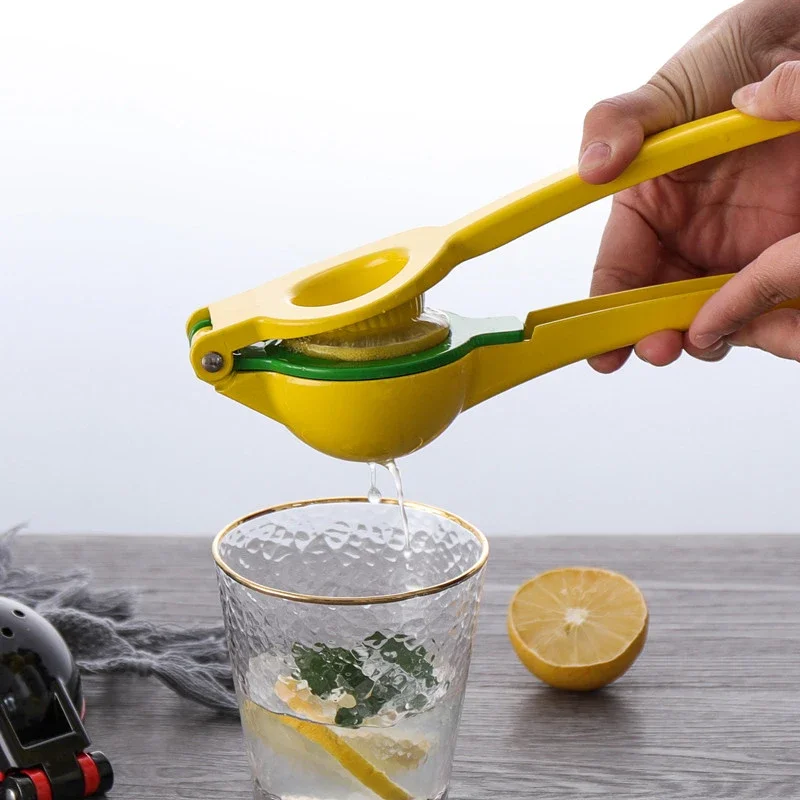
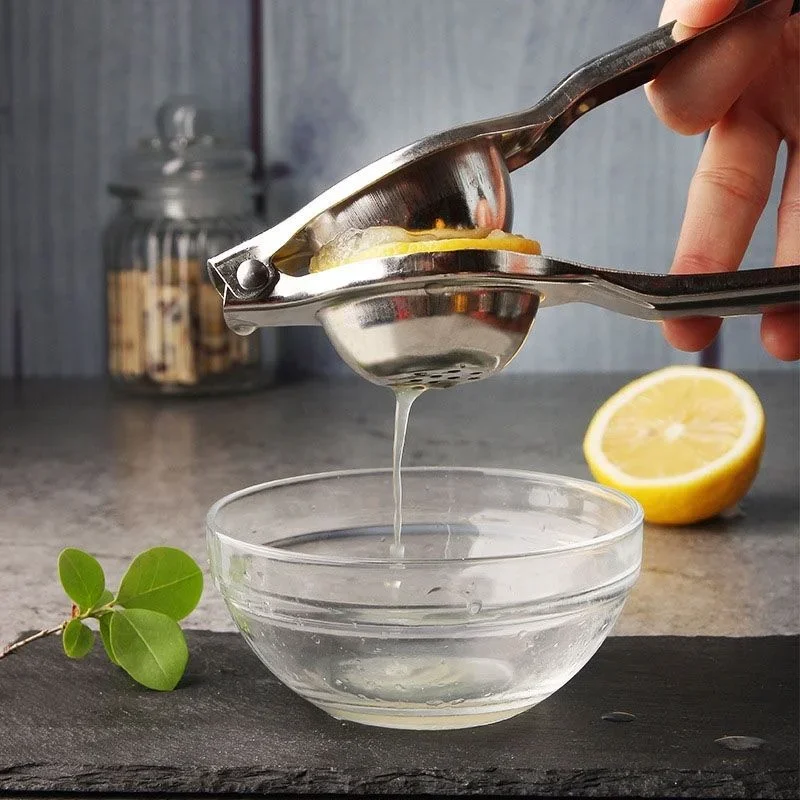
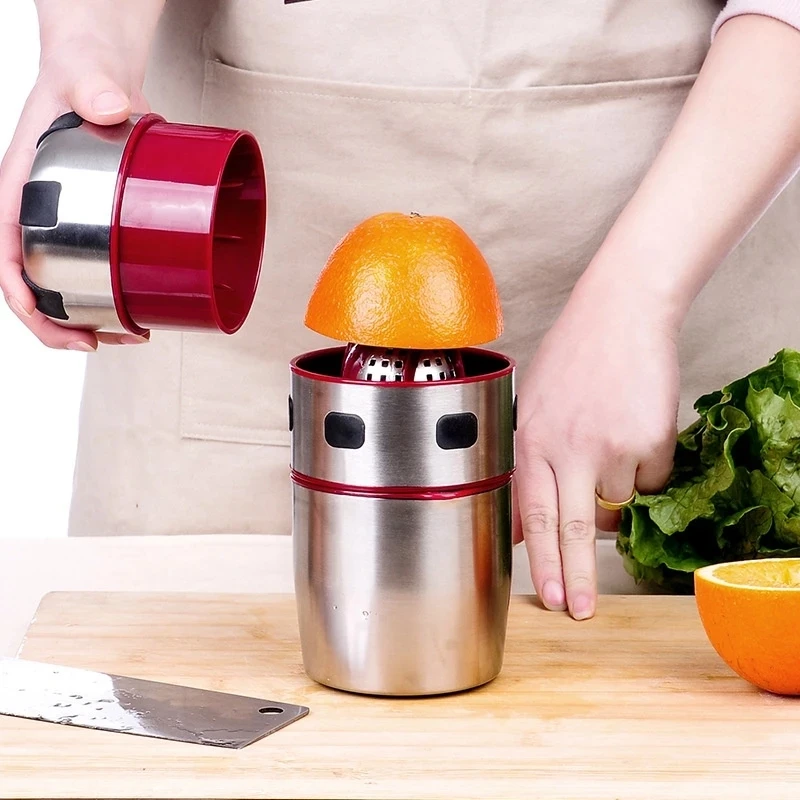
 Best Manual Lemon Juicers
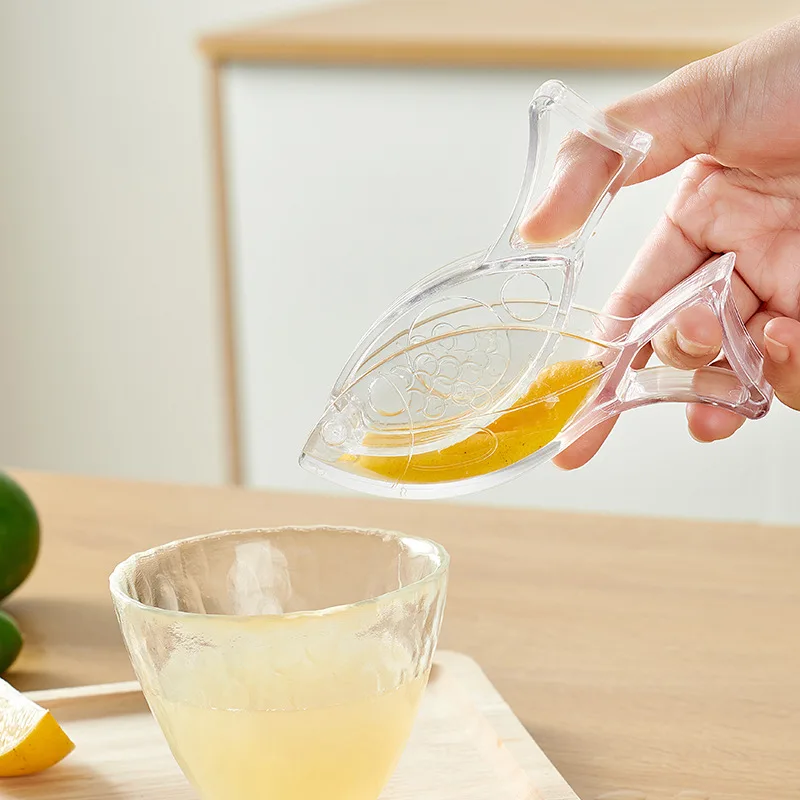 Maintaining Your Lemon Juicer
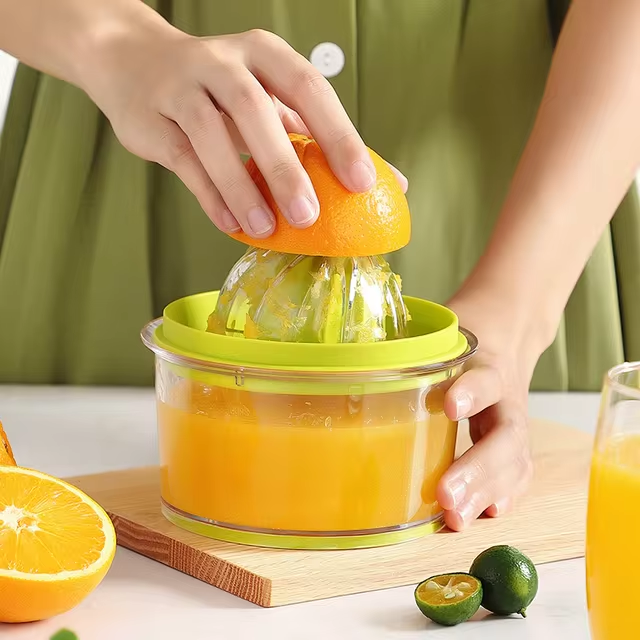
 The Role of Pulp Control and Settings
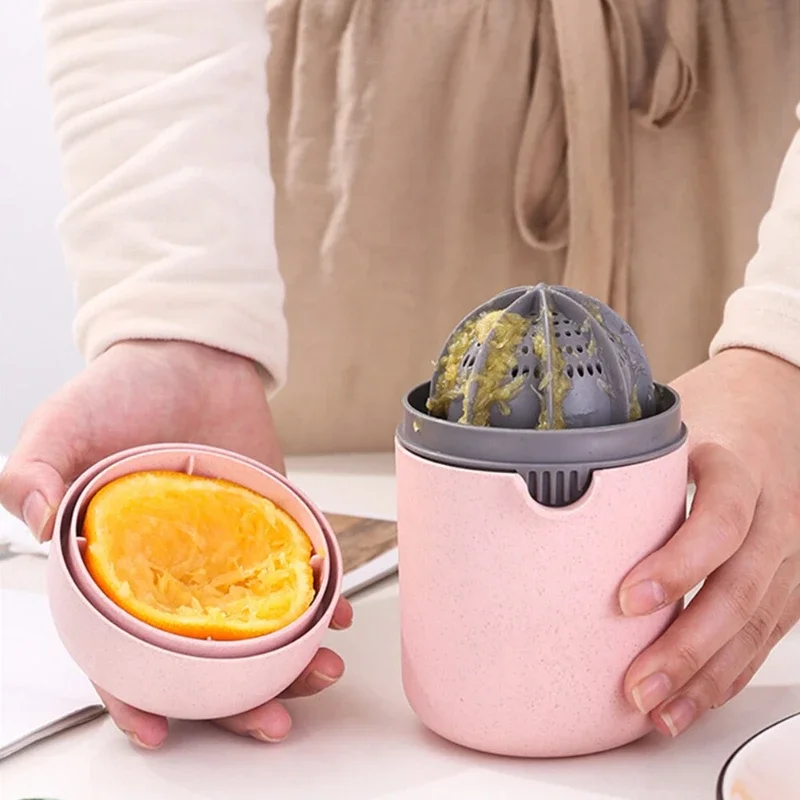 Price vs Quality: Balancing Your Budget and Needs
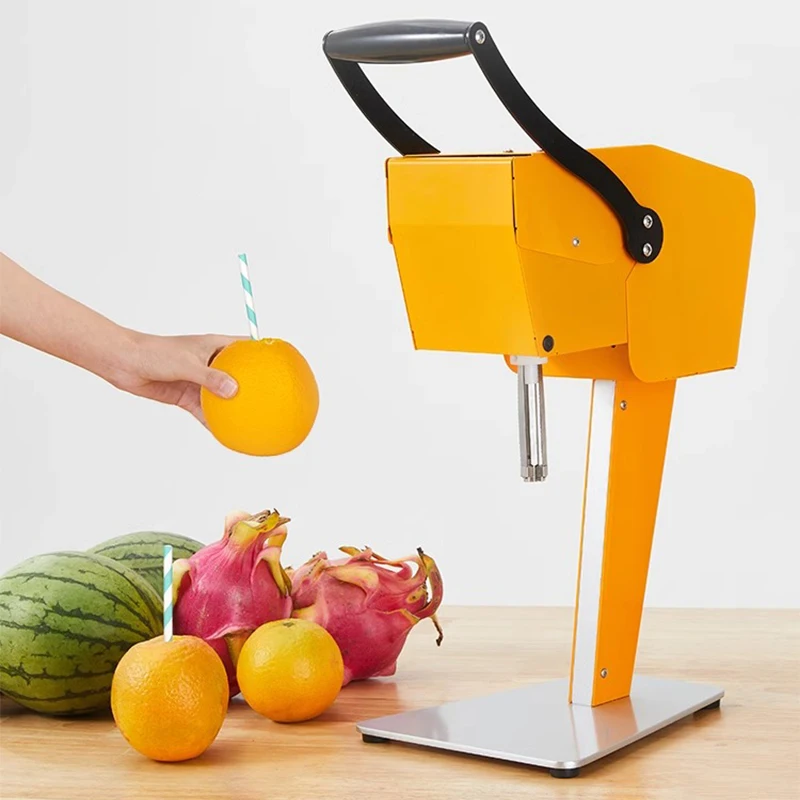
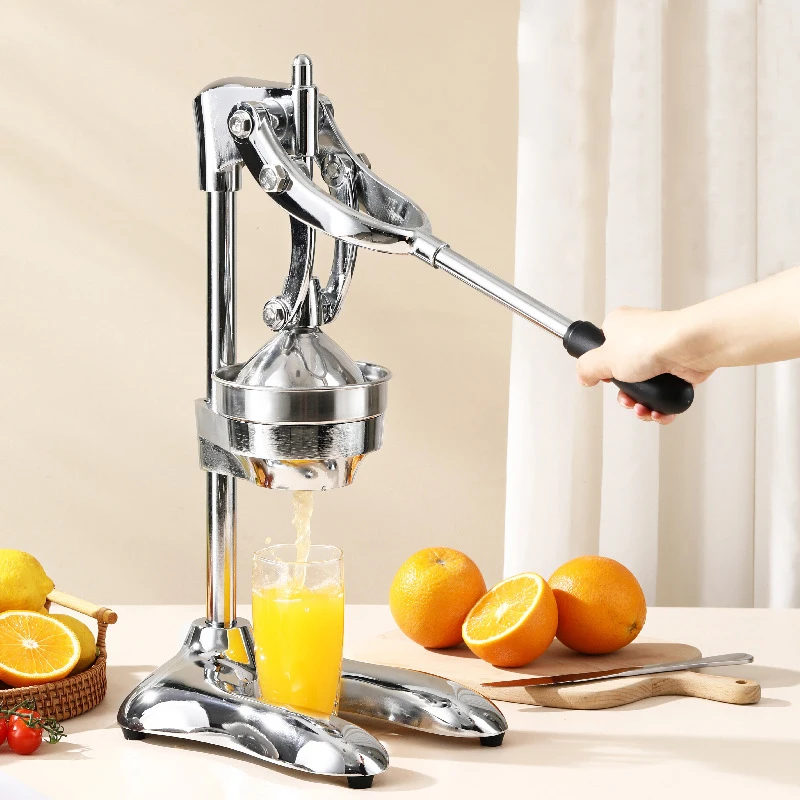
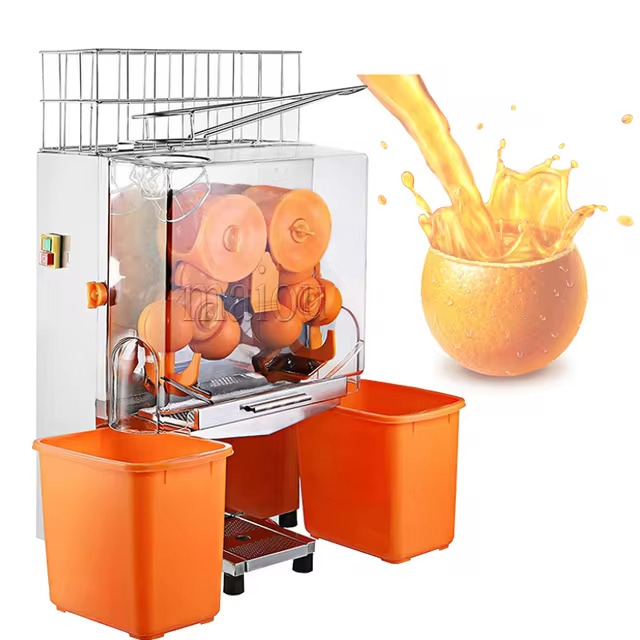 Key Features to Consider When Selecting an Orange Juicer
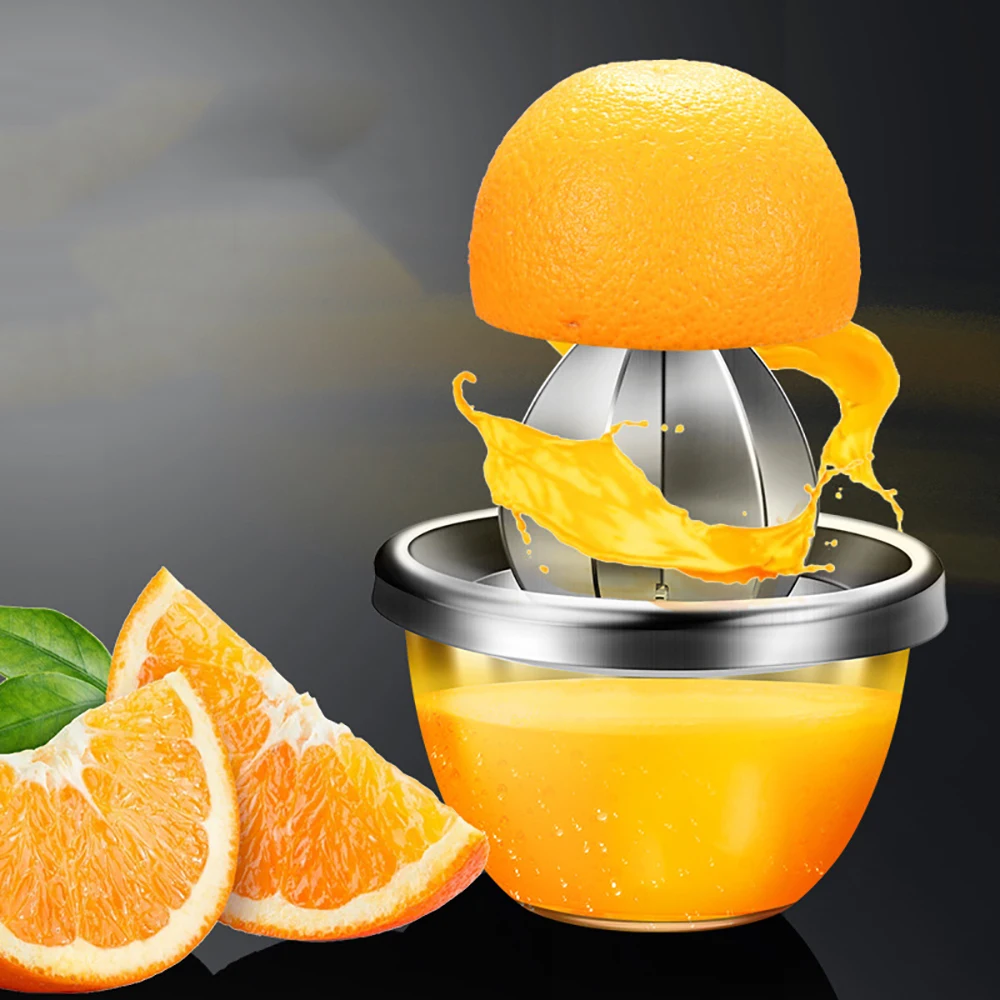 Price vs Performance: Finding the Best Value