
When it comes to making fresh juices at home, owning the right juicer can make all the difference. In 2023, a variety of juicers are available on the market, each boasting unique features and benefits designed to suit different needs and preferences. In this guide, we will explore the array of juicers available, compare their capabilities, and ultimately help you determine which one stands out as the best juicer in 2023.
Types of Juicers Available
Selecting the right juicer is crucial for meeting your daily juicing needs. There are several types to choose from, each with its own set of benefits and specific uses.

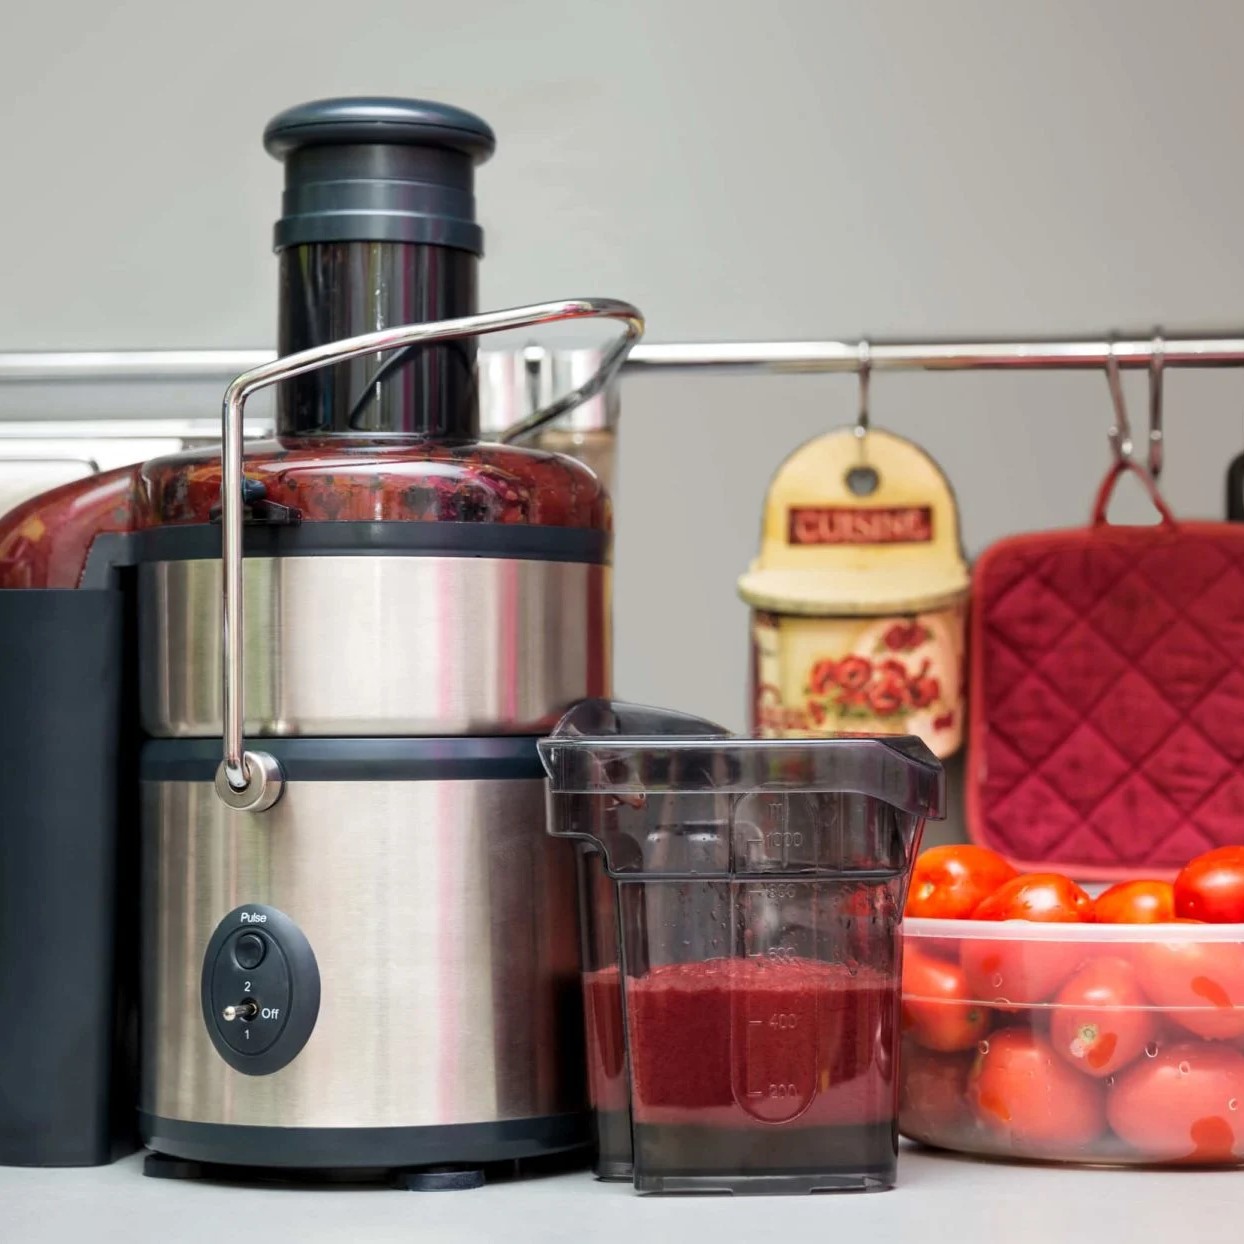
Centrifugal Juicers
Centrifugal juicers are popular for their speed and convenience. They work by rapidly spinning produce against a mesh filter, separating juice from pulp. They’re ideal for those who want a quick glass of juice without lengthy prep or cleanup. However, they may not perform as well with leafy greens or softer fruits, which tend to produce less juice in these machines.
Masticating (Slow) Juicers
Masticating juicers, also known as slow juicers, operate at lower speeds, crushing and squeezing produce to extract juice. The slow process minimizes heat and oxidation, preserving more nutrients and enzymes in your juice. These juicers are great for green juice enthusiasts who prioritize nutrient retention. Though slower, they are often more efficient with leafy greens and yield higher juice extraction from most produce types compared to centrifugal juicers.
Cold Press Juicers
Cold press juicers, a subset of masticating juicers, press the produce between two plates to extract juice. This gentle process helps retain the maximum amount of nutrients and enzymes, yielding a high-quality juice that can be stored for longer. They are typically more expensive but offer the advantage of producing the healthiest and most flavorful juices. Consider a cold press juicer if you’re a serious juicer looking for the best quality and nutritional value.
Key Features to Consider
When picking out the best juicer 2023, several key features are crucial for an ideal experience. Paying attention to motor power and speed, the size and capacity of the feed chute, and the ease of cleaning and maintenance will guide you in selecting a juicer that not only meets your needs but also delivers convenience and efficiency.
Motor Power and Speed
The motor’s power in a juicer determines its capability to handle tough produce and maintain efficiency over time. Higher wattage often equates to more powerful juicing action, which means faster juice extraction with less effort. Speed settings are equally important; multiple speed options allow you to adjust the juicing process to suit soft or hard fruits and vegetables, preserving the texture and nutrients of your juice.
Size and Capacity of Feed Chute
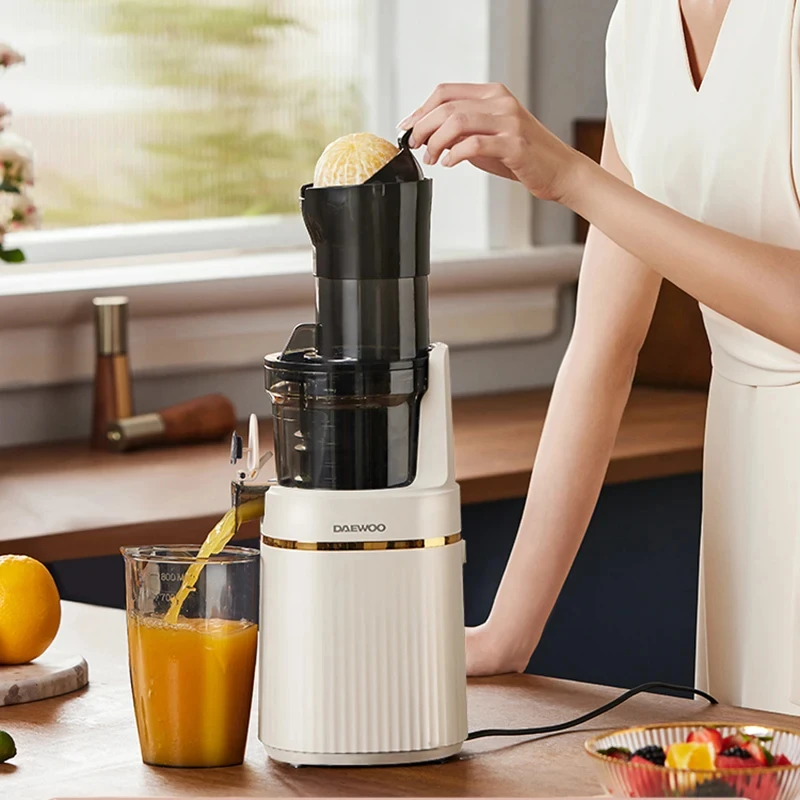
A larger feed chute minimizes the need for pre-cutting fruits and vegetables, saving you time and hassle. Machines with wide chutes accommodate whole apples or beets, thus preventing unnecessary prep work and aiding in a faster juicing process. This feature can be a significant time-saver, especially for busy individuals.
Ease of Cleaning and Maintenance
Juicers that are easy to clean encourage regular use and enhance the juicing experience. Look for models with dishwasher-safe parts or those that include cleaning tools to simplify the process. Juicers with fewer parts and clear assembly instructions make maintenance less daunting and more likely to be carried out properly, ensuring your juicer’s longevity and performance.
 Best Budget Juicers
Finding the right juicer doesn’t mean breaking the bank. Affordable models offer the essential features necessary for daily juicing needs. Often, these budget-friendly options are compact in design, making them suitable for small kitchens or occasional use. While they may not have the same power or capacity as their high-end counterparts, many are quite effective for basic juicing tasks.
Key considerations include easy assembly, simpler controls, and fewer speed settings. Most budget juicers are centrifugal, providing quick juice extraction, but typically less efficient with leafy greens. They are a practical choice for anyone new to juicing or with a limited budget.
Overview of Affordable Models
Budget juicers usually range in price, offering a variety of choices for cost-conscious consumers. These models tend to emphasize speed and convenience over the highest yield or nutrient retention. They’re reliable for juicing hard fruits and vegetables, but may struggle with softer items or greens.
Despite lower prices, many come with features such as dishwasher-safe parts and large feed chutes. This makes them user-friendly and helps reduce prep and cleanup time. When shopping for the best juicer 2023 on a budget, check for warranty coverage and customer reviews to ensure durability and satisfaction.
Comparison with Higher-End Juicers
When compared to high-end models, budget juicers generally have less powerful motors and may not be as durable. They may produce more waste, as they aren’t as efficient in extracting juice, particularly from fibrous produce. Masticating and cold press juicers, often found in the higher-end category, excel at preserving enzymes and nutrients due to their slow juicing process.
The trade-off for the lower price of budget juicers is often the overall quality of the juice, with more oxidation and less flavor. However, for many users, the differences are acceptable given the price savings. Ultimately, the choice between a budget and a high-end juicer will depend on individual needs, preferences, and how frequently one plans to use the juicer.
High-End Juicers Reviewed
When it comes to juicing, high-end juicers offer exceptional features and performance. These premium machines are designed for juice enthusiasts who seek superior quality and versatility. By investing in a high-end juicer, individuals can enjoy the freshest and most nutrient-rich juices possible.
Features and Performance
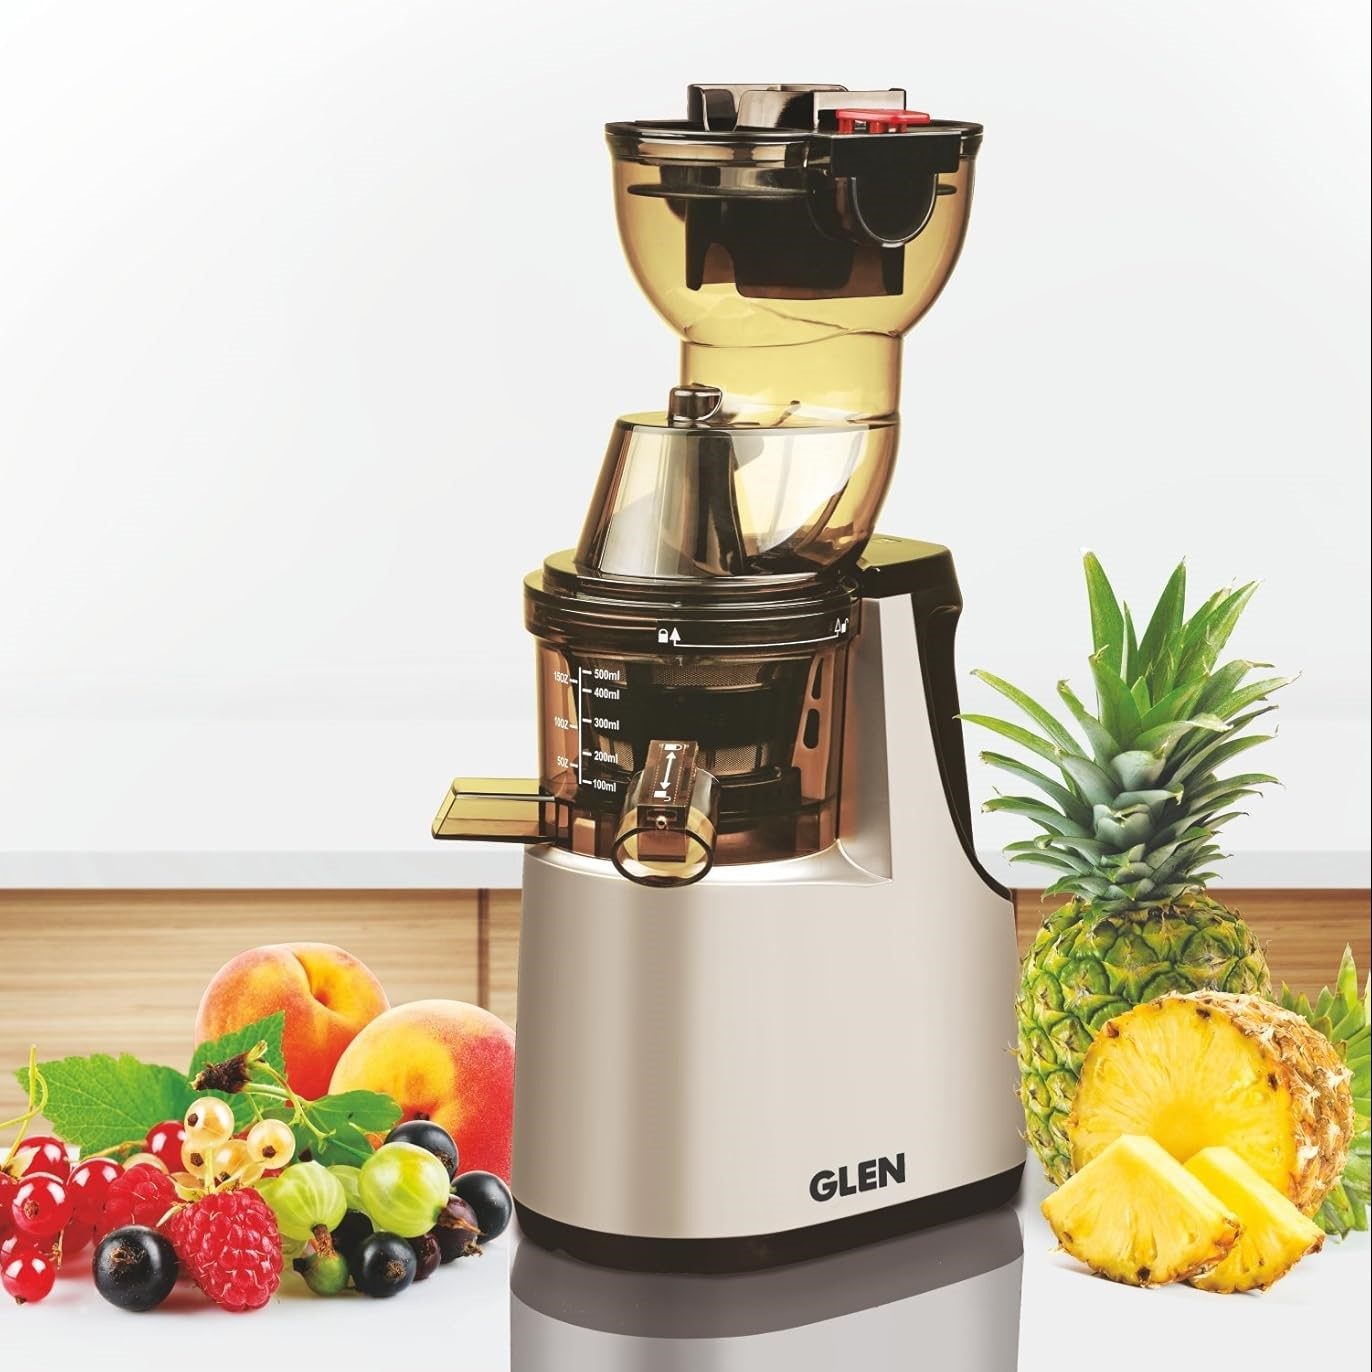
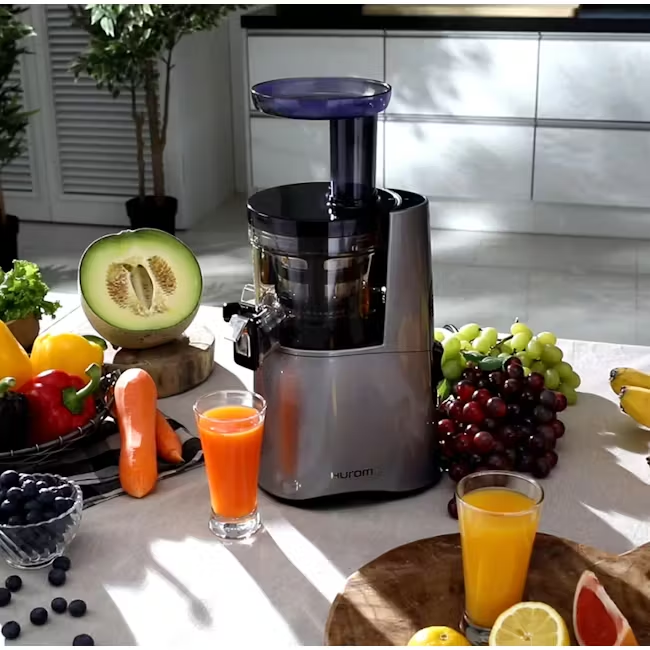
High-end juicers, often masticating or cold press models, stand out for their low-speed juicing action. This preserves more nutrients and enzymes, giving you healthier juice. Key features include powerful motors, various speed settings, and large feed chutes that handle whole fruits. Many also offer additional functions, like making nut milk or sorbet, elevating them beyond just juicing.
The best juicer 2023 in the high-end category ensures a high juice yield with dry pulp, indicating maximum extraction. Such juicers operate quietly and have sturdy builds to handle daily use. They can efficiently juice leafy greens, soft fruits, and even tough root veggies.
Durability and Warranty Options
Durability is crucial for machines in constant use, and high-end juicers deliver with strong materials like stainless steel and heavy-duty plastics. They often come with extensive warranties, giving you peace of mind for the long haul.
Manufacturers of high-end juicers back their products with warranties that can extend up to 15 years, covering motors and parts. This reflects the confidence they have in the endurance of their machines. The warranty terms can be a considerable factor when deciding which juicer best fits your lifestyle and juicing needs.
Juicing for Health: Tips and Benefits
Juicing is a popular way to consume essential nutrients from fruits and vegetables. Fresh juices offer numerous health benefits and can be an easy way to increase your daily intake of these important food groups. Here are some tips and the advantages of incorporating fresh juice into your diet.
Nutritional Advantages of Fresh Juice
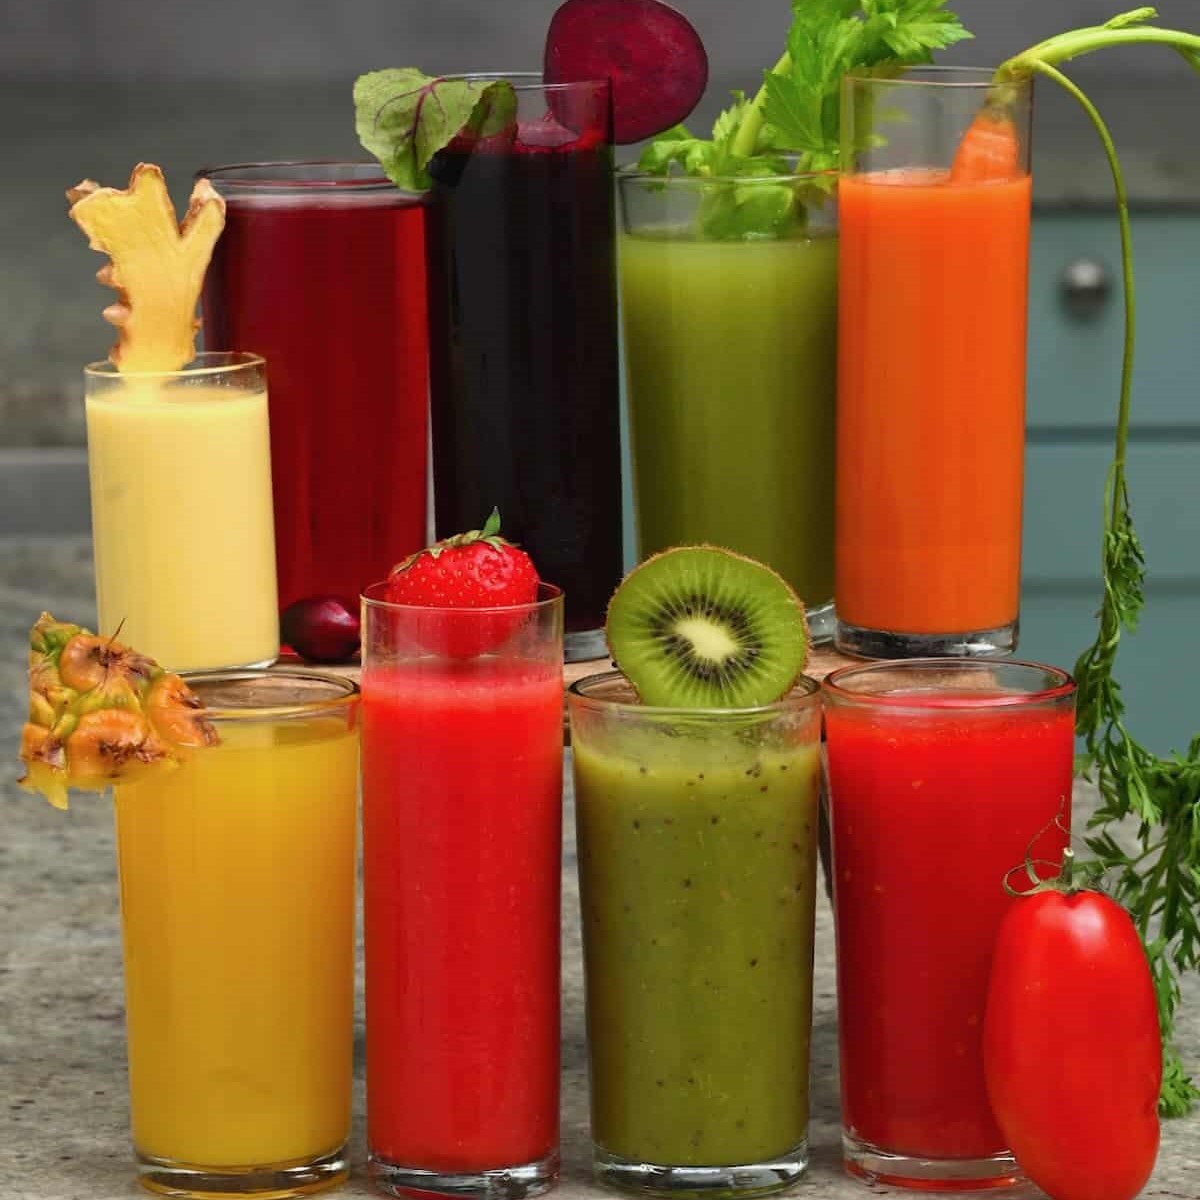
Fresh juices are packed with vitamins, minerals, and antioxidants. They can help boost your immune system, improve digestion, and promote skin health. Since juicing breaks down the fibers, nutrients are more readily absorbed by the body. However, because the fiber is removed, it’s important not to rely solely on juices for your nutritional needs. Incorporating whole fruits and vegetables into your meals ensures you receive the benefits of their natural fiber content as well.
Some of the best fruit and vegetable options for juicing include:
- Kale and spinach for their high vitamin content
- Carrots and apples for a sweet taste and beta-carotene
- Beetroots for their antioxidants and earthy flavor
- Citrus fruits for a refreshing twist and vitamin C
Recipes and Ingredients for Maximum Benefit
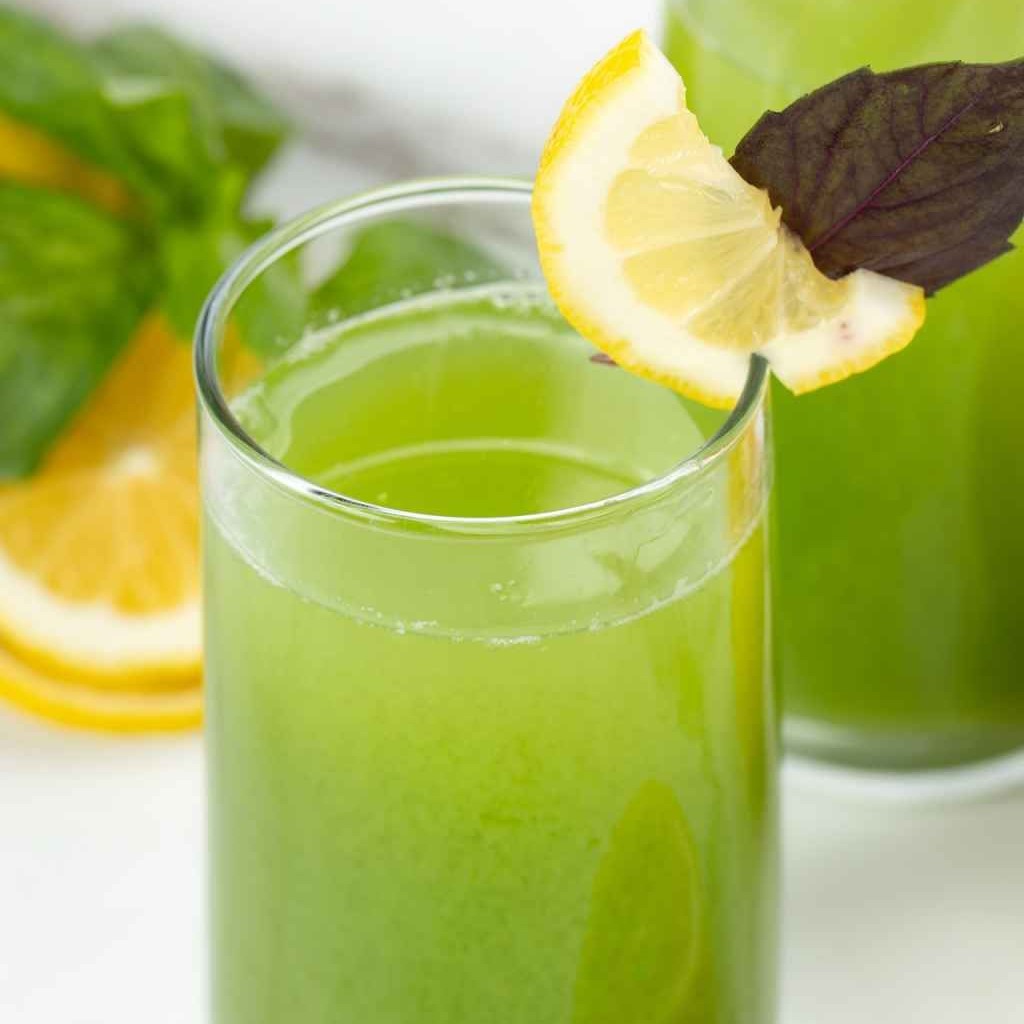
Creating your own juice recipes can be fun and allows for customization to suit your taste preferences and health goals. For a nutrient-dense green juice, blend kale, spinach, cucumber, and celery with a green apple for sweetness. For an immune-boosting drink, mix oranges, carrots, and ginger, all of which have infection-fighting properties.
Here are some more combinations to try:
- Beetroot, carrot, apple, and ginger for a naturally sweet and spicy drink
- Pineapple, cucumber, and mint for a hydrating and refreshing juice
- Pear, spinach, and lemon for a balanced blend of sweet and tart
Remember to drink fresh juice as soon as possible after making it to get the most out of its nutritional benefits. Freshly made juices are best consumed immediately as they can lose some of their nutritional value over time. For those looking to shed a few pounds or who are simply health-conscious, fresh juices can be a rewarding part of your wellness routine.
 Additional Uses of Juicers
While juicers are primarily for extracting juice, they offer more culinary possibilities.
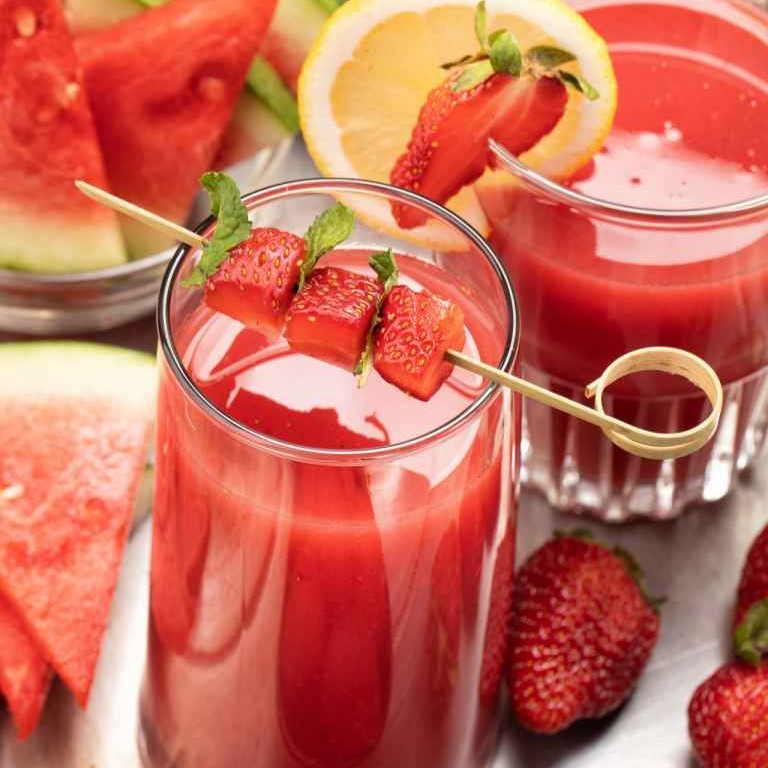
Making Smoothies and Sorbets
Juicers, especially masticating ones, can create not only juices but also other treats. These versatile machines usually come with attachments that allow you to whip up healthy smoothies and delicious sorbets. To make a smoothie, use the juicer’s processing function to blend softened fruits like bananas or mangoes. For sorbets, freeze your favorite fruit juice and then process it through the juicer for a refreshing dessert.
Preparing Nut Milks and Baby Foods
Did you know that a good juicer can make nut milk? Soak nuts like almonds or cashews, and then use your juicer to grind and press them, creating a creamy milk alternative. They’re also superb for making fresh, nutrient-rich baby foods. With a juicer, you can puree cooked fruits and vegetables, ensuring your baby gets the freshest and most wholesome meals. It’s essential to use a slow juicer for this to preserve the nutrients and achieve the right texture.
 Closing Thoughts on Juicer Recipes
 Conclusion: Embrace the Freshness

 Conclusion


 Conclusion: Selecting the Best Wall Mounted AC for Your Needs
 Innovative Solutions for Power Outages
 Frequently Asked Questions
 Comparing the Nama J3 to Other Market Leaders
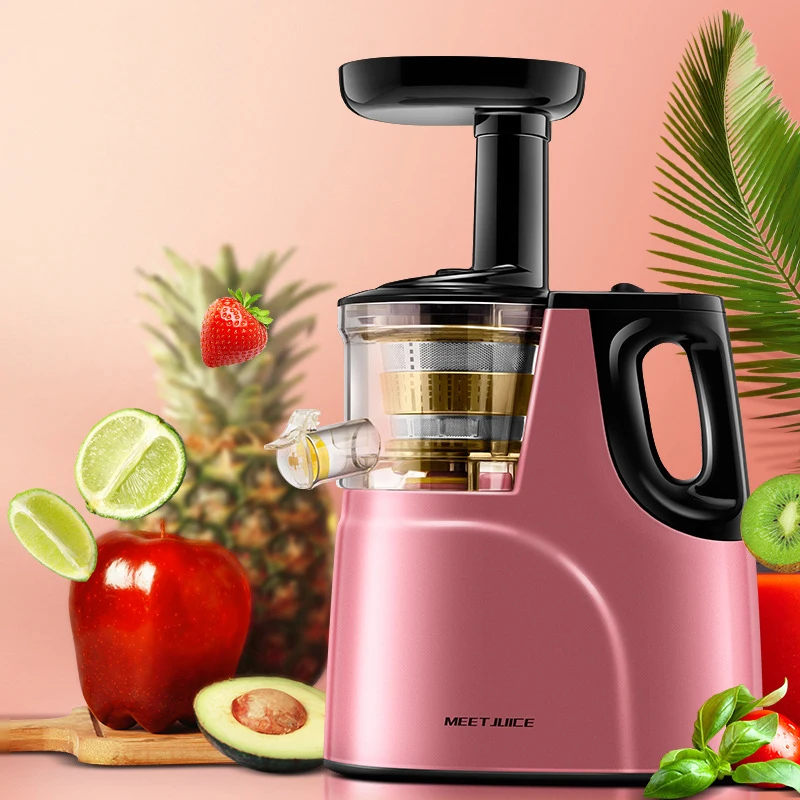 Conclusion: Is the Nama J3 the Right Juicer for You?
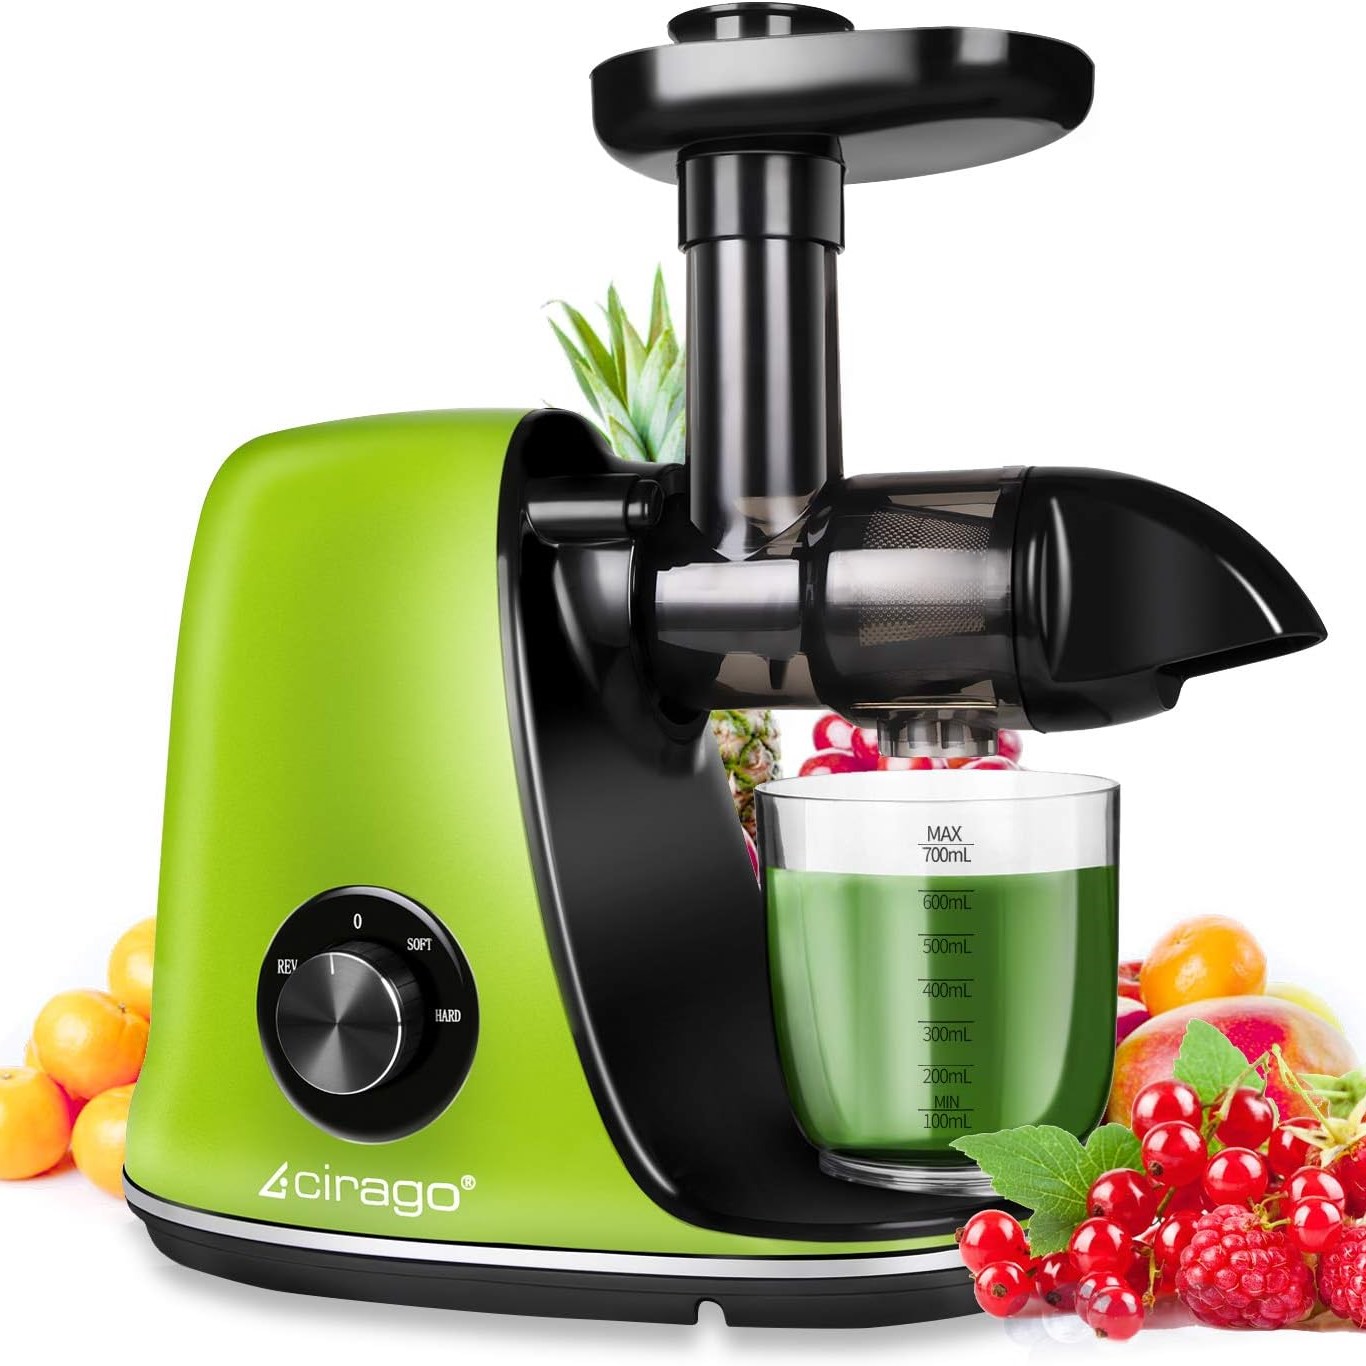
 Popular Cold Press Juicer Models
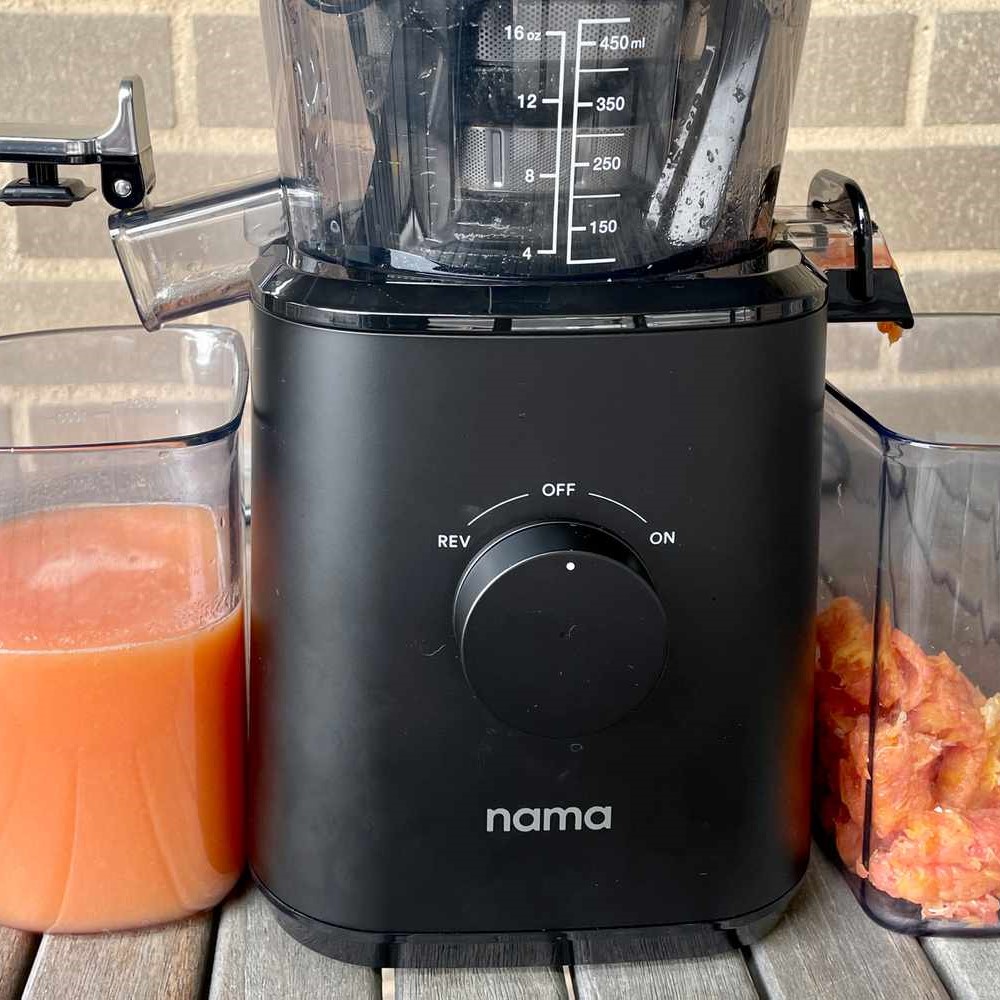 Cleaning and Maintaining Your Juicer
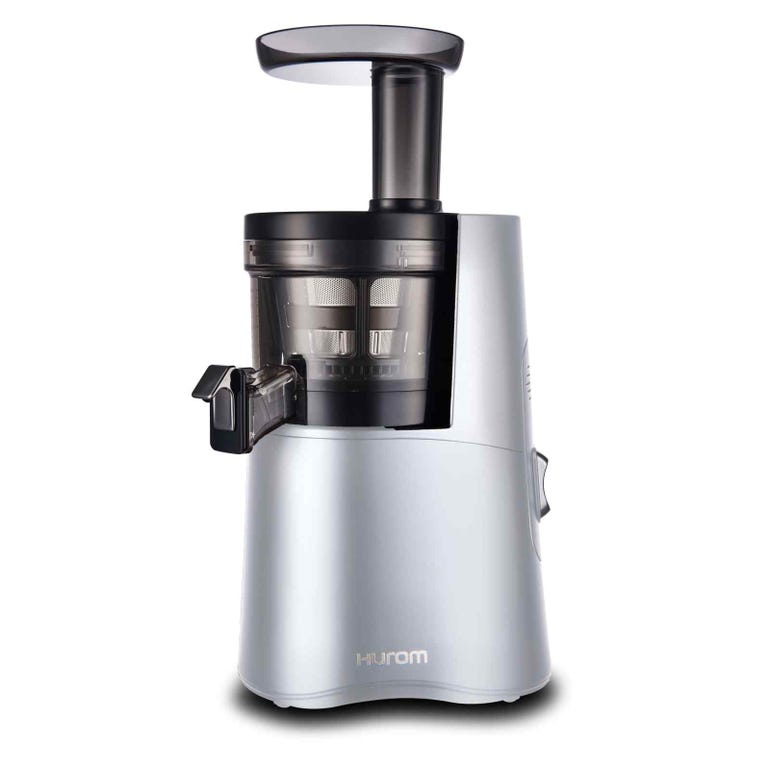

 Conclusion
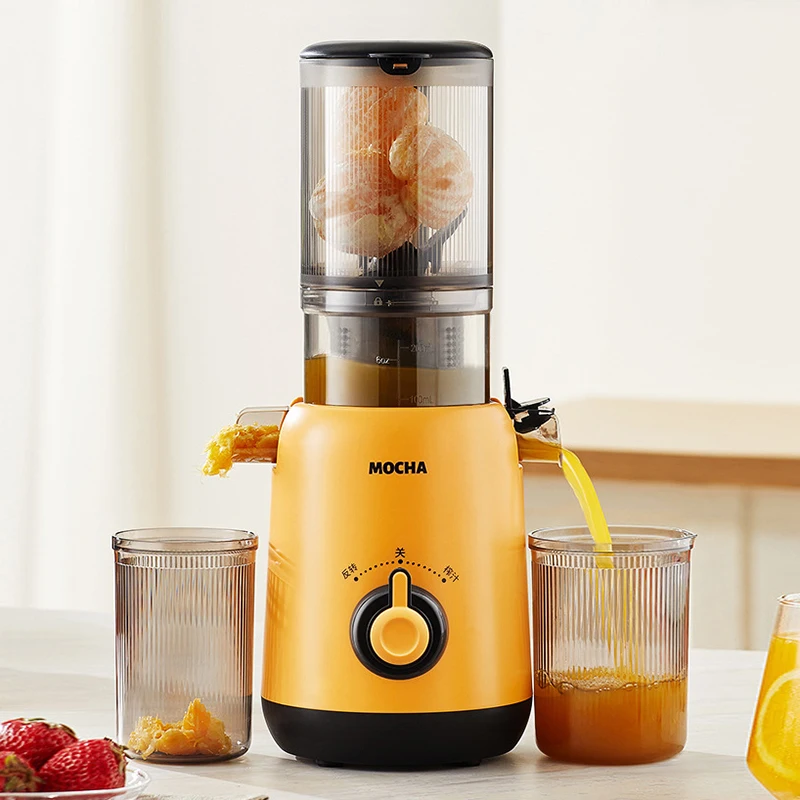
 Innovative Juicing Technologies
 Conclusion and Recommendations