Introduction
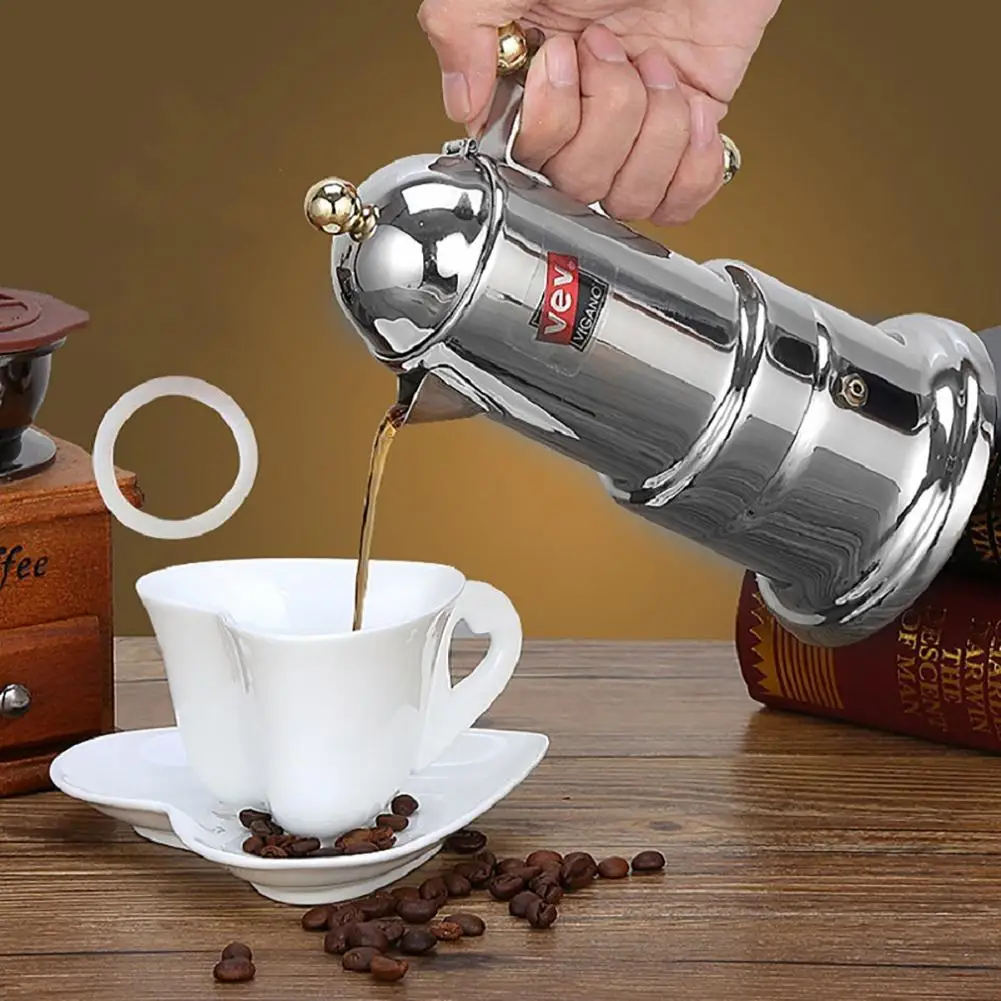
In the world of coffee aficionados, the quest for the perfect espresso often leads to exploring various brewing equipment. Among these, the stainless steel espresso maker stands out as a popular choice for both home and professional settings. Renowned for its durability, sleek appearance, and superior performance, a stainless steel espresso maker can significantly enhance your coffee-making experience. This comprehensive guide delves into the myriad benefits, functionalities, types, and maintenance tips for stainless steel espresso makers, ensuring that you make an informed decision when selecting the ideal machine for your needs.
Benefits of Stainless Steel Espresso Makers
Choosing a stainless steel espresso maker offers numerous advantages that cater to both novice and seasoned baristas. From enhanced durability to superior heat retention, stainless steel machines provide a blend of functionality and aesthetic appeal that is hard to match with other materials.
Durability and Longevity
One of the primary benefits of stainless steel espresso makers is their exceptional durability. Stainless steel is resistant to rust, corrosion, and staining, making it an ideal material for appliances that are frequently exposed to moisture and heat. Unlike machines made from plastic or aluminum, stainless steel models can withstand the rigors of daily use without deteriorating over time. This robustness ensures that your espresso maker remains a reliable kitchen companion for years, offering excellent value for your investment.
Heat Retention
Temperature control is crucial in espresso making, as the perfect extraction relies on maintaining optimal heat levels throughout the brewing process. Stainless steel excels in heat retention, ensuring that the water remains consistently hot during extraction. This stability helps in achieving a balanced and rich espresso shot, free from bitterness or under-extraction. Additionally, stainless steel’s thermal properties contribute to faster heat-up times, allowing you to enjoy your coffee without unnecessary delays.
Aesthetic Appeal
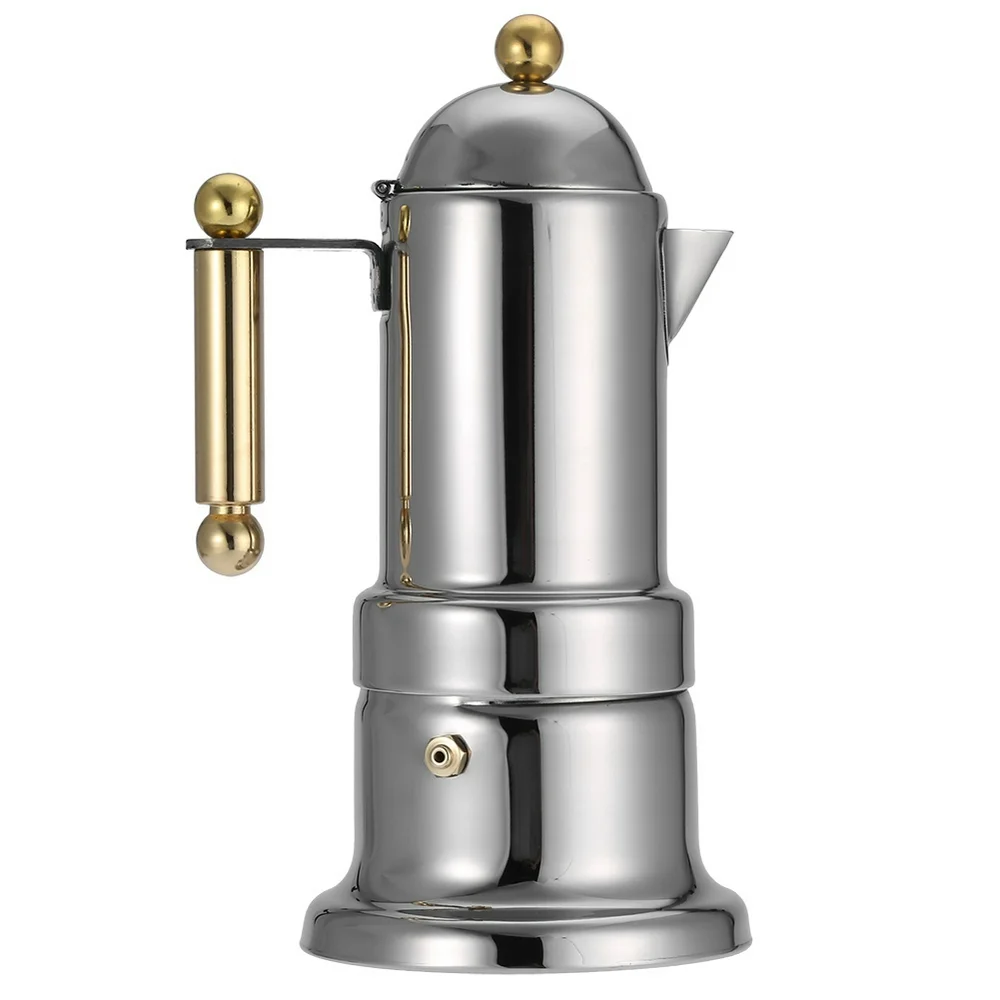
Beyond functionality, stainless steel espresso makers are prized for their modern and elegant appearance. The sleek, shiny surface of stainless steel complements various kitchen décors, adding a touch of sophistication to your countertop. Whether you prefer a minimalist look or a more contemporary style, stainless steel machines are versatile enough to blend seamlessly with your kitchen’s aesthetic. Moreover, the material’s neutral color palette ensures that the espresso maker remains visually appealing over time, without fading or discoloration.
How Stainless Steel Espresso Makers Work
Understanding the mechanics behind stainless steel espresso makers can help you appreciate their design and efficiency. These machines typically combine traditional espresso brewing techniques with modern technological advancements to deliver a consistent and high-quality coffee experience.
Components of an Espresso Maker
A stainless steel espresso maker comprises several key components that work in harmony to produce the perfect shot:
- Boiler: Heats water to the optimal temperature for extraction. Stainless steel boilers are preferred for their durability and heat retention capabilities.
- Pump: Creates the necessary pressure (usually 9 bars) to force hot water through finely-ground coffee.
- Portafilter: Holds the coffee grounds during extraction. Stainless steel portafilters are more resilient and provide better heat stability.
- Group Head: The component where water meets coffee grounds, essential for consistent extraction.
- Steam Wand: Used for frothing milk, allowing you to create lattes and cappuccinos with rich, creamy foam.
- Control Panel: Interface for operating the machine, adjusting settings like temperature and pressure if available.
These components are meticulously crafted from stainless steel to ensure longevity, ease of cleaning, and optimal performance. The seamless integration of these parts results in a machine that not only looks premium but also delivers exceptional espresso consistently.
Types of Stainless Steel Espresso Makers
The market offers a variety of stainless steel espresso makers, each catering to different preferences and skill levels. Understanding the differences between them can help you choose the one that best fits your requirements.
Manual Espresso Makers
Manual espresso makers, also known as lever machines, allow users to control the brewing process manually. These machines require the user to operate a lever to generate the necessary pressure for extraction. Stainless steel manual espresso makers are favored by purists who enjoy the hands-on approach and the ability to fine-tune every aspect of brewing. While they offer a traditional espresso-making experience, they require more skill and effort compared to automated machines.
Electric Espresso Machines
Electric espresso machines automate many aspects of the brewing process, making them ideal for those who seek convenience without sacrificing quality. These machines typically feature built-in pumps and electronic controls to manage water temperature and pressure accurately. Stainless steel electric espresso makers are popular in both home and commercial settings due to their ease of use, consistency, and sleek design. They often come with additional features such as programmable settings and integrated grinders, enhancing the overall coffee-making experience.
Semi-Automatic vs. Fully Automatic
Stainless steel espresso makers come in both semi-automatic and fully automatic variations, each offering different levels of control and automation:
- Semi-Automatic Machines: These require the user to initiate and stop the extraction process manually, providing a balance between control and convenience. They are suitable for those who want to hone their barista skills while still enjoying some automated features.
- Fully Automatic Machines: These machines handle the entire brewing process with minimal user intervention. From grinding the beans to extracting the espresso, fully automatic stainless steel espresso makers are designed for maximum convenience, making them ideal for busy households or offices where consistency and speed are essential.
Comparing Stainless Steel to Other Materials
When selecting an espresso maker, the material plays a significant role in performance, maintenance, and aesthetics. Stainless steel often stands out compared to alternatives like aluminum and plastic.
Stainless Steel vs. Aluminum
Aluminum espresso makers are lightweight and generally more affordable than their stainless steel counterparts. However, aluminum is prone to corrosion and can react with acidic coffee, potentially affecting the taste. Stainless steel, on the other hand, offers superior resistance to corrosion and does not impart any unwanted flavors to the coffee. While stainless steel machines may come at a higher price point, their longevity and performance often justify the investment for dedicated coffee enthusiasts.
Stainless Steel vs. Plastic
Plastic espresso makers are typically less expensive and lighter than those made from stainless steel. However, plastic is less durable and can wear out or discolor over time, especially when exposed to high temperatures and repeated use. Additionally, plastic may not retain heat as effectively as stainless steel, leading to inconsistencies in brewing temperatures. For those seeking a long-lasting, high-performance machine with a premium feel, stainless steel is the superior choice despite its higher initial cost.
Maintenance and Care for Stainless Steel Espresso Makers
Proper maintenance is essential to ensure the longevity and optimal performance of your stainless steel espresso maker. Regular cleaning and care can prevent common issues and keep your machine functioning smoothly.
Cleaning Tips
- Daily Cleaning: After each use, rinse the portafilter, basket, and steam wand with warm water to remove coffee residues. Wipe down the exterior of the machine with a damp cloth to maintain its shine.
- Weekly Cleaning: Descale the machine by running a mixture of water and a descaling agent through the espresso maker to remove mineral buildup. Clean the group head with a brush to ensure no coffee grounds are clogging the channels.
- Deep Cleaning: Periodically disassemble the machine to thoroughly clean all components. Use stainless steel-friendly cleaning agents to avoid damaging the surface.
Preventing Scale Buildup
Scale buildup can significantly impact the performance of your espresso maker by clogging internal components and affecting water temperature. To prevent scale:
- Use Filtered Water: Filtered or bottled water contains fewer minerals, reducing the likelihood of scale formation.
- Regular Descaling: Follow the manufacturer’s instructions for descaling frequency, especially if you live in an area with hard water.
- Water Softener Systems: Consider installing a water softener to treat tap water and further minimize mineral deposits.
By adhering to these maintenance practices, you can ensure that your stainless steel espresso maker remains in excellent condition, delivering consistent and high-quality espresso for years to come.
Top Brands and Models
The market is teeming with stainless steel espresso makers from various brands, each offering unique features and benefits. Here are some of the top brands and their standout models:
Breville
Breville is renowned for its innovative espresso machines that combine stainless steel construction with advanced technology. The Breville Barista Express, for instance, features an integrated grinder, precise temperature control, and a durable stainless steel body, making it a favorite among home baristas.
DeLonghi
DeLonghi offers a range of stainless steel espresso makers that cater to different budgets and preferences. The DeLonghi La Specialista is praised for its smart tamping station, dual heating system, and sleek stainless steel design, providing both functionality and style.
Rancilio
Rancilio’s stainless steel espresso machines, like the Rancilio Silvia, are celebrated for their commercial-grade components and robust build quality. These machines are ideal for enthusiasts who seek professional-level performance in a durable package.
Gaggia
Gaggia combines Italian design with stainless steel engineering in models such as the Gaggia Classic Pro. Known for its reliability and consistent espresso output, Gaggia machines are a staple in many coffee lovers’ kitchens.
La Marzocco
For those seeking top-tier stainless steel espresso makers, La Marzocco offers premium machines like the Linea Mini. These machines are handcrafted with high-quality stainless steel, providing unparalleled performance and aesthetic appeal suitable for both home and café environments.
Enhancing Your Espresso Experience
Owning a stainless steel espresso maker opens the door to a myriad of ways to enhance your coffee experience. From selecting the right beans to mastering brewing techniques, here are some tips to elevate your espresso game.
Selecting the Right Coffee Beans
The quality of your espresso largely depends on the beans you use. Opt for freshly roasted, high-quality Arabica beans for a rich and nuanced flavor profile. Consider experimenting with different roast levels to find the one that best suits your taste preferences. Grinding your beans just before brewing ensures maximum freshness and flavor extraction.
Mastering the Brewing Process
Perfecting your espresso involves understanding the nuances of the brewing process. Here are some key aspects to focus on:
- Grind Size: A fine grind is essential for optimal extraction. Adjust the grind size based on your espresso maker’s requirements and the desired strength of your coffee.
- Tamping Pressure: Consistent tamping pressure ensures even extraction. Aim for a firm and level tamp to prevent channeling and under-extraction.
- Extraction Time: Monitor the extraction time to achieve the right balance of flavors. Typically, a shot of espresso takes between 25 to 30 seconds to brew.
Experimenting with Recipes
With a stainless steel espresso maker, you can explore a variety of espresso-based drinks beyond the classic shot. Try your hand at crafting lattes, cappuccinos, macchiatos, and more. Experimenting with different milk textures and flavor additions can add diversity to your coffee repertoire.
Troubleshooting Common Issues
Even the best stainless steel espresso makers can encounter issues over time. Being prepared to troubleshoot common problems can save you time and ensure your machine continues to deliver excellent performance.
Inconsistent Extraction
If your espresso shots are inconsistent, it could be due to several factors:
- Grind Size: Ensure that your grind size is appropriate for your machine. A grind that is too coarse or too fine can affect extraction.
- Tamping Pressure: Inconsistent tamping can lead to uneven extraction. Aim for a consistent and firm tamp each time.
- Water Temperature: Verify that your machine is maintaining the correct water temperature. Fluctuations can impact the quality of your espresso.
Difficulty in Frothing Milk
Issues with frothing milk may arise from:
- Steam Wand Blockage: Clean the steam wand regularly to prevent clogs.
- Insufficient Pressure: Ensure that the steam boiler is functioning correctly and generating enough pressure.
- Milk Quality: Use cold, fresh milk for better frothing results. Whole milk tends to produce creamier foam compared to low-fat varieties.
Machine Leaks
Leaks can occur due to:
- Worn Seals: Inspect and replace any worn or damaged seals regularly.
- Overfilled Water Reservoir: Avoid overfilling the water reservoir to prevent spills and leaks.
- Improper Assembly: Ensure that all components are correctly assembled and tightened after cleaning or maintenance.
 Conclusion
Investing in a stainless steel espresso maker is a decision that pays dividends in terms of durability, performance, and aesthetic appeal. With its robust construction, excellent heat retention, and sleek design, a stainless steel machine not only enhances your coffee-making experience but also adds a touch of elegance to your kitchen. By understanding the benefits, exploring the different types available, and maintaining your machine properly, you can enjoy consistently excellent espresso tailored to your preferences. Whether you are a casual coffee drinker or a dedicated barista, a stainless steel espresso maker is a valuable addition that promises to deliver rich, flavorful coffee for years to come.
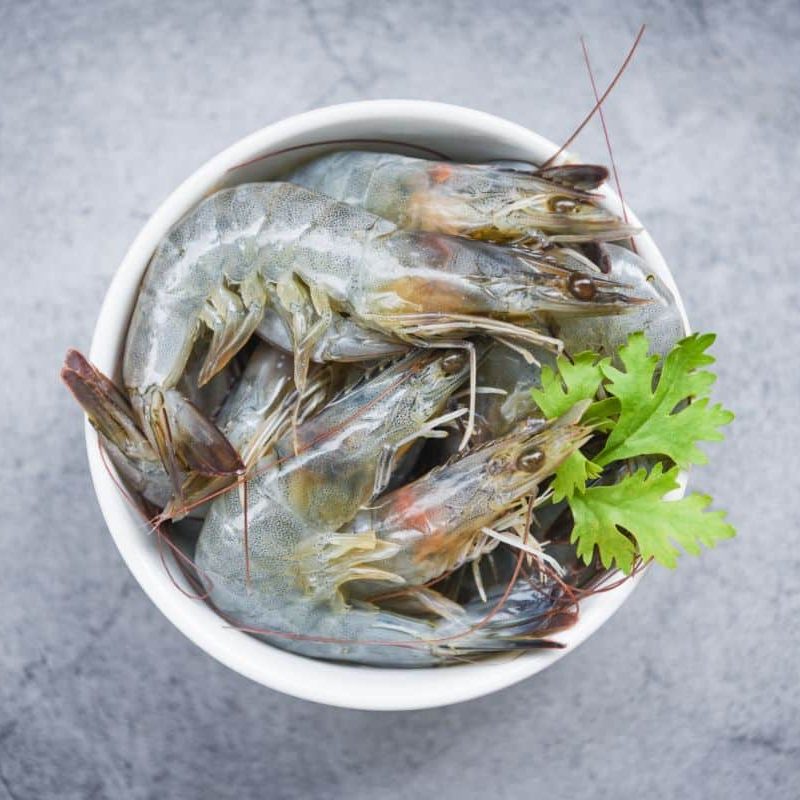
 Best Practices for Storing Shrimp
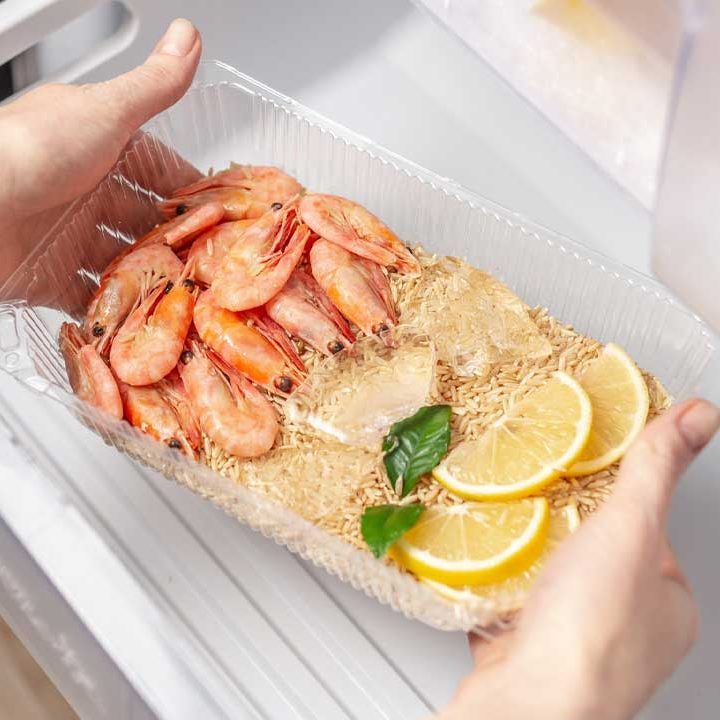 Signs That Shrimp Has Gone Bad
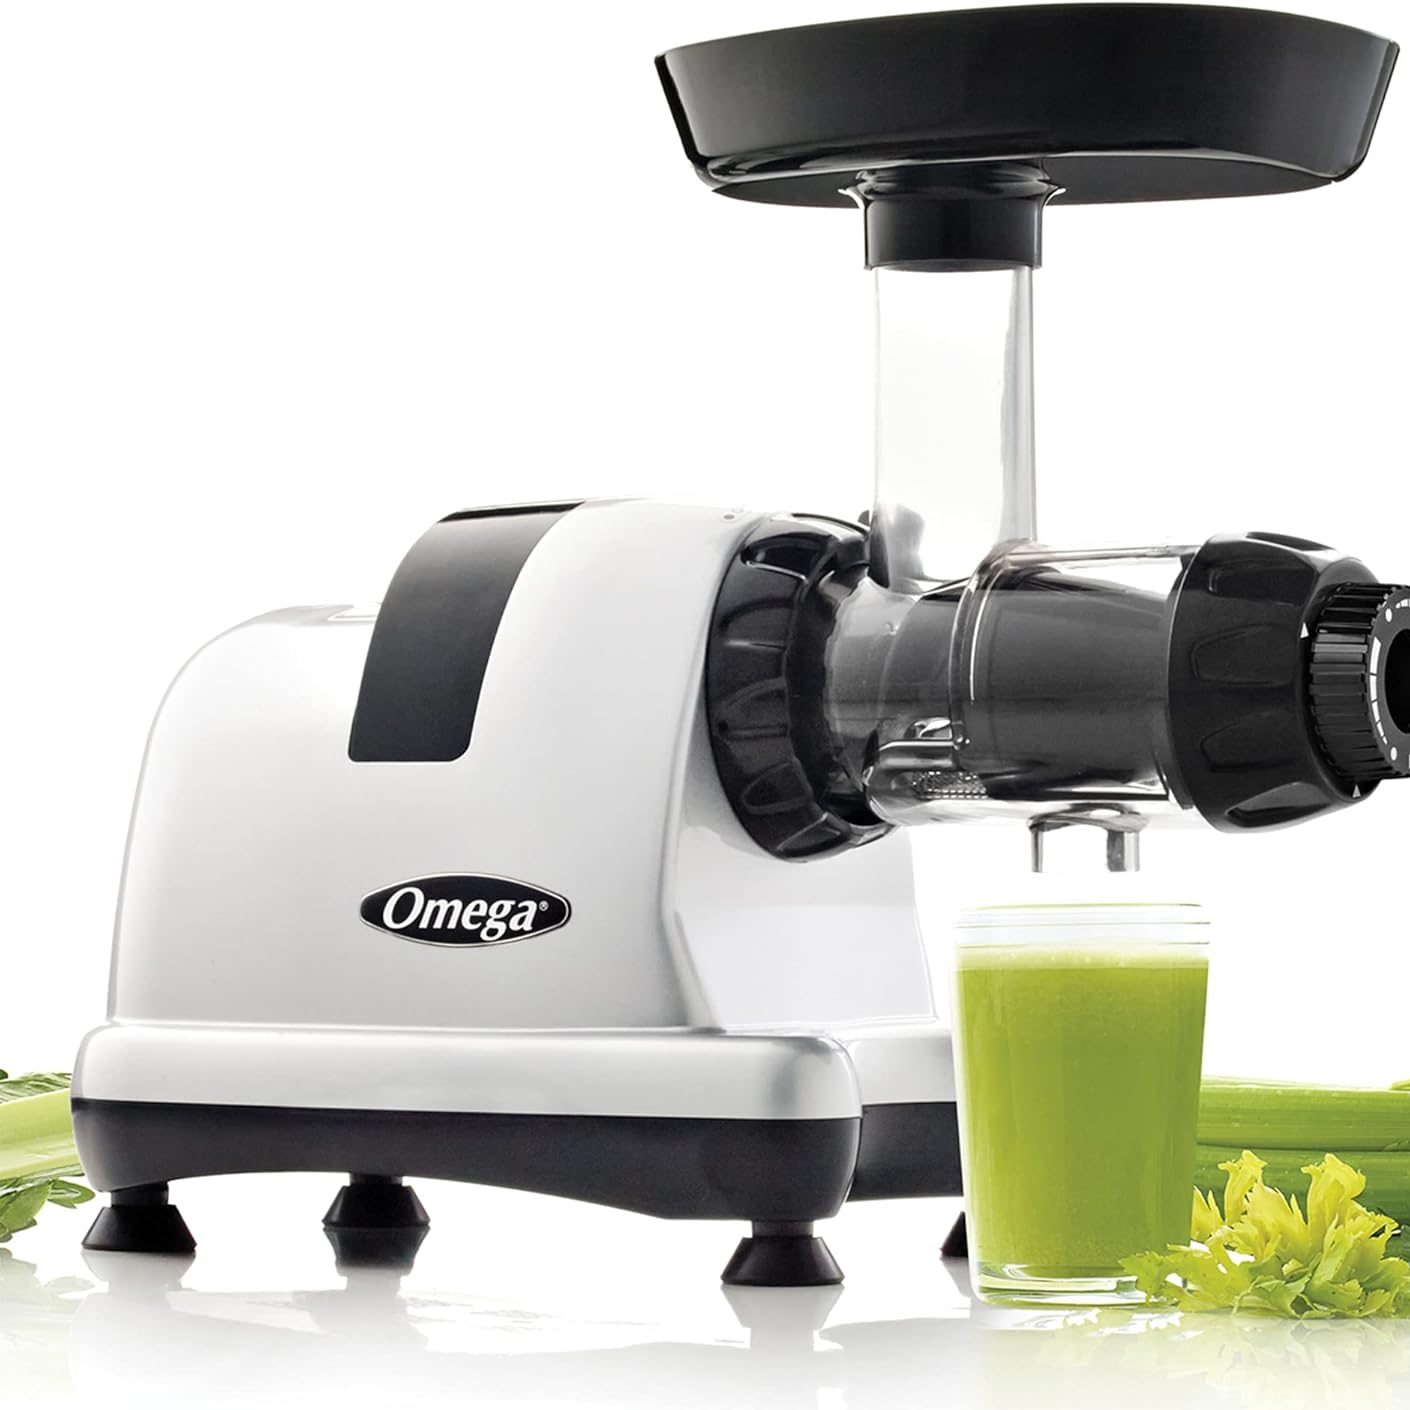
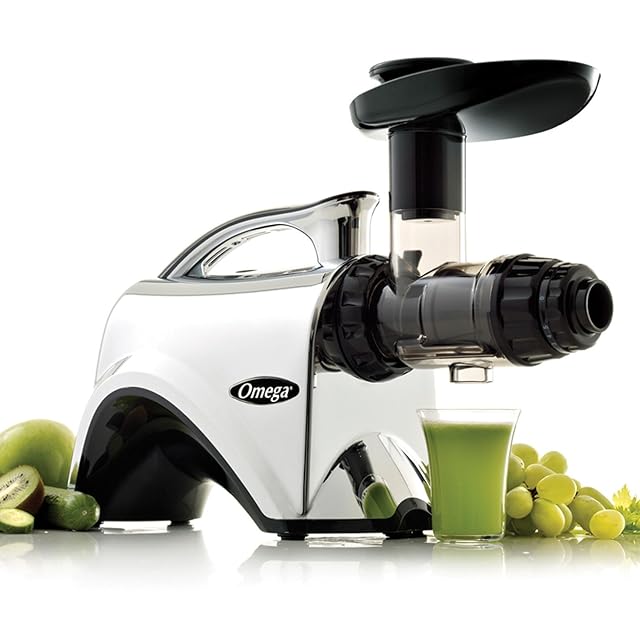
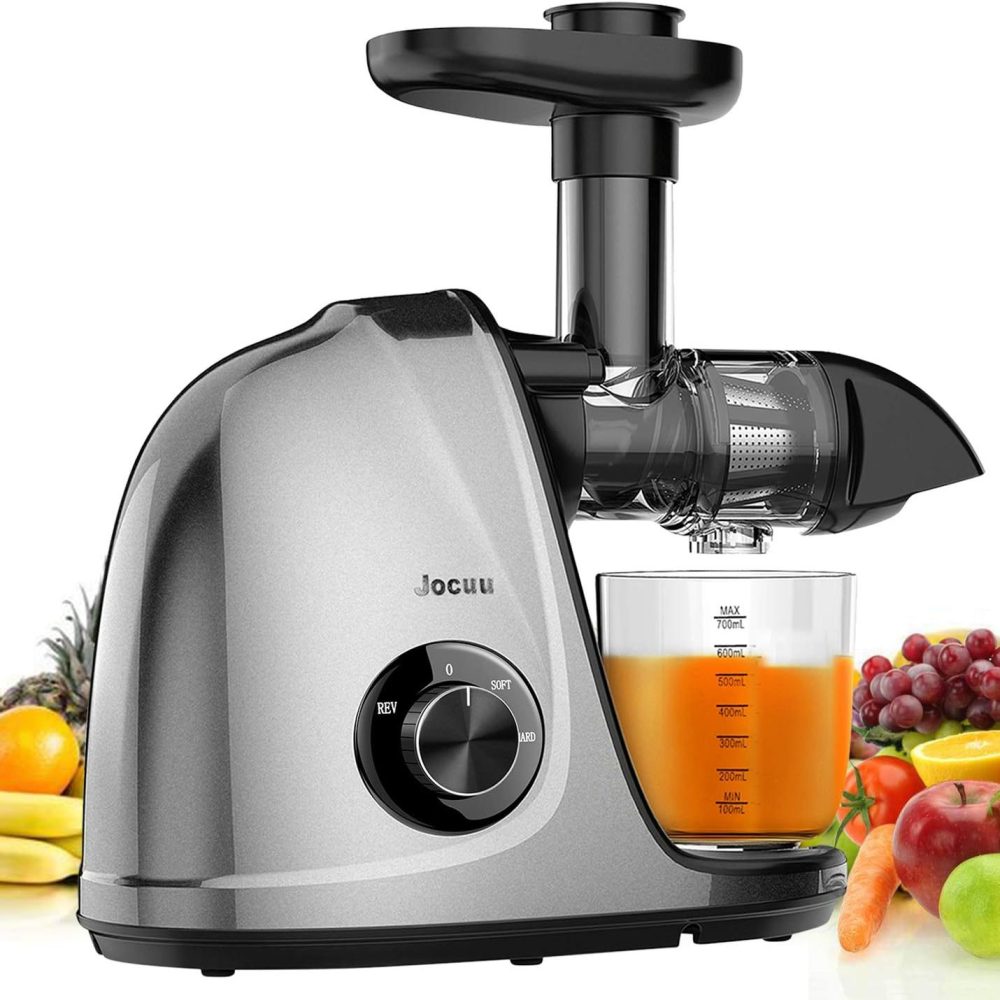 Maintaining Your Slow Juicer for Longevity
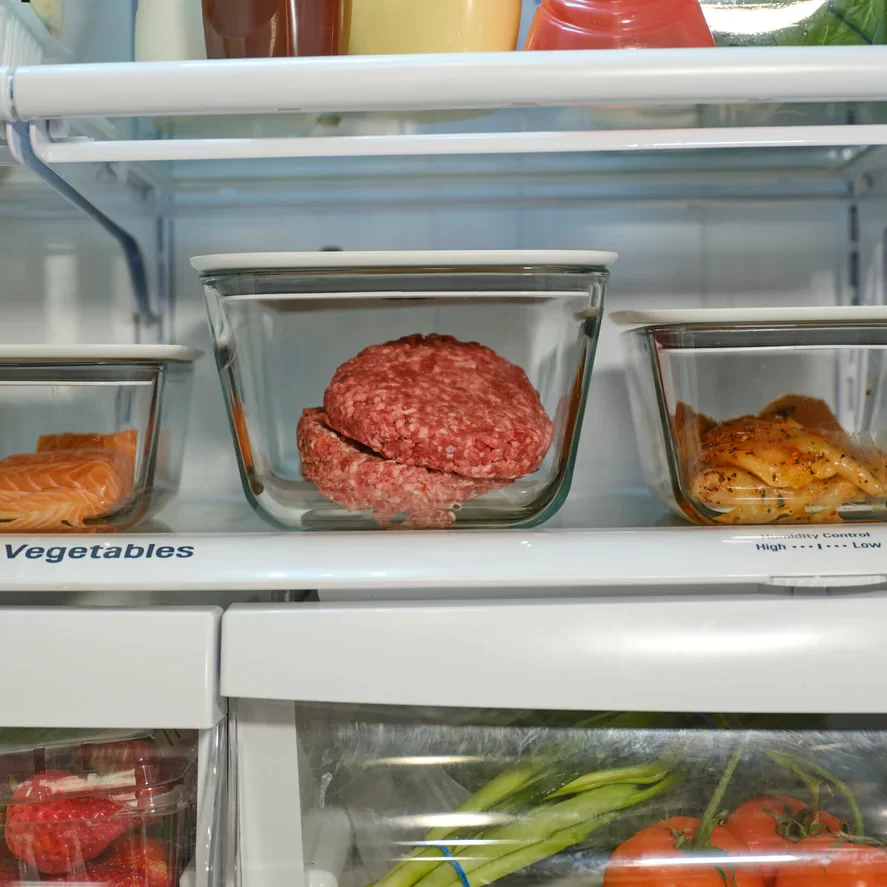
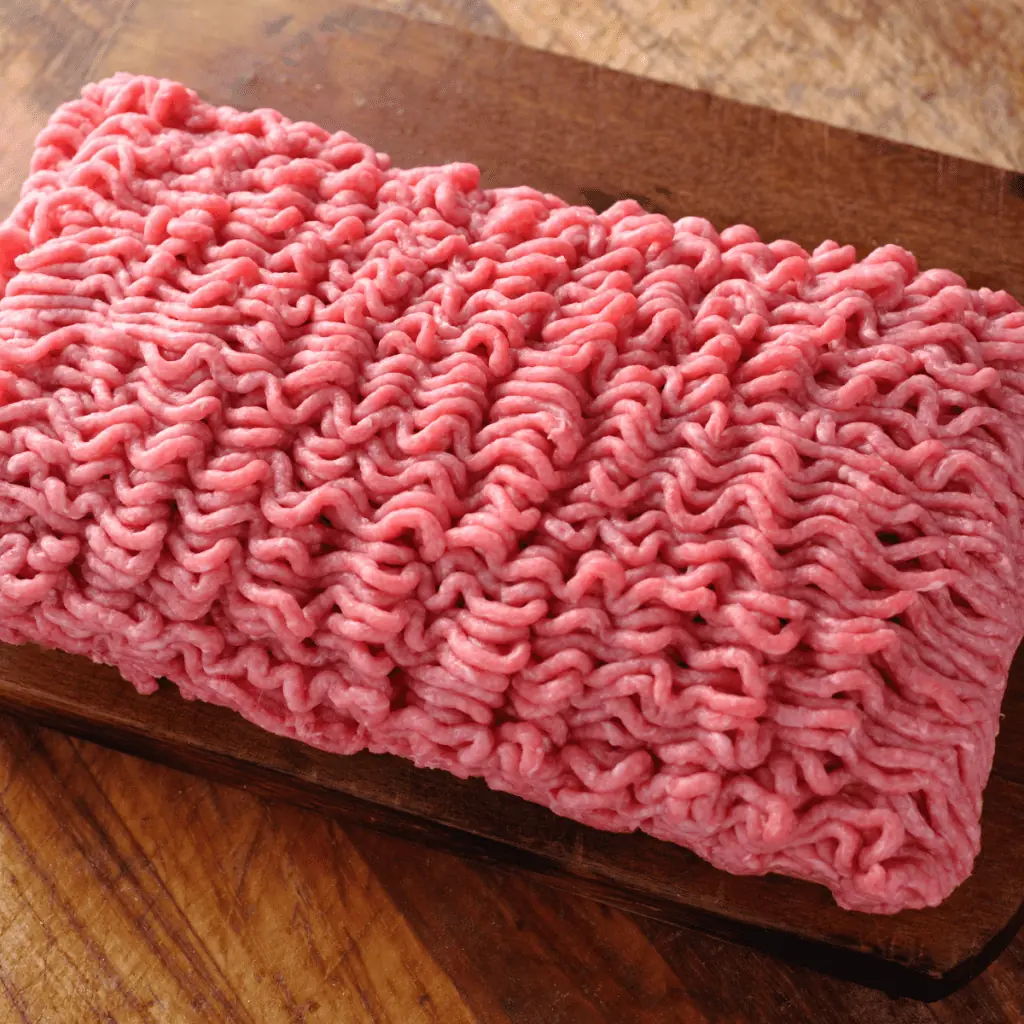
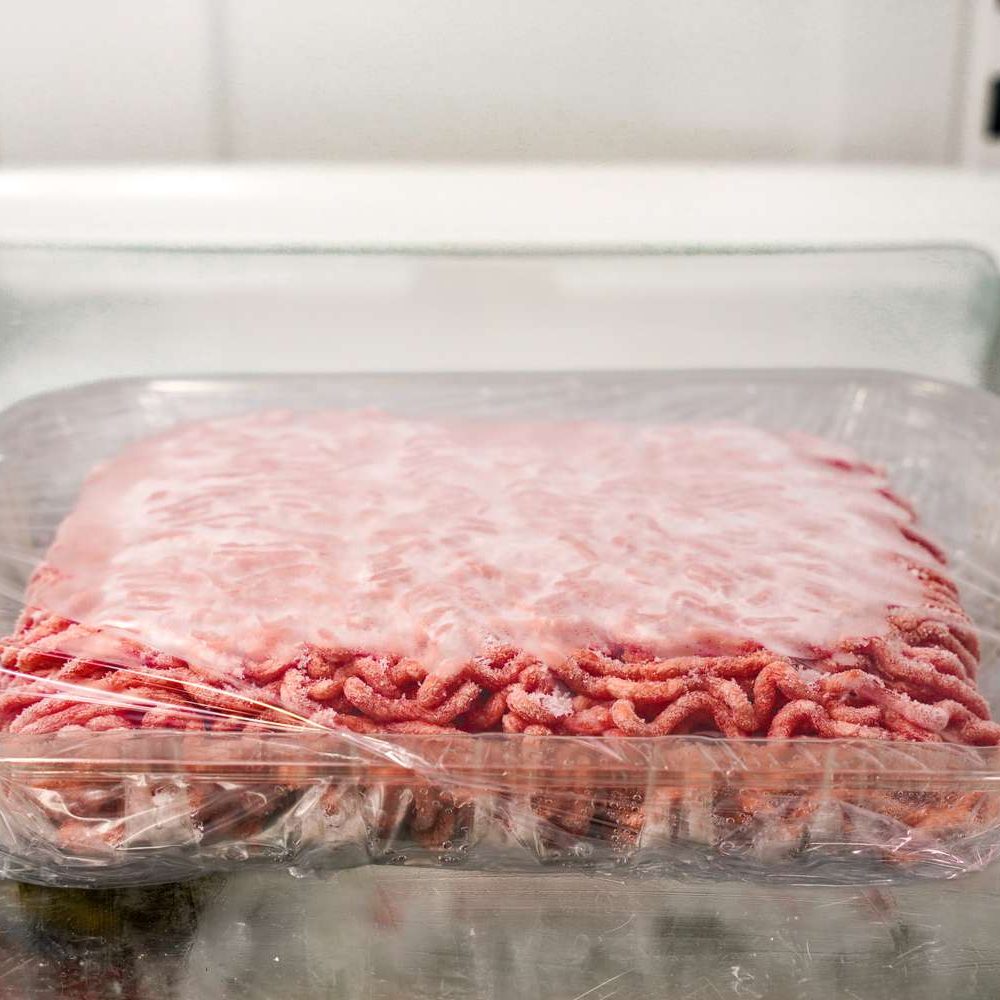 Conclusion: How Long Can You Keep Ground Beef in the Refrigerator?
 Conclusion
 Conclusion: why did my refrigerator stop working?
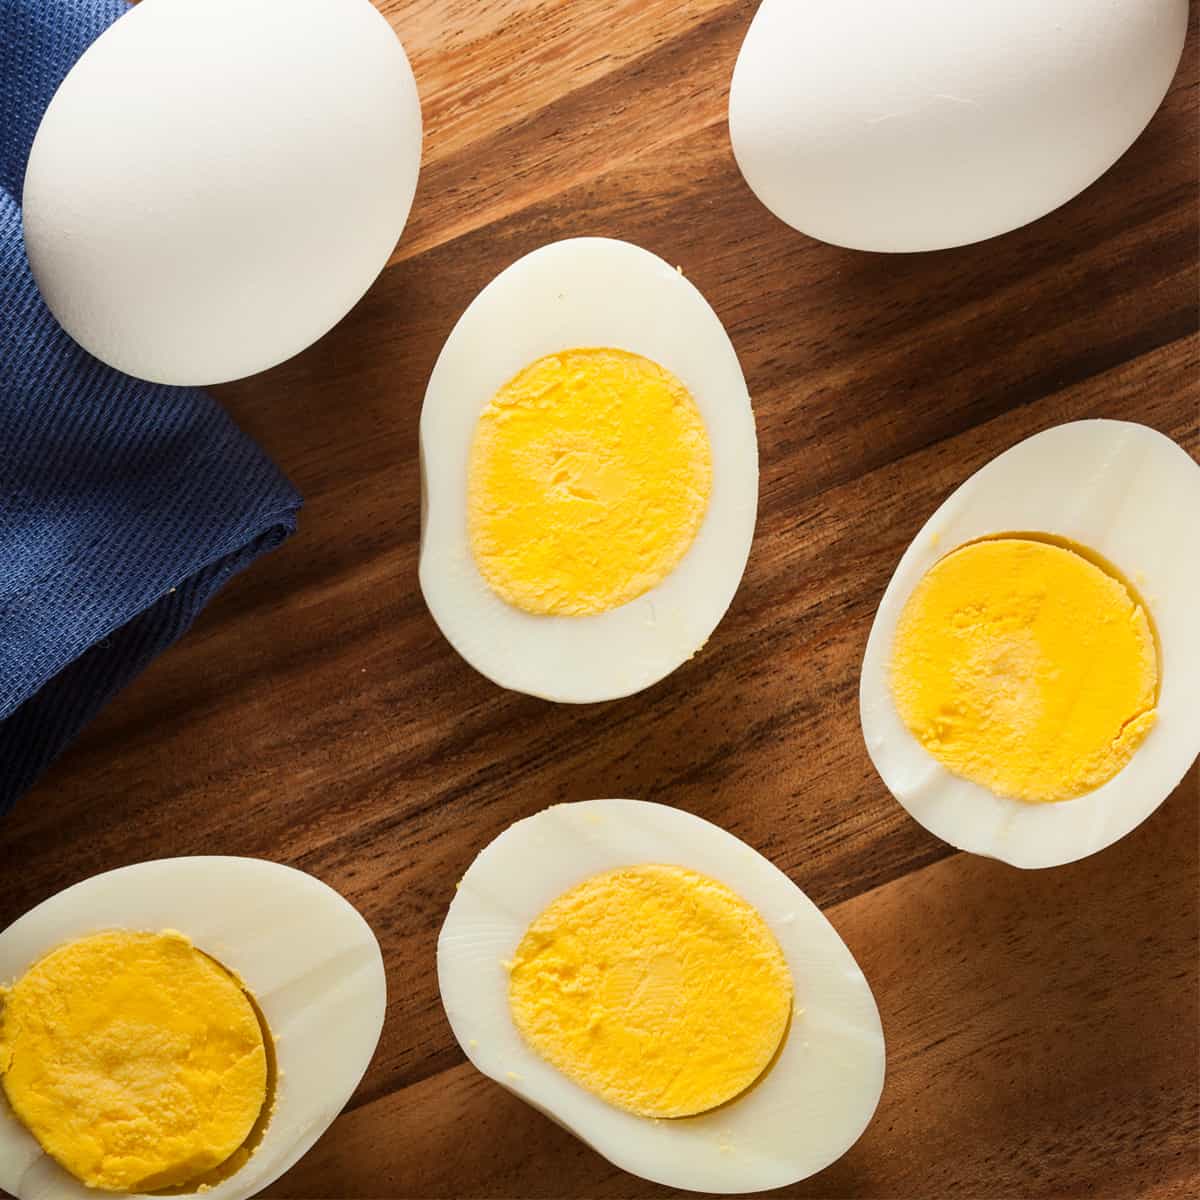 Key Factors Affecting Hard Boiled Eggs’ Shelf Life
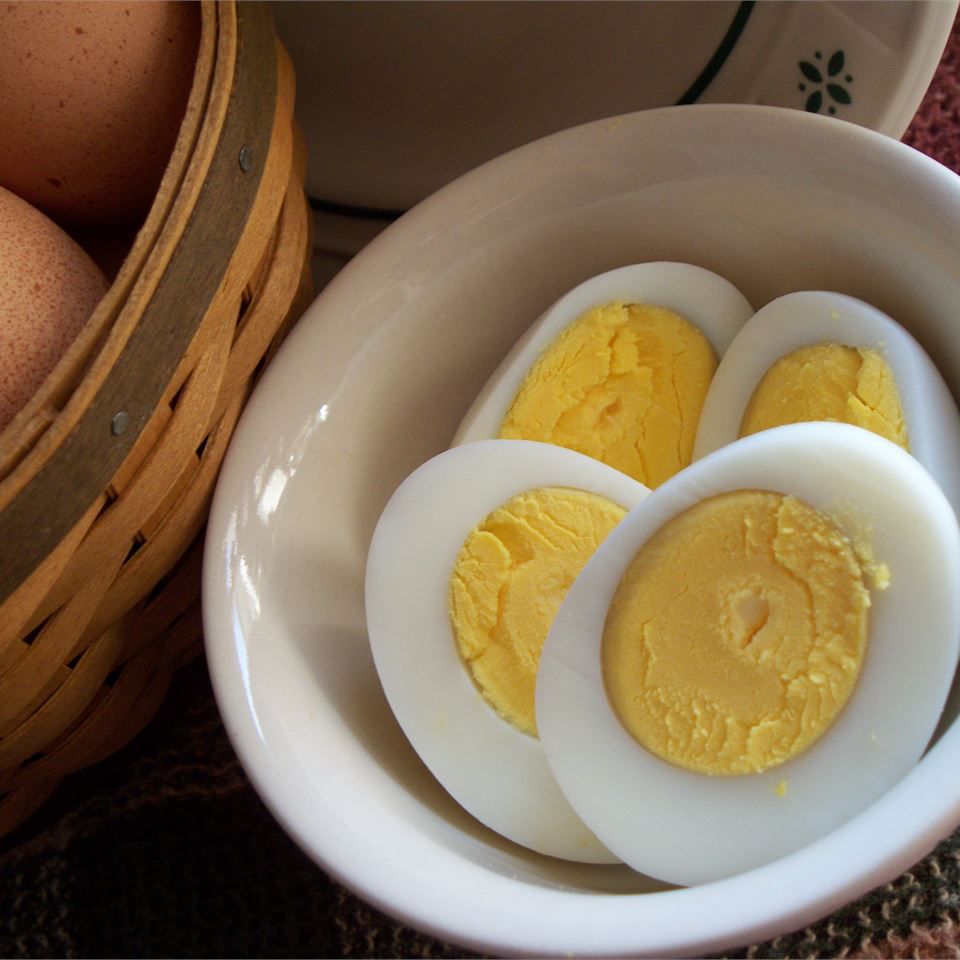 Safe Consumption Guidelines
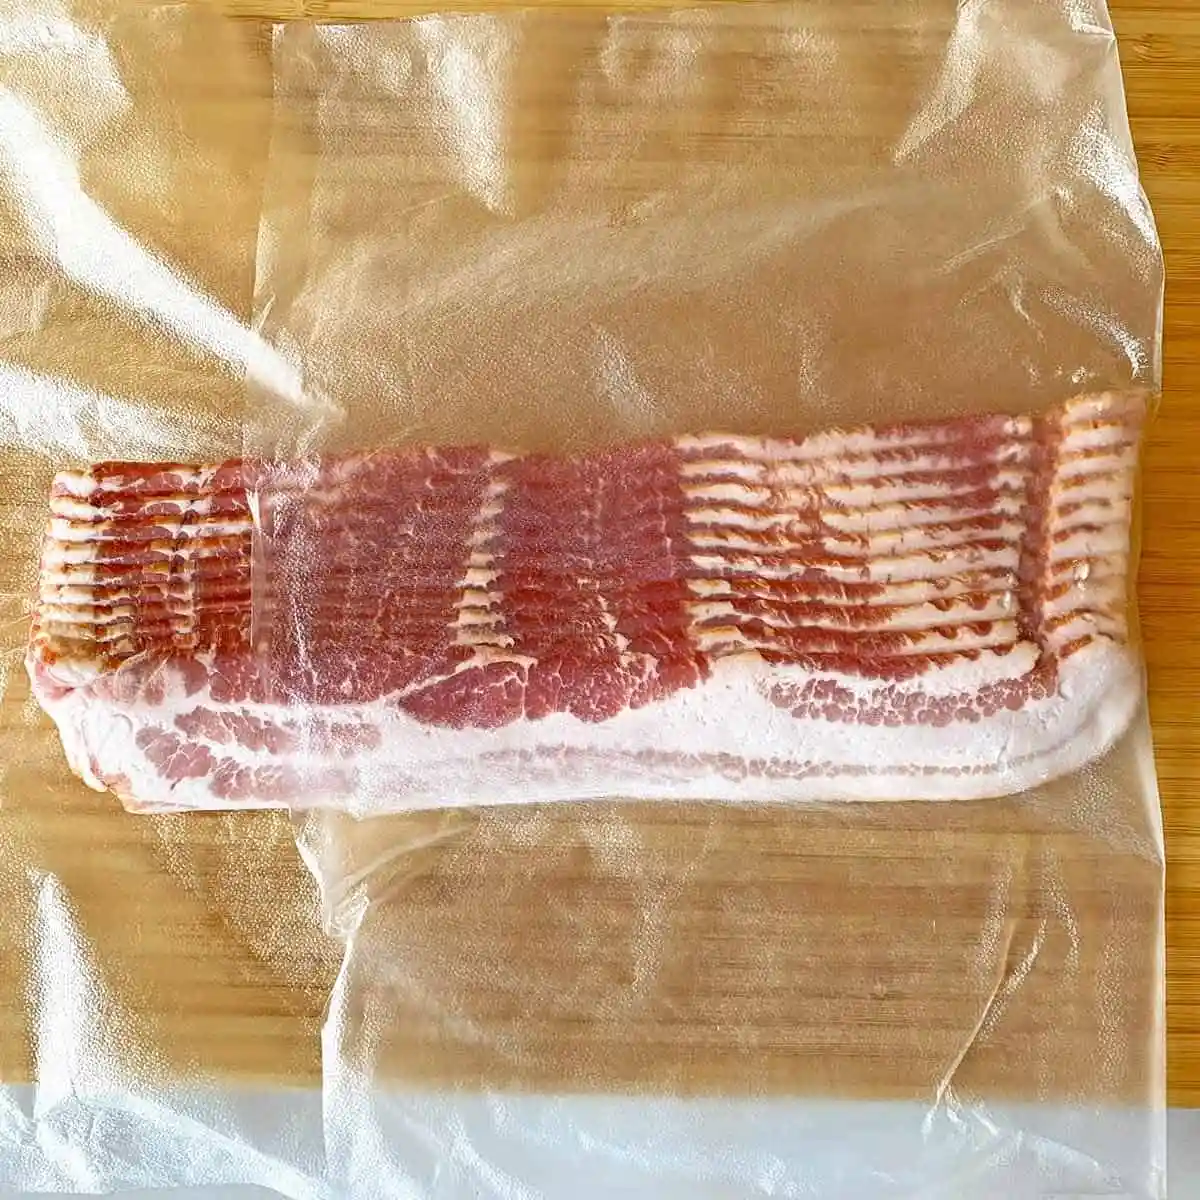
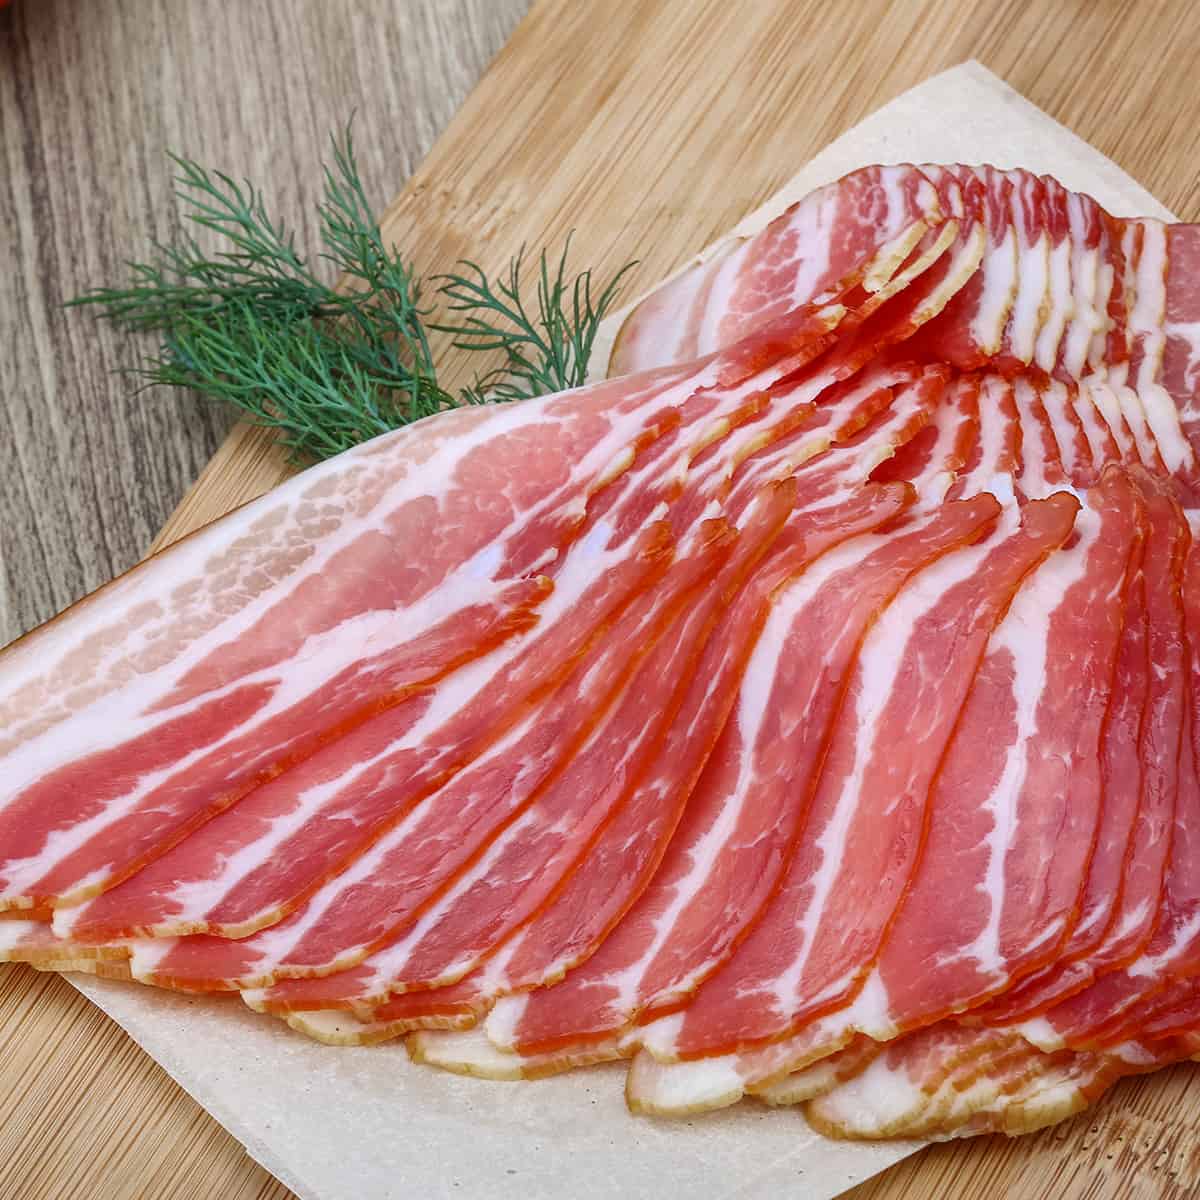 Optimal Conditions for Bacon Storage
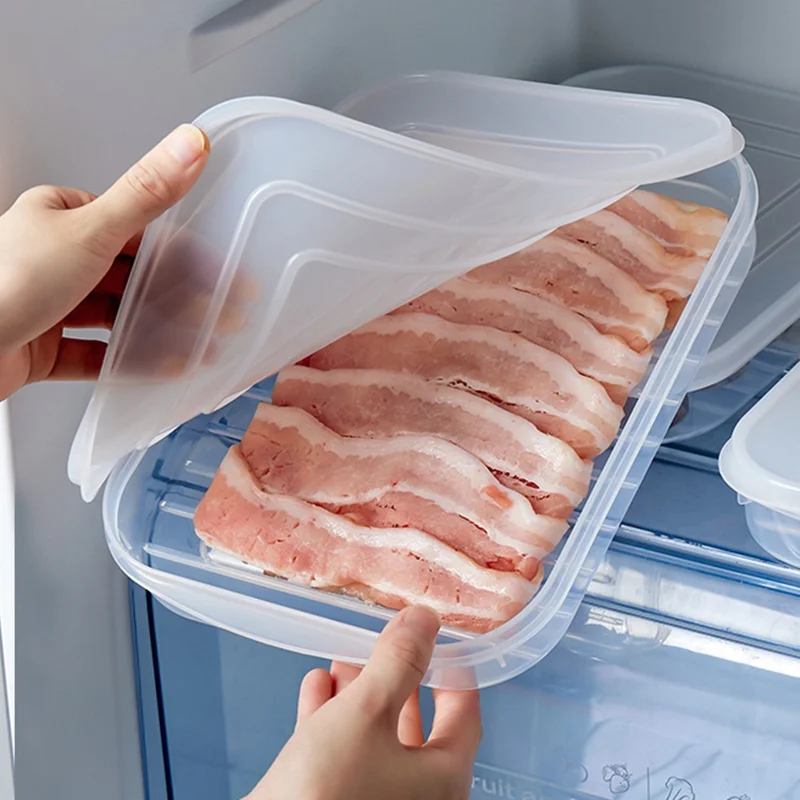 Signs of Spoiled Bacon
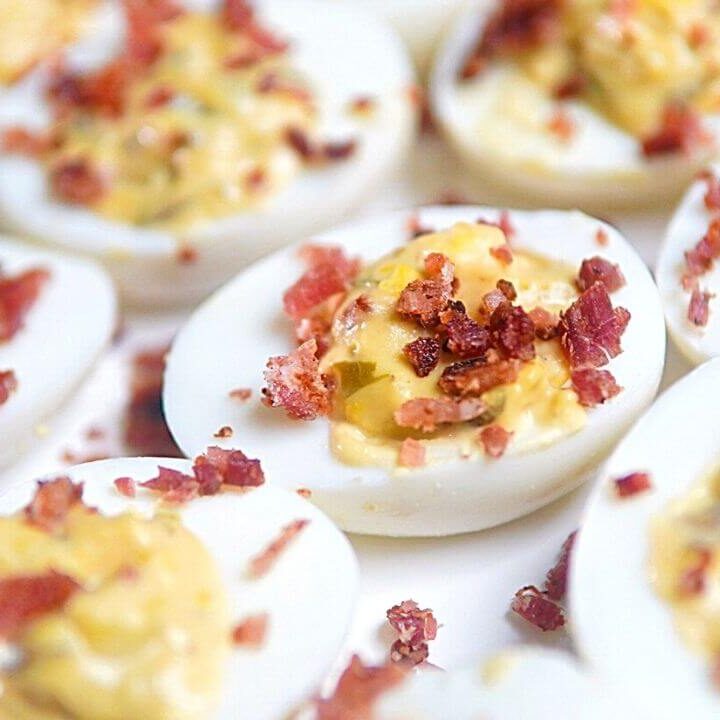
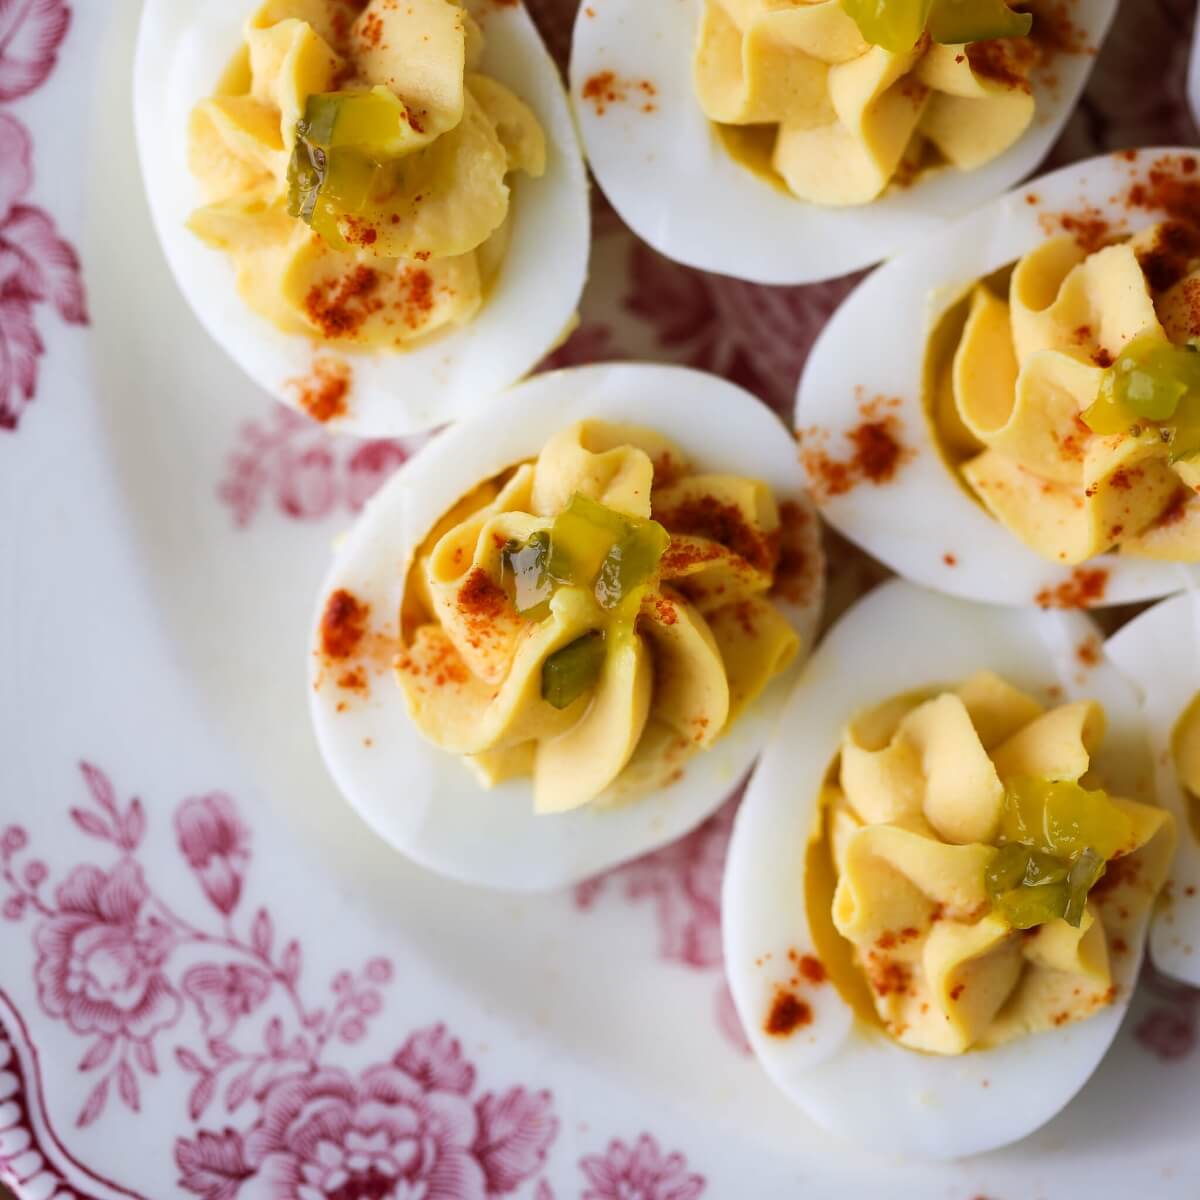 Signs of Spoilage in Deviled Eggs
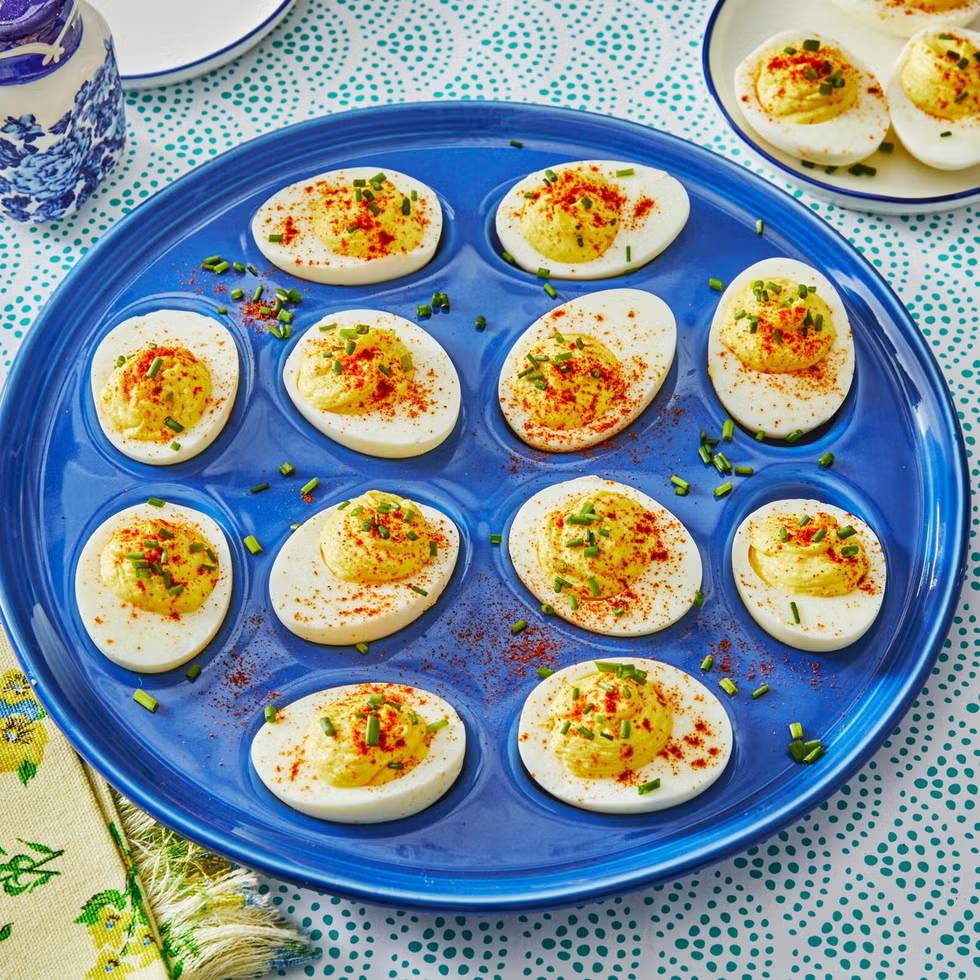 Conclusion: Ensuring the Freshness of Your Deviled Eggs
 Restoring Your Refrigerator to Service
 Understanding Freezer Efficiency and Upkeep