Introduction
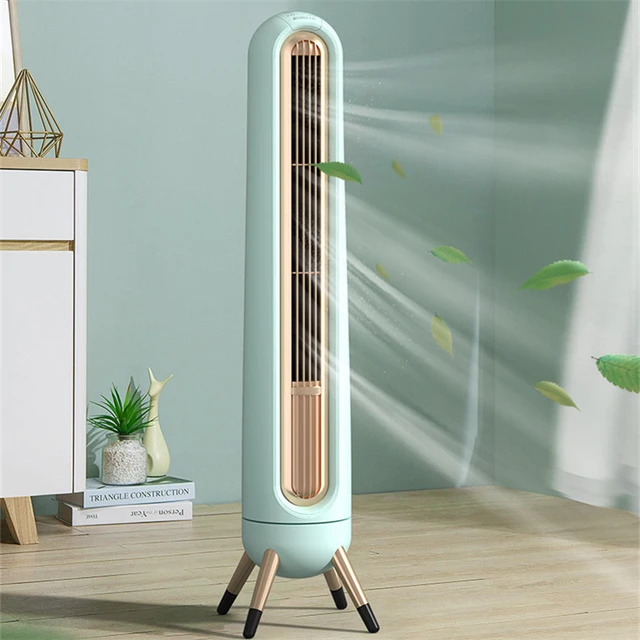
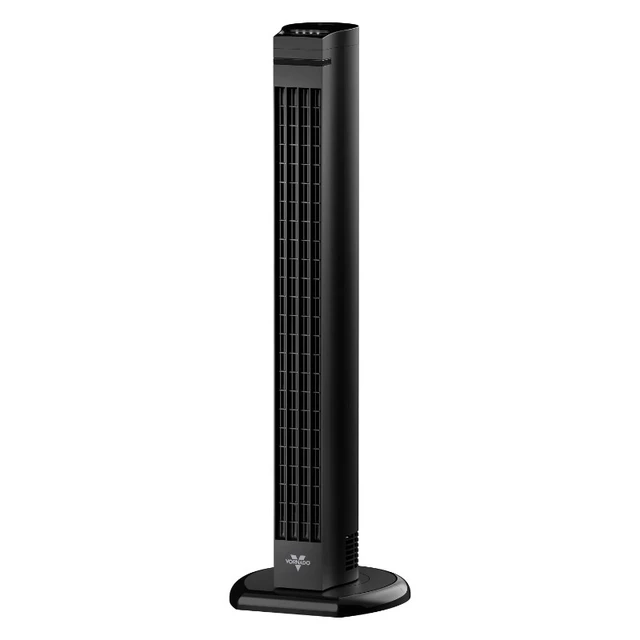
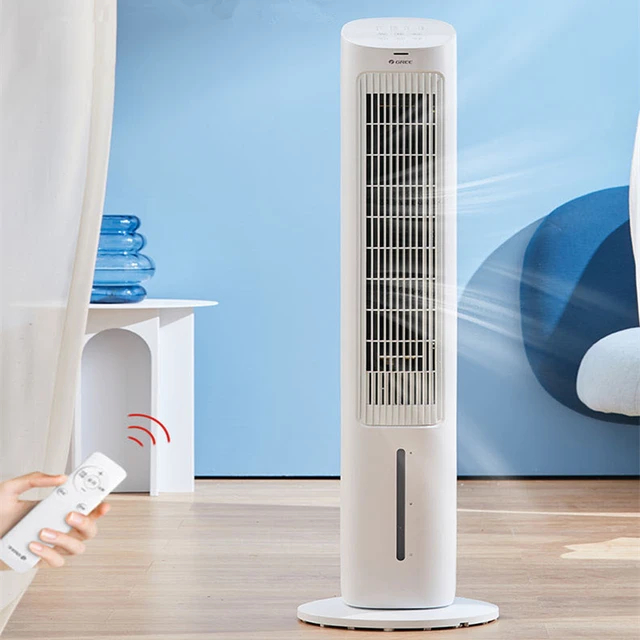
A Honeywell tower fan can be a great addition to your home, providing cool air and comfort during hot summer days. However, regular cleaning is important to maintain optimal performance and keep the fan running smoothly. Dust accumulation on the fan blades and in the grille can impair airflow and affect the quality of air circulation. In this comprehensive guide, we will provide you with specific steps to effectively clean your Honeywell tower fan. From unplugging the fan and preparing cleaning supplies to cleaning the blades, grille, and base, we will help you keep your tower fan in great condition.

Cleaning Your Honeywell Tower Fan
I. Safety Precautions
-
Unplug the Fan:
- Before beginning the cleaning process, ensure that your Honeywell tower fan is unplugged. Safety should always be the first consideration when working on electrical appliances.
-
Allow the Fan to Cool Down:
- If your fan was recently running, let it cool down completely before starting the cleaning process. This helps prevent potential burns and ensures safe handling during cleaning.
II. Cleaning Supplies Preparation
-
Gather Necessary Supplies:
- Collect the cleaning supplies you will need, including a screwdriver, a soft brush or cloth, mild detergent or cleaning solution, a vacuum cleaner with a brush attachment, and a can of compressed air (optional).
-
Prepare Cleaning Solution:
- Create a mild cleaning solution by diluting a small amount of mild detergent or a gentle cleaning solution in warm water. Avoid using harsh chemicals or abrasive cleaners, as they may damage the fan’s surface.

III. Cleaning the Fan Blades
-
Remove the Front Grille:
- Use a screwdriver (if necessary) to remove any screws on the front grille, then carefully detach the grille from the tower. Some models may have clips or tabs that need to be released to remove the grille.
-
Wipe the Fan Blades:
- With the front grille removed, access the fan blades. Use a soft brush or cloth dampened in the cleaning solution to gently wipe each blade, ensuring all surfaces are cleaned thoroughly. Pay attention to both sides of the blades and remove any visible dirt or dust.
-
Vacuum Clean the Blades:
- After wiping the blades, use a vacuum cleaner with a brush attachment to remove any remaining dust or debris. Move the brush attachment along the length of each blade, carefully cleaning all sides.
-
Compressed Air (Optional):
- For hard-to-reach areas or stubborn dust, you can use a can of compressed air to blow away any remaining debris. Use short, controlled bursts of air, being cautious not to damage the fan blades.

IV. Cleaning the Front Grille
-
Soak the Grille:
- Fill a sink or basin with warm water and add a small amount of mild detergent or cleaning solution. Submerge the front grille in the solution and let it soak for a few minutes to loosen any dirt or grime.
-
Brush and Rinse:
- Using a soft brush, scrub the grille gently to remove any remaining dirt or debris. Pay extra attention to the areas that had direct contact with the fan blades. Rinse the grille thoroughly with clean water to remove any detergent residue.
-
Dry Completely:
- After rinsing, shake off any excess water and place the grille on a towel or drying rack to air dry completely. Ensure it is completely dry before reattaching it to the fan.
V. Cleaning the Rear Grille
-
Remove the Rear Grille (if applicable):
- Some Honeywell tower fans have a rear grille that can be removed for cleaning. Use a screwdriver (if necessary) to remove any screws, then carefully detach the rear grille from the tower.
-
Vacuum Clean the Grille:
- Use a vacuum cleaner with a brush attachment to clean the rear grille thoroughly. Pay attention to all sides of the grille, removing any dust or debris that may have accumulated.
-
Wipe and Dry:
- Use a soft, damp cloth to wipe the rear grille, removing any remaining dirt or dust. Once cleaned, ensure it is completely dry before reattaching it to the fan.

VI. Base and Housing Cleaning
-
Wipe the Base:
- Using a soft cloth dampened with the cleaning solution, wipe the base of the tower fan to remove any dirt or dust buildup. Pay attention to buttons, switches, and any other surfaces that may have collected dust.
-
Clean the Housing:
- Similar to wiping the base, use a soft cloth dampened with the cleaning solution to wipe the housing of the fan. This helps remove any surface dirt or dust.
-
Dry Thoroughly:
- After cleaning the base and housing, use a dry cloth to remove any moisture and ensure they are completely dry before plugging the fan back in.
VII. Reassembling the Fan
-
Attach the Front Grille:
- Once the front grille is completely dry, align it properly with the tower fan and secure it using the screws or clips removed earlier. Ensure the grille is firmly attached.
-
Reattach the Rear Grille (if applicable):
- If your Honeywell tower fan has a rear grille, align it properly with the fan and secure it with the screws removed earlier. Double-check that the grille is securely attached before proceeding.
VIII. Additional Tips
-
Regular Cleaning Schedule:
- Implement a regular cleaning schedule for your Honeywell tower fan to prevent excessive dust buildup and maintain optimal performance.
-
Keep Fan in a Dust-Free Area:
- To reduce the accumulation of dust and dirt, place your tower fan in a relatively clean and dust-free area of your home.
-
Dusting the Fan Regularly:
- Between deeper cleaning sessions, use a soft cloth or a duster to lightly dust the fan blades and grille to prevent excessive dust buildup.

IX. Conclusion: A Refreshed Honeywell Tower Fan
Cleaning your Honeywell tower fan is essential to keep it running smoothly and maintain optimal airflow in your home. By following these specific steps for cleaning the fan blades, front and rear grilles, as well as the base and housing, you can ensure a refreshing and efficient airflow system.
Remember to always unplug the fan for safety, use a mild cleaning solution, and allow all components to dry completely before reassembling the fan. With regular cleaning and maintenance, your Honeywell tower fan will continue to provide fresh and cool air, enhancing your comfort throughout the year.
