Introduction
Vornado tower fans are known for their powerful airflow and efficient cooling capabilities. However, regular cleaning is essential to maintain their performance and ensure clean air circulation. Cleaning a Vornado tower fan is a straightforward process that involves removing dust and debris from the fan’s exterior and internal components. In this detailed guide, we will provide specific steps and recommendations to help you effectively clean your Vornado tower fan. From preparing the fan for cleaning to thorough dust removal techniques, we will cover all the necessary details to keep your fan running smoothly.
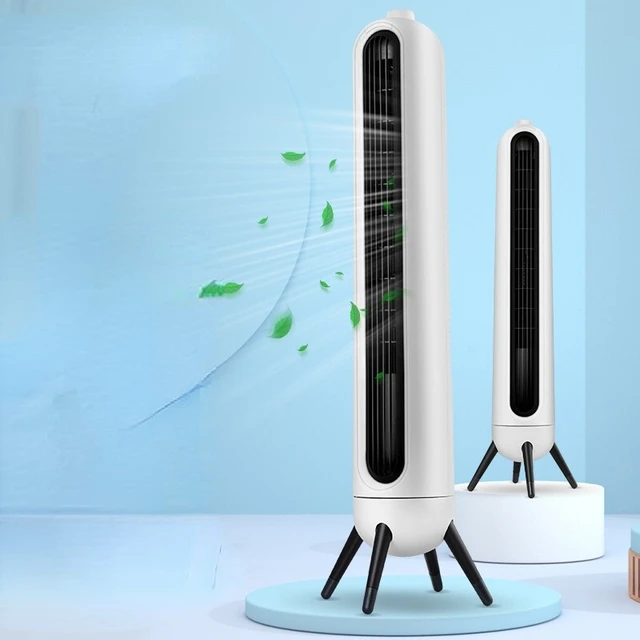
Cleaning a Vornado Tower Fan: Steps for Efficient Maintenance and Dust Removal
I. Preparing the Fan for Cleaning
-
Disconnecting the Power:
- Before starting the cleaning process, ensure that the fan is completely turned off and disconnected from the power outlet. Unplugging the fan reduces the risk of electrical shock and ensures your safety during the cleaning process.
-
Gathering Cleaning Supplies:
- Gather the necessary cleaning supplies before you begin. This may include a soft cloth, a small brush with soft bristles, a vacuum cleaner with a brush attachment, and a mild detergent or cleaning solution.
II. Exterior Cleaning of the Fan
-
Dusting the Exterior:
- Start by using a soft cloth or a brush to remove loose dust and debris from the fan’s exterior. Wipe down the surfaces, paying attention to the vents, controls, and any other accessible areas. Use gentle, sweeping motions to avoid scratching or damaging the fan.
-
Removing Stubborn Stains:
- If the exterior surfaces have stains or marks that are not easily removed with a dry cloth, dampen the cloth slightly with water or a mild detergent solution. Gently rub the stained area to remove the mark, taking care not to saturate the fan with liquid.
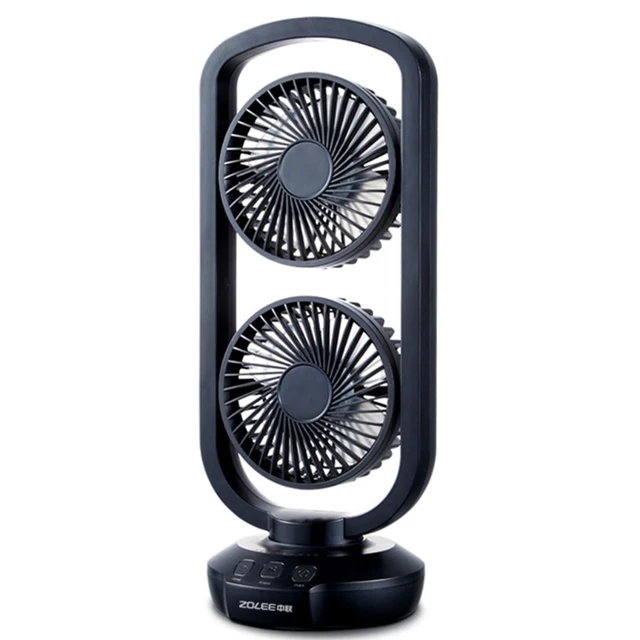
III. Dust Removal from Grills and Vents
-
Vacuuming Dust from the Front Grill:
- Attach a brush attachment to your vacuum cleaner and carefully run it over the fan’s front grill. Use a low or medium suction setting to avoid damaging the grill or dislodging any internal components. Move the brush back and forth across the grill to remove any accumulated dust.
-
Vacuuming Dust from the Rear Grill and Exhaust Vent:
- Locate the rear grill and exhaust vent at the back of the fan. Proceed to vacuum these areas with the brush attachment, using the same gentle, back-and-forth motion. Ensure that all the dust and debris are effectively removed from the grill and vent.
IV. Cleaning the Fan Blades
-
Vacuuming the Blades:
- With the vacuum cleaner still equipped with the brush attachment, gently clean the fan blades from the rear of the fan. Angle the vacuum attachment to reach and remove dust that may have accumulated on the blades. Move along the length of each blade, being careful not to apply excessive pressure that could bend or damage the blades.
-
Dusting Individual Blades:
- To remove any remaining dust or debris, use a soft cloth or a small brush with soft bristles to wipe down each fan blade. Start at the base of the blade and move toward the tip, carefully lifting away any particles. Continue this process for all the fan blades until they are clean and free from dust.
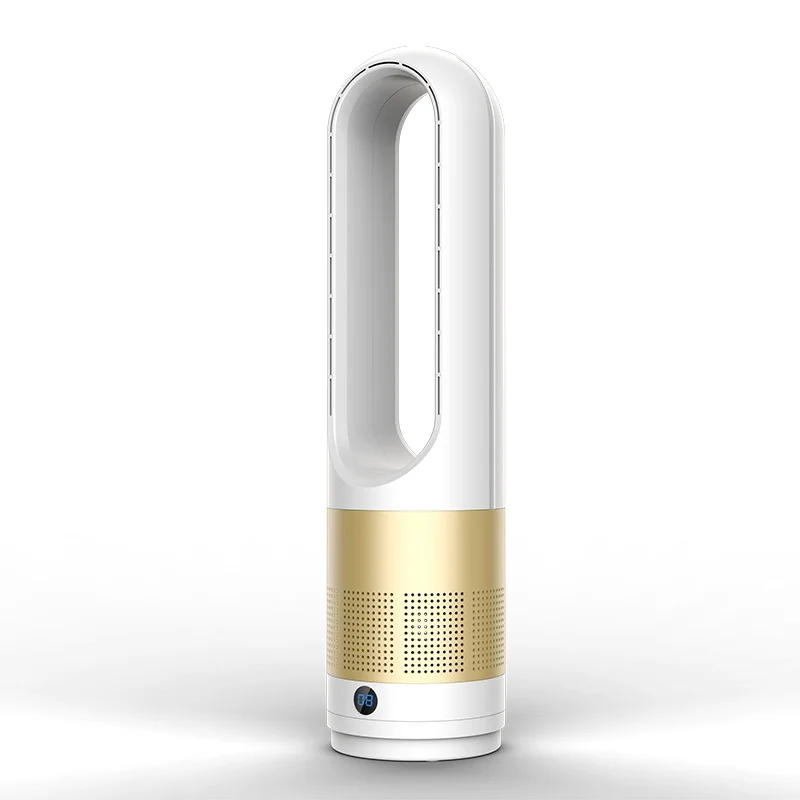
V. Maintaining the Base and Controls
-
Cleaning the Control Panel:
- Use a soft, slightly damp cloth to wipe down the control panel. Ensure that you do not soak the cloth or spray any liquid directly onto the controls, as excess moisture can damage the electronics. Gently wipe away any dust or smudges, paying attention to the buttons and display screen, if applicable.
-
Clearing Dust from the Base:
- Check the fan’s base for dust or debris that may have accumulated. Use the brush attachment on your vacuum cleaner or a soft brush to remove any dust from the base. Pay close attention to any vents or openings in the base to ensure unobstructed airflow.
VI. Reassembling the Fan and Final Checks
-
Allowing Sufficient Drying Time:
- After cleaning the fan, it is important to allow sufficient time for all components to dry completely before reconnecting the fan to the power source. This will prevent any moisture-related issues and ensure the safe operation of the fan.
-
Double-Checking for Dust:
- Before plugging in the fan, take a final look at all the areas you have cleaned to ensure that no dust or debris remains. Use a soft cloth or the brush attachment on your vacuum cleaner to remove any last traces of dust, if necessary.
-
Reconnecting the Power:
- Once you are confident that the fan is clean and dry, plug it back into the power outlet and turn it on to confirm that it is operating smoothly.
VII. Regular Cleaning Routine
-
Establishing a Cleaning Schedule:
- To maintain optimal performance and prolong the lifespan of your Vornado tower fan, create a regular cleaning routine. How often you clean your fan will depend on the frequency of use and the environment in which it operates. However, a general recommendation is to clean the fan at least every few months or as needed.
-
Periodic Checkups:
- In addition to regular cleaning, periodically inspect the fan’s components for signs of wear or damage. This includes checking the power cord, control panel, and fan blades. Promptly address any issues to maintain the fan’s performance and prevent potential hazards.
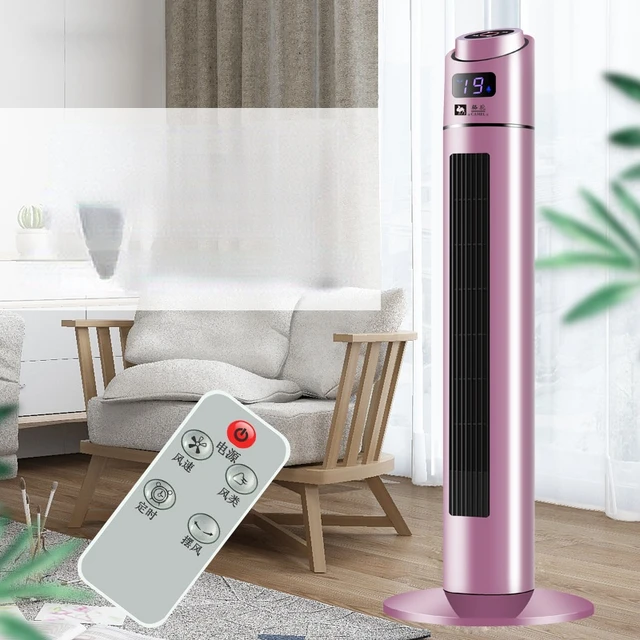
Additional Tips for Cleaning a Vornado Tower Fan
-
Using Compressed Air:
- If you have access to compressed air or an air compressor, you can use it to blow out dust and debris from hard-to-reach areas of the fan. Point the nozzle of the compressed air in small bursts at the fan’s vents, grills, and other crevices to dislodge any trapped particles.
-
Regular Filter Maintenance:
- Some models of Vornado tower fans include removable filters. Check the manufacturer’s instructions to determine if your fan has a filter and how to properly clean or replace it. Regularly cleaning or replacing the filter is crucial for maintaining optimal airflow and preventing the fan from becoming clogged with dust and debris.
-
Dusting Fan Housing:
- In addition to cleaning the fan’s exterior surfaces, consider dusting the fan’s housing regularly. Use a soft brush or a microfiber cloth to gently remove dust from the housing, including hard-to-reach areas and corners. This will help maintain a dust-free appearance and prevent buildup on the fan over time.
VIII. Conclusion: Clean and Refreshing Airflow with a Well-Maintained Vornado Tower Fan
Regular cleaning is crucial for preserving the performance and cleanliness of your Vornado tower fan. By following the steps outlined in this guide, you can effectively remove dust and debris from both the exterior and interior components of the fan. Maintaining a clean fan ensures efficient airflow and a refreshing atmosphere in your living space.
Remember to prioritize safety by disconnecting the power and using gentle cleaning methods. Periodically check the fan’s components for signs of wear and establish a regular cleaning routine to maintain optimal performance throughout its lifespan. With proper care, your Vornado tower fan will continue to provide efficient cooling and improved air circulation for a comfortable and enjoyable environment.
