Introduction: Exploring the Duration of Refrigeration without Power
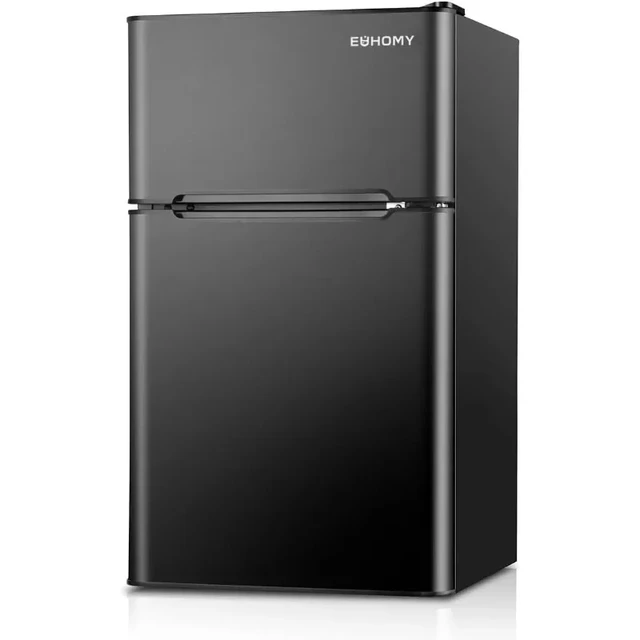
The continuity of power supply is crucial for the proper functioning of a refrigerator, which plays a vital role in keeping our food fresh and safe. However, unexpected power outages can occur, leaving us wondering how long a refrigerator can go without electricity before compromising the quality and safety of its contents. In this comprehensive guide, we will explore the factors influencing the duration a refrigerator can sustain without power and provide specific insights related to various aspects. By understanding these factors and their implications, you can make informed decisions during power outages and ensure the preservation of your perishable items.

The Lifespan of a Refrigerator Without Power: Understanding the Limits
-
Insulation and Temperature Regulation
a. Assessing insulation quality: The insulation properties of a refrigerator play a significant role in maintaining internal temperature stability. Quality refrigerators are designed with effective insulation that helps slow down heat exchange between the interior and exterior environment, thus extending the time before food reaches unsafe temperatures.
b. Monitoring the pre-outage temperature: The initial temperature inside the refrigerator before the power outage affects its ability to maintain safe conditions. If the refrigerator was already at a higher temperature before the outage, it will have a shorter tolerance period without power.
c. Avoiding unnecessary door opening: Each time the refrigerator door is opened during a power outage, warm air enters and disrupts the internal temperature further. Limiting door openings to essential instances helps preserve the cool air inside and prolongs the time before unsafe temperature thresholds are reached.
-
External Temperature Conditions
a. Climate and ambient temperature: The temperature of the environment in which the refrigerator is located significantly impacts its ability to retain coldness during a power outage. In warm climates or during summer months, refrigerators tend to heat up quicker than in cooler climates or during colder seasons.
b. Ventilation and airflow: Adequate ventilation around the refrigerator is crucial for heat dissipation. Ensure there is enough clearance between the refrigerator and adjacent walls or objects to allow proper airflow. Improved ventilation facilitates heat dispersion and extends the time a refrigerator can maintain lower temperatures during a power loss.
-
Type and Efficiency of Refrigerator
a. Refrigerator design and insulation: Different refrigerator models and brands vary in terms of insulation techniques and overall energy efficiency. Refrigerators with better insulation are capable of maintaining lower internal temperatures for longer periods without electricity, compared to models with inferior insulation.
b. Energy-saving features: Some modern refrigerators come equipped with energy-saving features, such as enhanced insulation, improved door seals, and innovative cooling systems. These features contribute to prolonged temperature retention during power outages, allowing for extended periods without compromising food safety.
-
Load and Contents of the Refrigerator
a. Initial temperature of items in the refrigerator: The temperature of the food items already stored inside the refrigerator before the power outage directly affects their longevity. If the items were already at unsafe temperatures, their quality and safety may be compromised sooner, requiring immediate attention once power is restored.
b. Quantity of items and heat load: The amount of food and beverages stored in the refrigerator affects the cooling capacity and the time it can maintain safe temperatures without power. A fully stocked refrigerator retains coldness better because the stored items act as additional thermal mass, helping to delay temperature increase.
c. Non-perishable items and coolers: Separating non-perishable items, such as condiments or beverages that do not require refrigeration, can help reduce the heat load on the refrigerator during a power outage. Placing these items in coolers with ice packs or storing them in a cool location can provide temporary preservation.
-
Duration and Frequency of the Power Outage
a. Length of the power outage: The duration of the power outage directly impacts the refrigerator’s capability to maintain safe temperatures. The longer the outage, the greater the risk of prolonged exposure to unsafe temperatures, compromising food quality and safety.
b. Opening the refrigerator during the outage: Frequent or unnecessary opening of the refrigerator during a power outage accelerates temperature fluctuations inside. Minimizing door openings and accessing the refrigerator only when necessary helps extend the time before food reaches unsafe conditions.
c. Recovery time upon power restoration: Once power is restored, the time required for the refrigerator to return to safe operating temperatures varies. It depends on factors such as the refrigerator’s model, cooling system, and the load and initial temperature of the items stored inside. It is important to monitor the internal temperature and discard any perishable items that have exceeded safe limits.
Additionally:
-
Generator or Backup Power Source
Investing in a generator or having access to a backup power source can significantly prolong the time a refrigerator can go without electricity. When power goes out, a generator can be used to provide temporary electricity to the refrigerator, keeping it running and maintaining safe temperatures for a longer period. It is essential to ensure proper installation and adherence to safety guidelines when using a generator.
-
Thermal Insulation and Cooling Aids
Enhancing the insulation of your refrigerator during a power outage can help maintain lower temperatures for a longer duration. Some techniques include:
a. Applying additional insulation: Consider using thermal blankets or insulation wraps designed specifically for refrigerators. These products provide an extra layer of insulation, reducing heat transfer and extending the time before temperature increases become significant.
b. Using ice packs or dry ice: Preparing ice packs or acquiring dry ice in advance can help keep the refrigerator colder for an extended period. Placing these cooling aids inside the refrigerator during a power outage can help maintain lower temperatures by absorbing heat and slowing down temperature rise.
Conclusion: Managing Refrigeration During Power Outages
The duration a refrigerator can go without power relies on several interconnected factors such as insulation quality, ambient temperature conditions, refrigerator type and efficiency, stored content, duration and frequency of the power outage, and even our own actions during the outage. While specific timeframes cannot be provided due to the myriad influencing factors, it is essential to prioritize food safety during power outages.
By understanding these factors and considering variables such as insulation quality, external temperature conditions, refrigerator type, load and contents, duration and frequency of the power outage, you can make informed decisions regarding the management of your refrigerator during power disruptions. Minimizing door openings, separating non-perishable items, monitoring internal temperatures, using coolers or alternative storage methods, and promptly discarding perishable items that have been exposed to unsafe temperatures are all recommended practices to mitigate food safety risks during power outages.